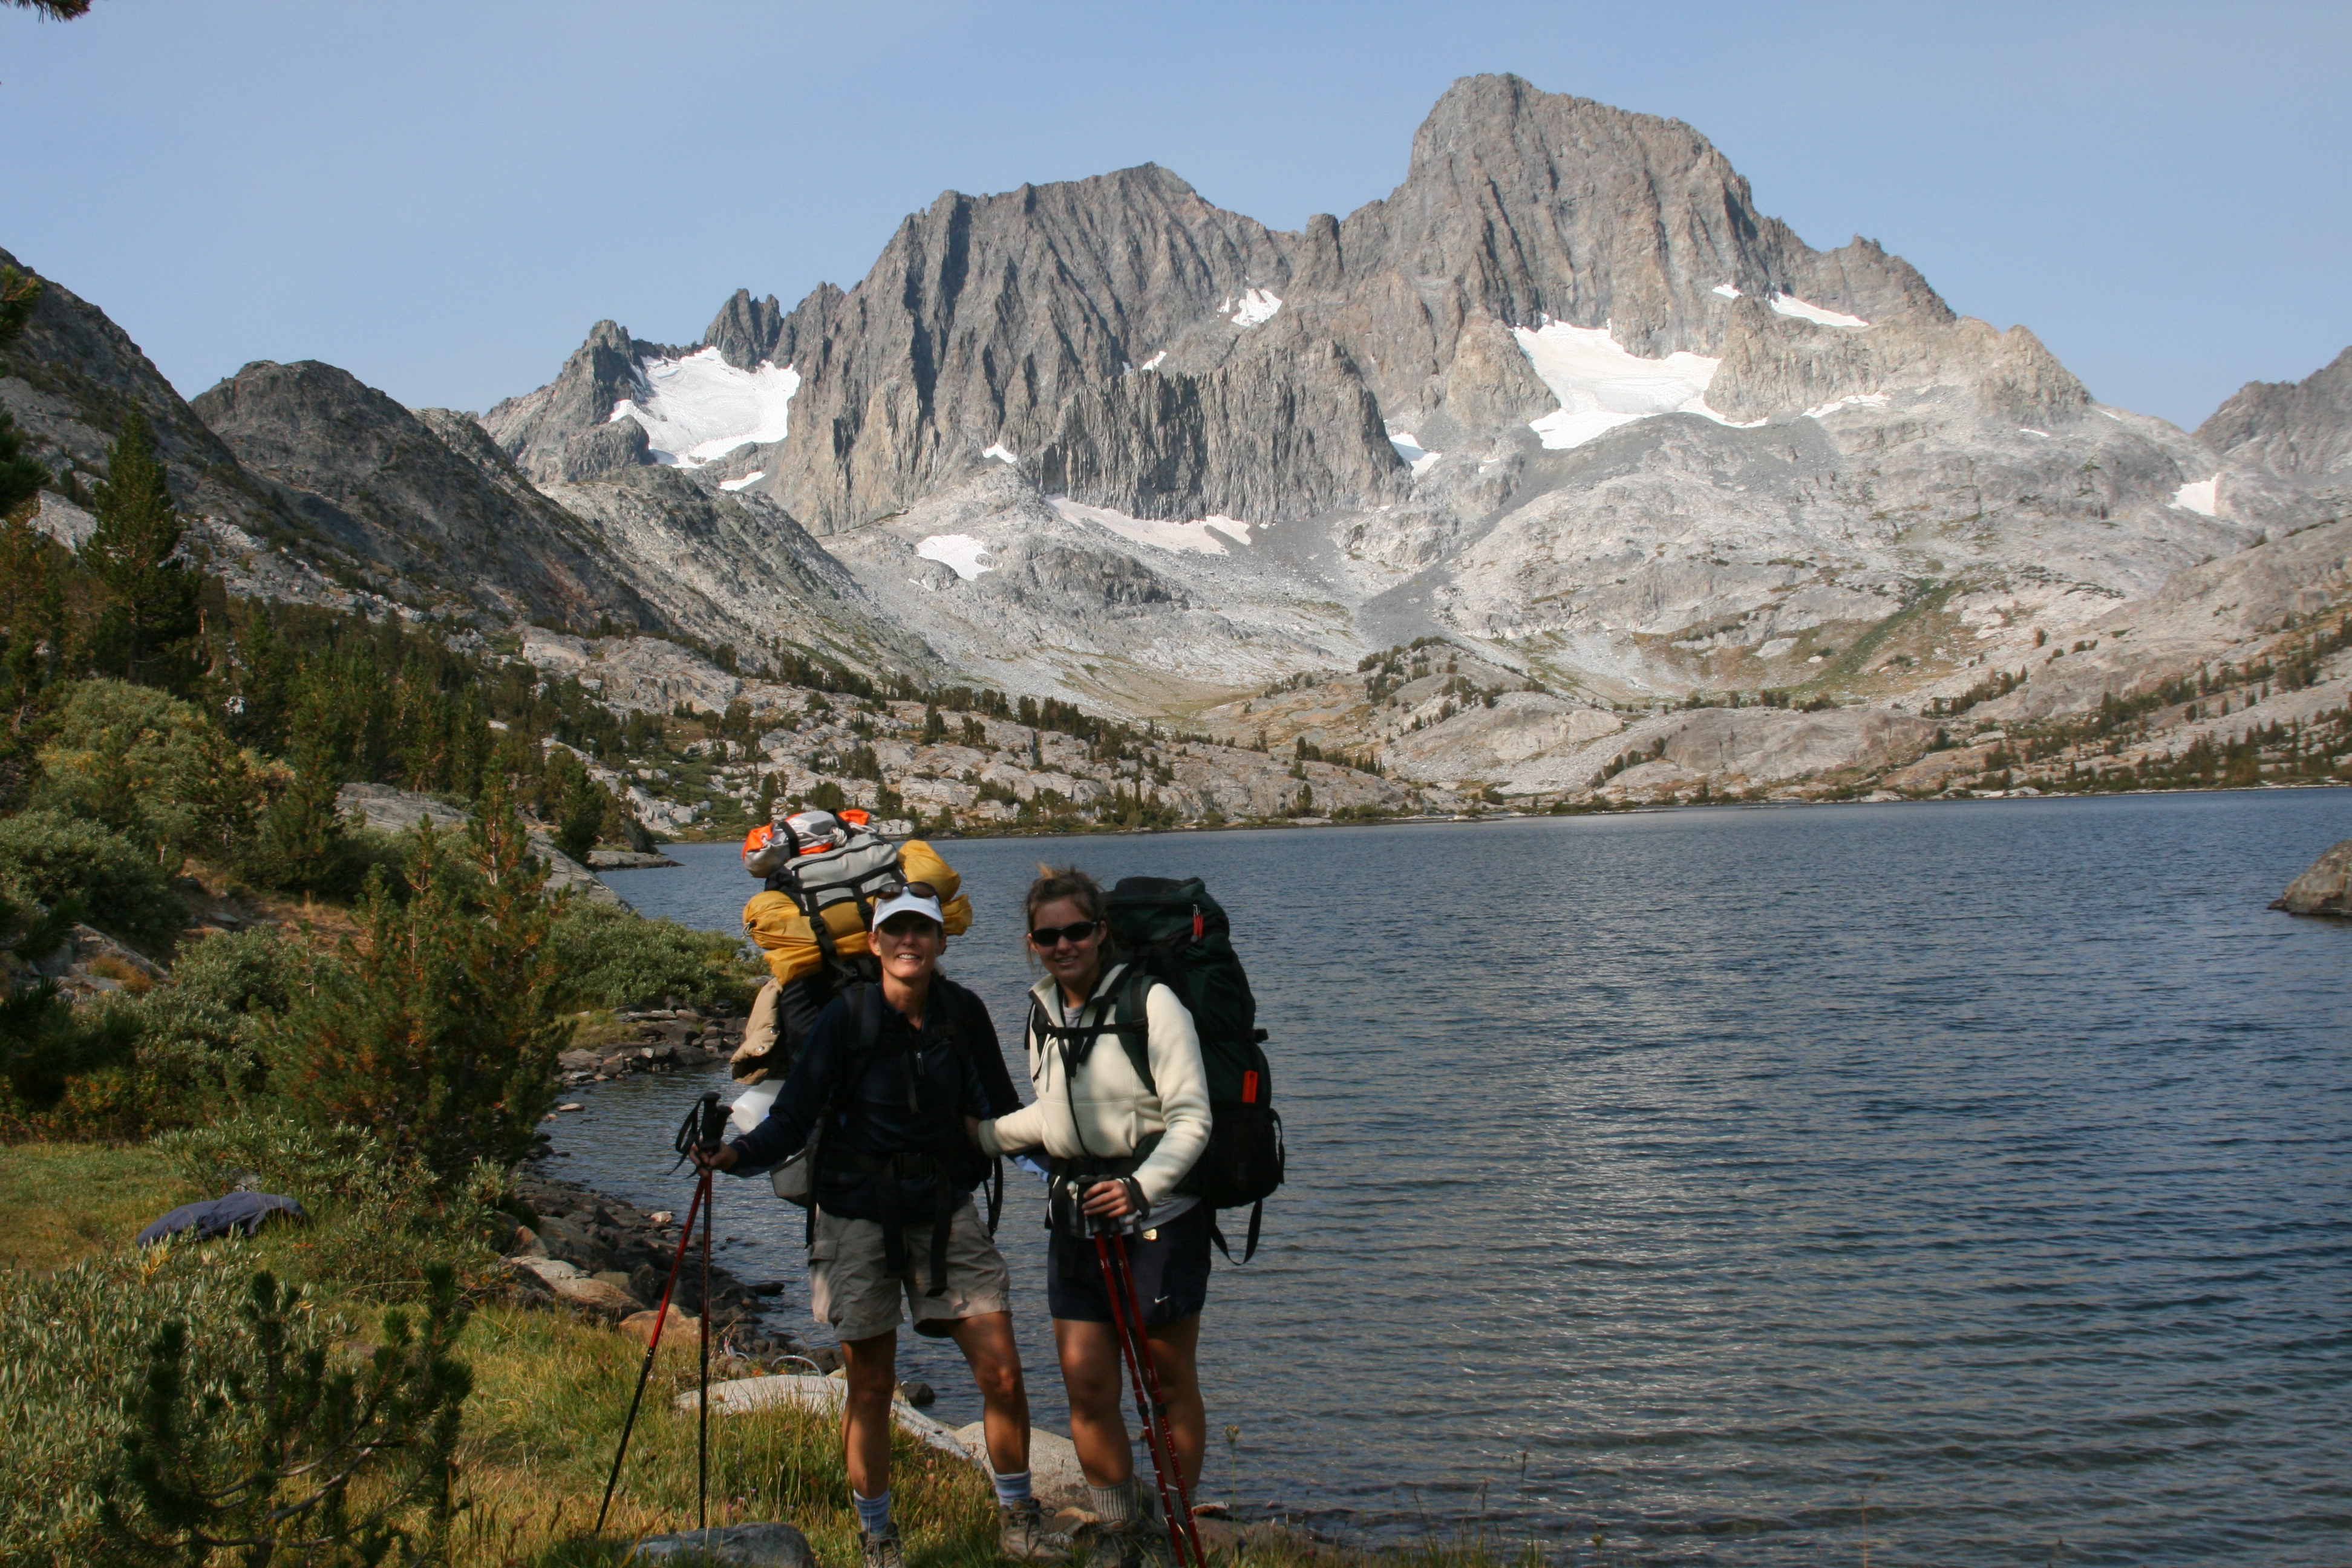
Me and Emily. Garnet Lake. Ansel Adams Wilderness. 2007.
My daughter, Emily, and I just finished our Wilderness First Responder course taught by Dave Yacubian of ReadySF under the Wilderness Medical Institute (WMI) curriculum. Both Emily and I are now certified Wilderness First Responders (WFR)! My journey to earning my WFR certification began in October 2008. I was sitting at the first belay of my very first outdoor rock climb. It was a multi-pitch climb on the Hogsback formation at Lovers Leap near Lake Tahoe, California. As my climbing partner took off to lead the second pitch, leaving me alone at the belay ledge it occurred to me that I had absolutely no idea what I was doing. I was totally dependent on her, even though, in fact, I had her life in my hands. The climb was scary, we were not on the route we planned to climb. It was difficult but when we were finished it was satisfying and I wanted to do it again and again. However, I also committed to take classes to learn to be a self sufficient partner. I took a rock climbing anchors class, climbing self rescue, and wilderness first aid (WFA). At the end of the WFA course I think I knew eventually I would take the WFR course. Then, I climbed Snake Dike on Half Dome in Yosemite National Park with a group from the ClimbOn! Group of MeetUp. The climb was awesome, all five of our parties summited and we and a celebration that night in the Little Yosemite Valley backcountry campground. On the hike out the next day one of our party fell. We were hiking in the middle of a cold thunderstorm and she had on a very heavy pack. It was easy to see she had sustained a tibia/fibula fracture. It was not open but the bone was clearly visible just under the skin. I was the only person in the group with any first aid training and the group looked to me. I put my WFA training into action that day. I remembered the importance of assigning specific tasks to specific people. We set about getting her as warm and comfortable as possible. We found a passerby with a working cell phone to call for help. Then we waited for the rescue personnel to arrive. We were only about 2 miles from the trail head on a very well traveled trail. There was intermittent phone service. I decide not to splint her leg since it was so close to being an open fracture and we were so close to medical help. This was a best case scenario. I wondered about the same injury but a day or more from the trail head. I knew at that moment I would take the WFR. The question just was when.
The “when” happened earlier this year. My daughter, Emily, expressed interest in getting wilderness first responder training. I had no idea she was interested! So, I told her we should take it together. We enrolled in the 10 day/80hr class given by Dave at the Marin Headlands. It’s a beautiful location and close to home – although a too far to commute daily. We would stay at the Marin Headlands Hostel. (Be forewarned about the hostel, many school outings stayed there during our stay. Lots of kids, some groups as large as 30 kids plus chaperones, so it was a chaotic at times.) The class is 8am to 5 pm for 9 days. There two evening session and one day off. So, obviously, we would be busy.
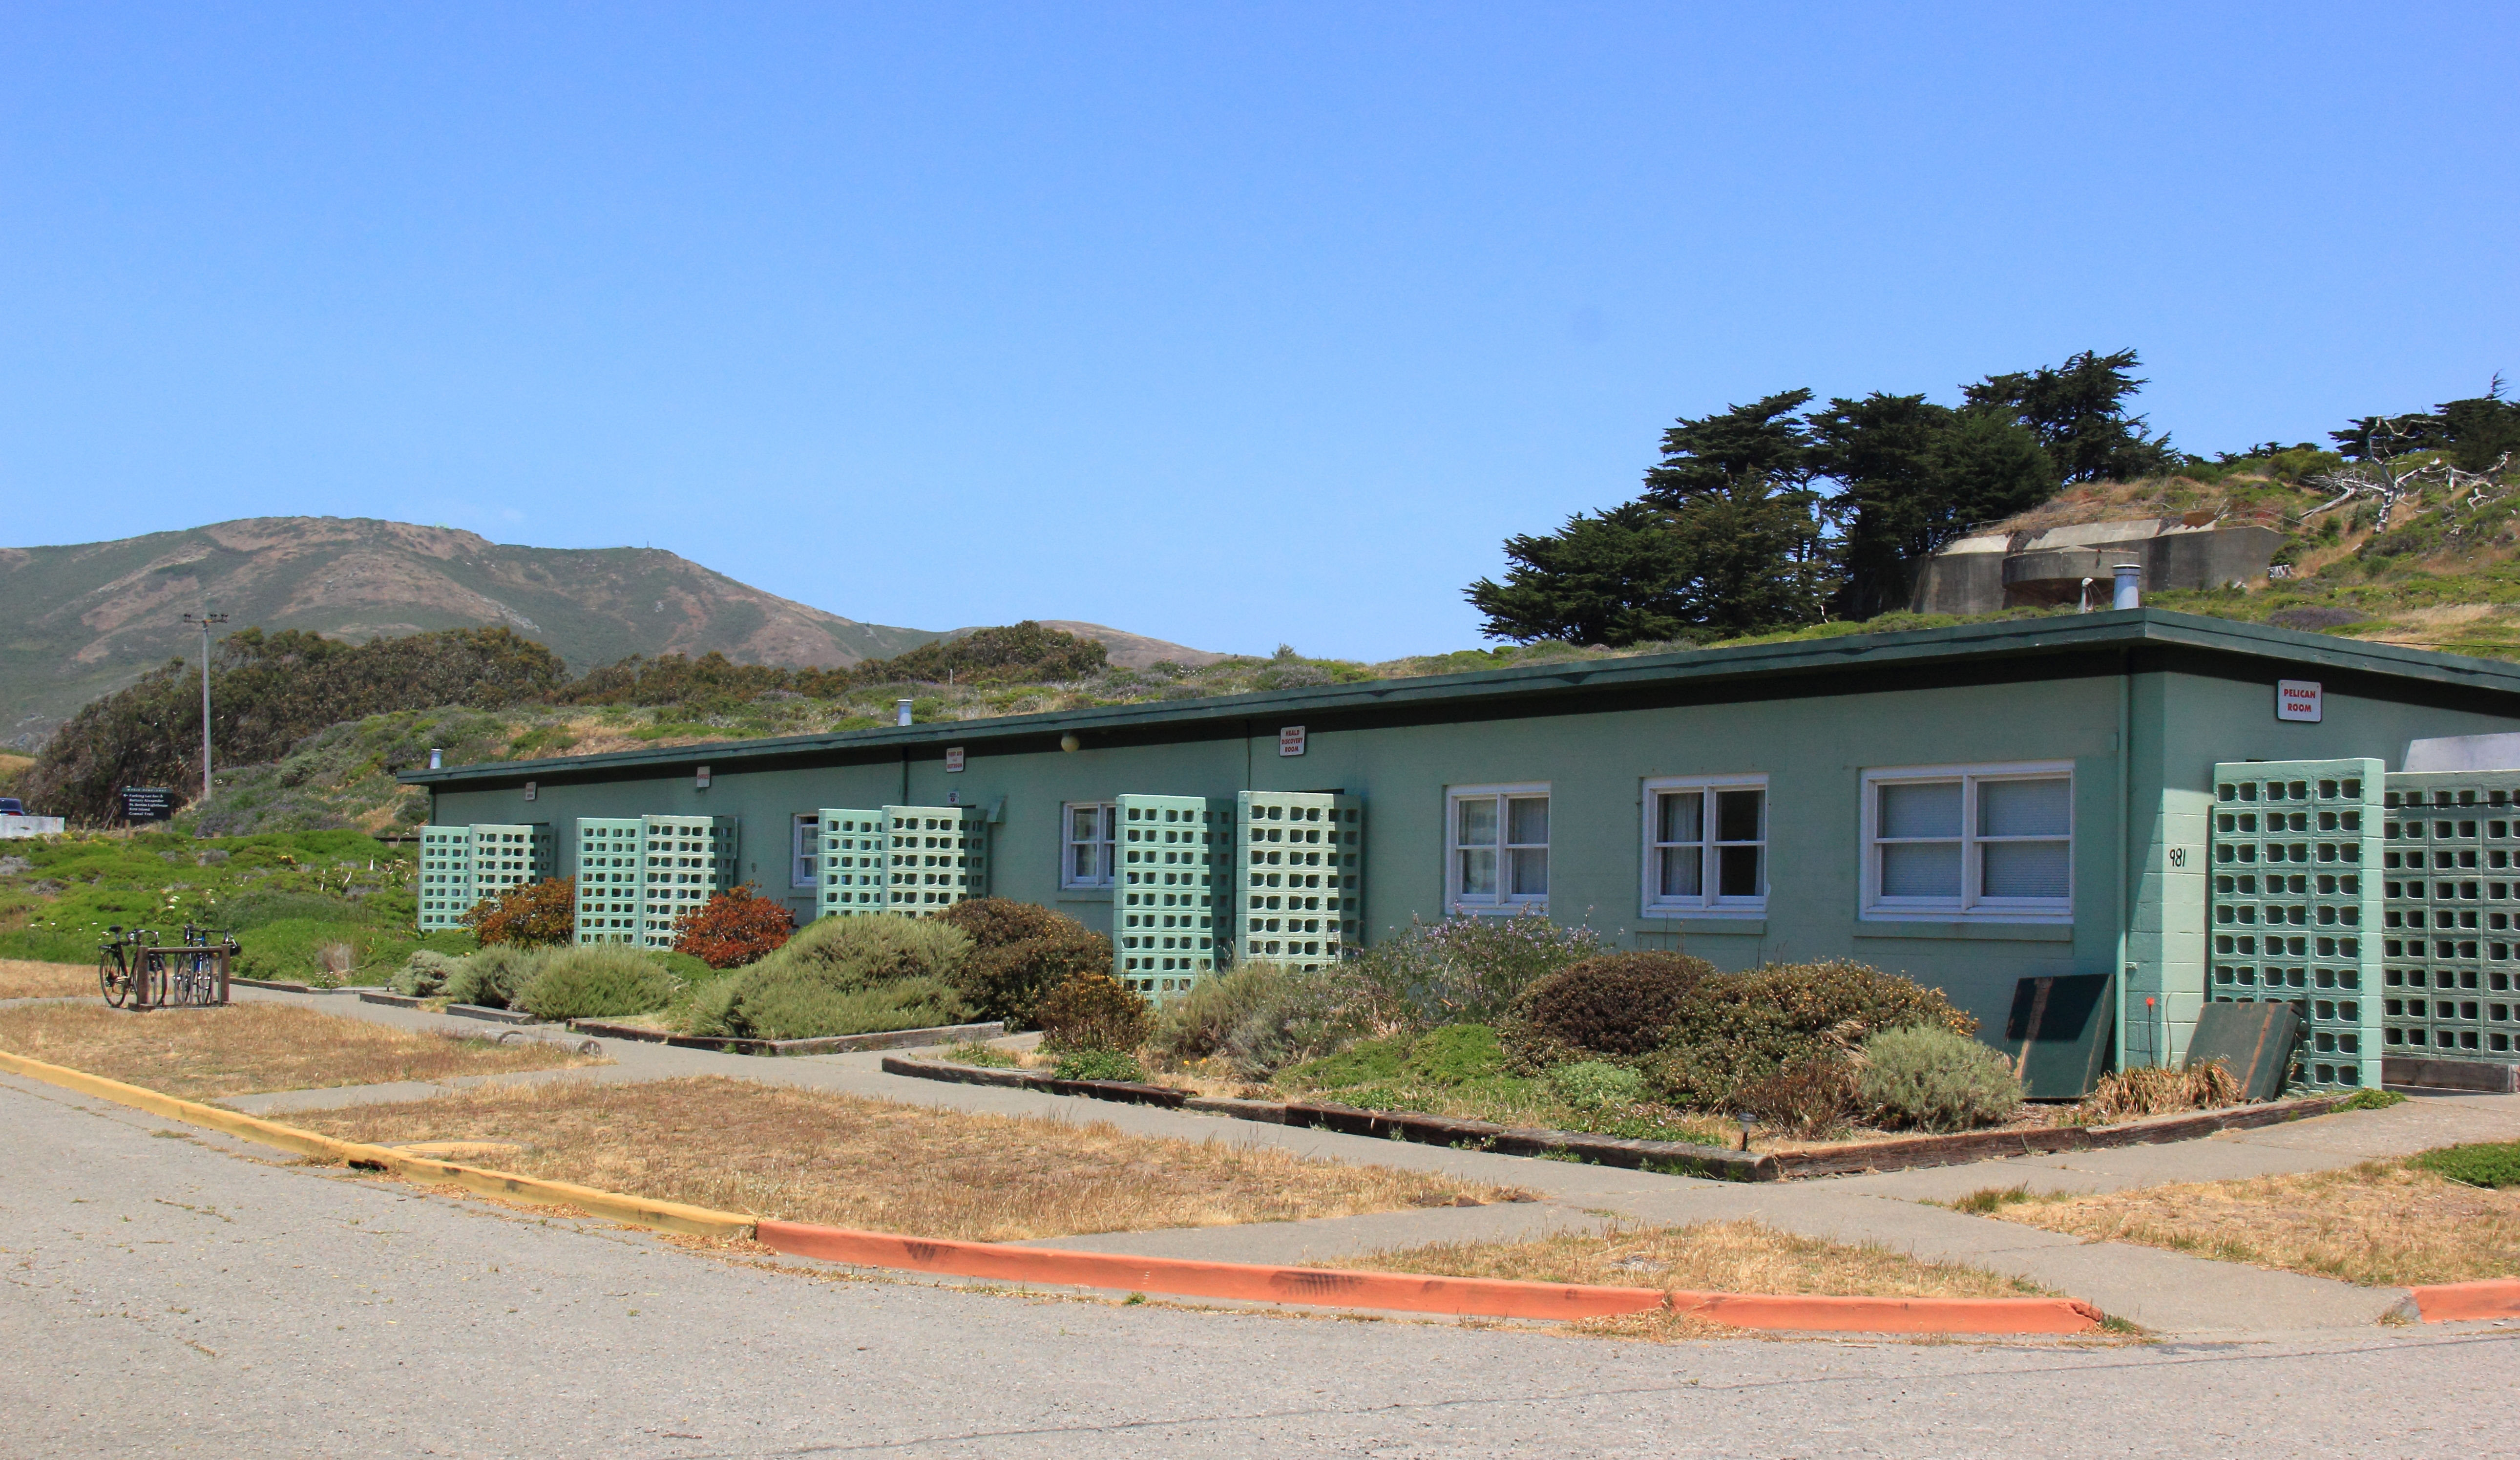
Our class room for 9 days. The YMCA SF – Point Bonita.
Emily and I arrived bright and early the morning of May 24. Our instructors for the next 10 days would be Dave and Becca. It turns out this was Becca’s first time teaching the class. That was not apparent at all during the course! Her infectious enthusiasm and detailed instruction were excellent. Dave, the seasoned veteran, was also excellent. Not only does he know the WMI protocols cold and is a patient and thoughtful instructor. He also had many firsthand stories from his experiences in the backcountry to round out our instruction. The first thing we saw in class was Dave and Becca going through the steps of caring for an injured person they come upon in the hiking trail. They were so smooth and seamless, it was hard to believe we would be even close to that skill level at the end of the class. But, spoiler alert, we all had the protocol down pretty well at the end of 10 days! A testament to Dave and Becca’s teaching.
Our class had 29 student with ages varying from 17 at the youngest to 56 (me) at the oldest. Most students were in their 20’s and 30’s. Many were in the class because they had employment working as guides or assistants in youth programs. A few, like Emily and I, were in the class because we wanted personal training. We would all end up getting to know each other pretty well, between the roll-playing scenarios and the studying at night. It was a great group!
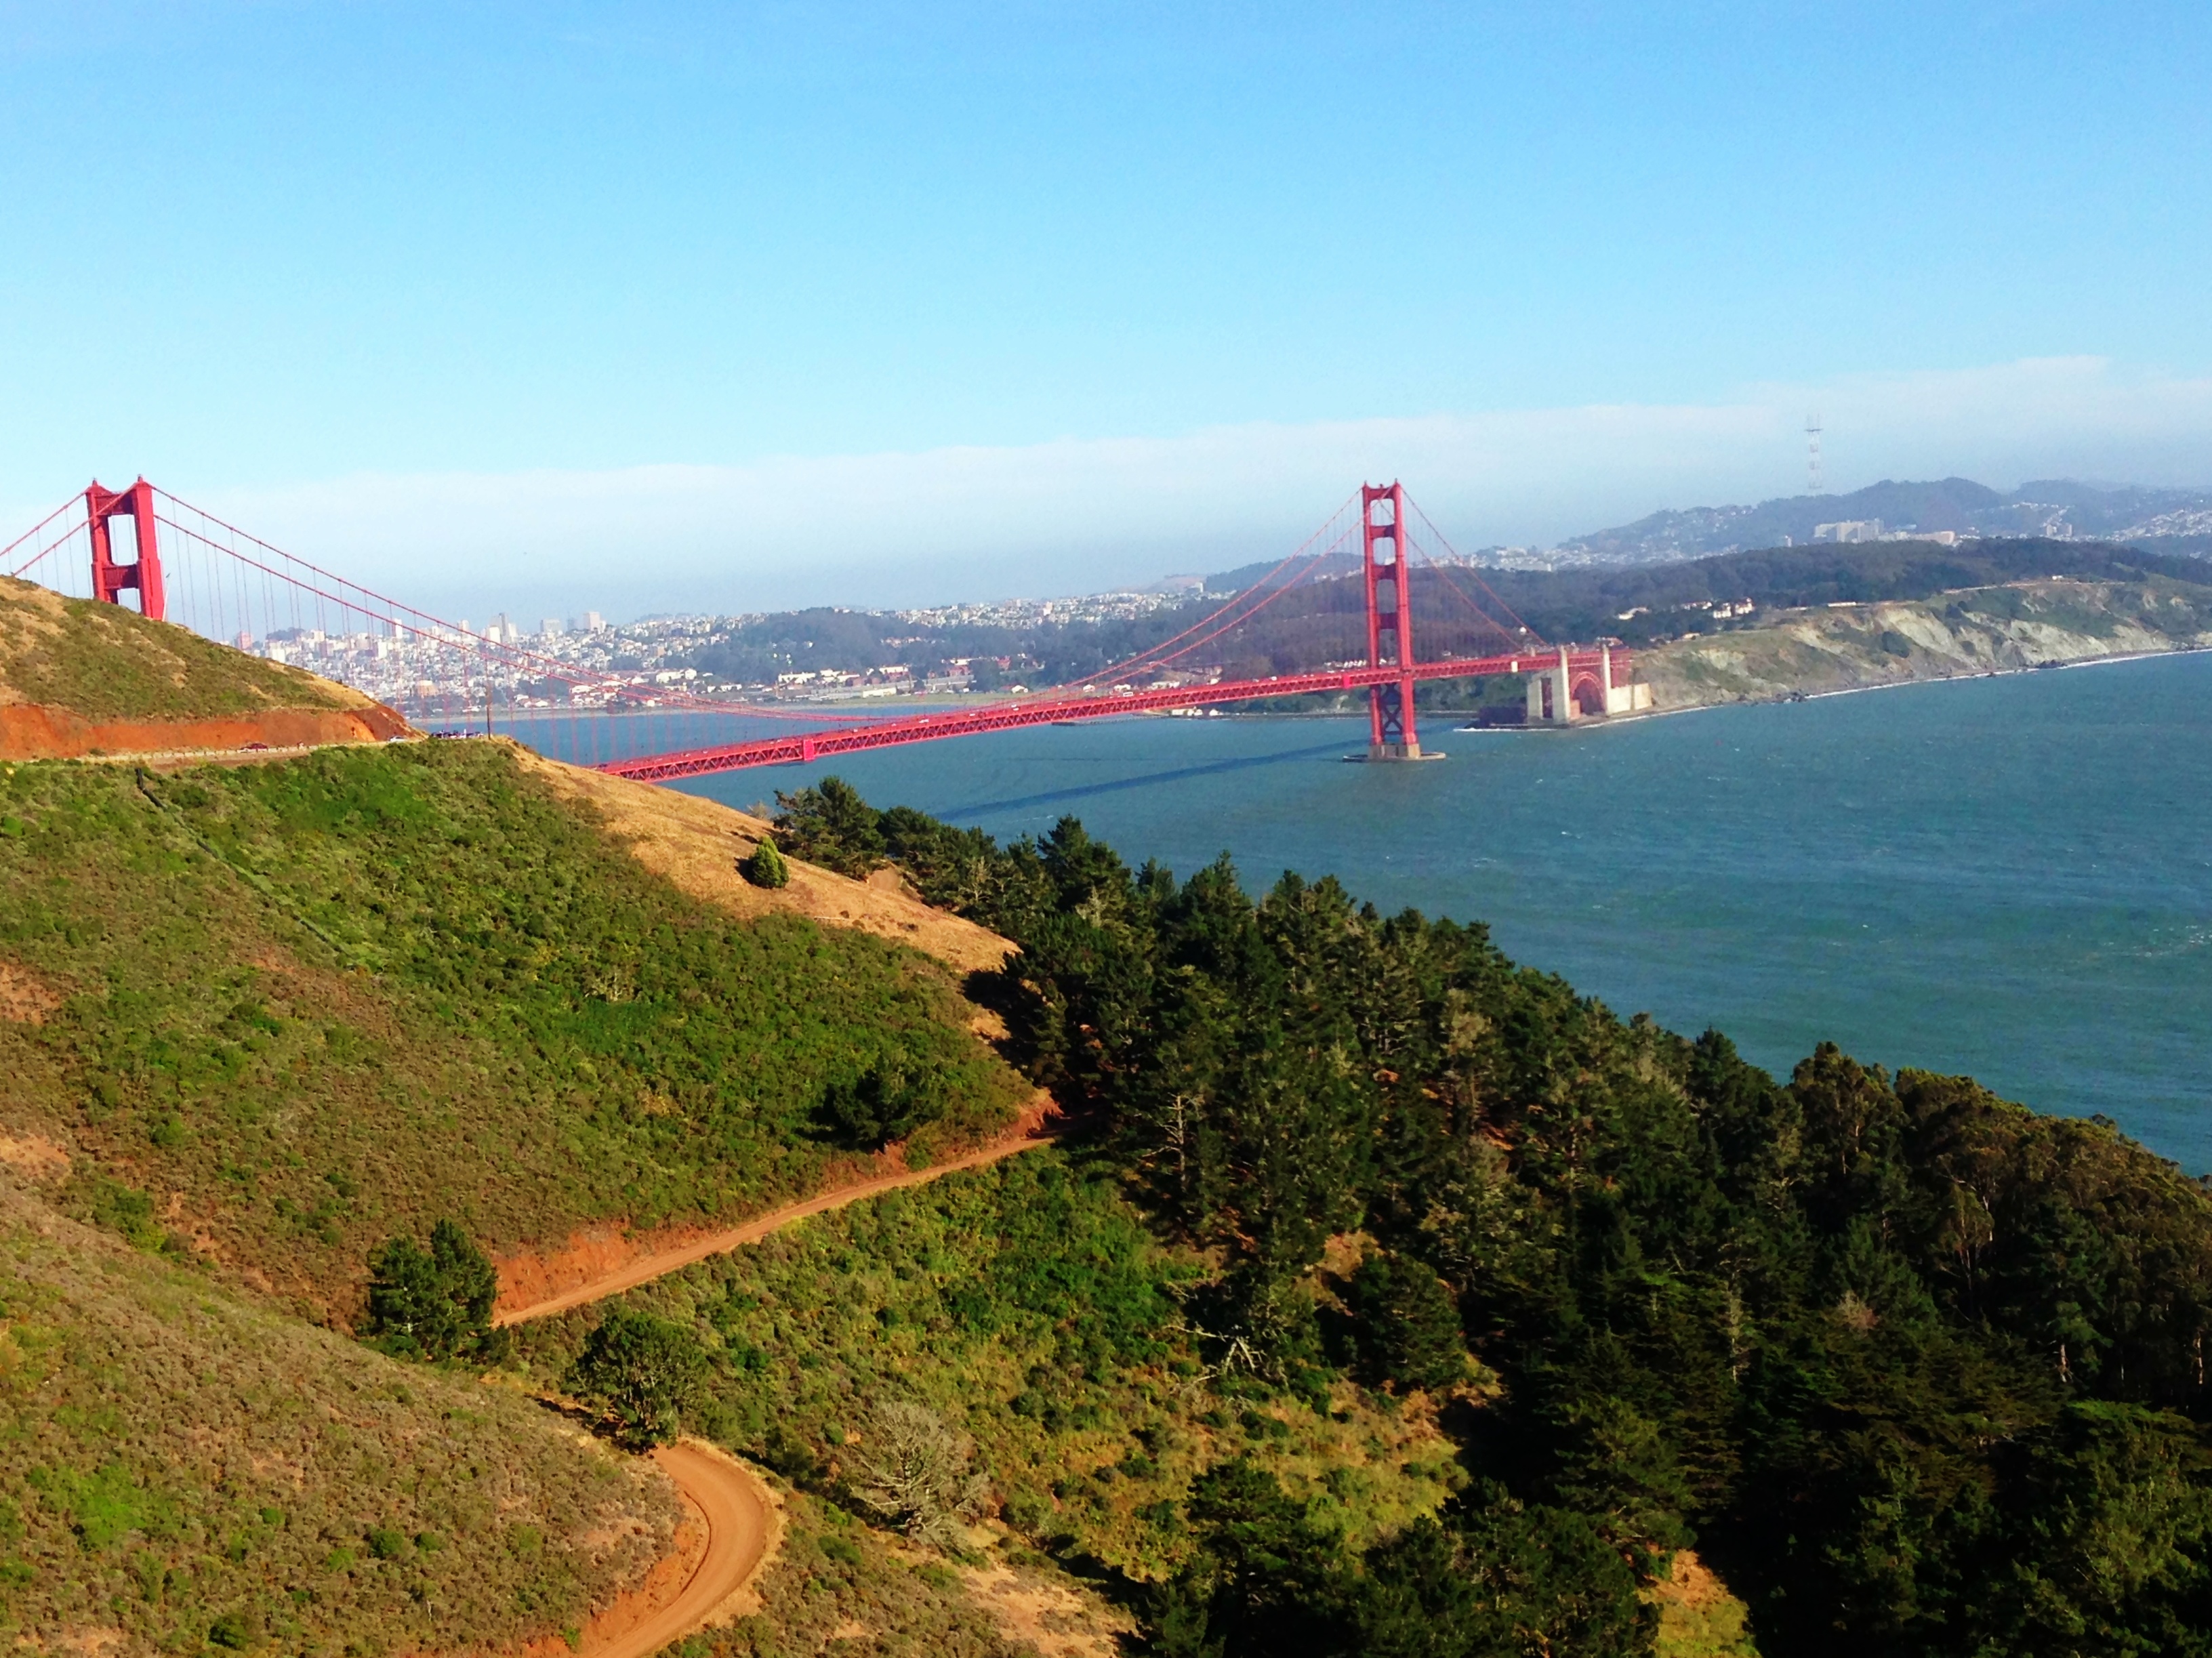
Our gorgeous break & lunch view.
The course format was introduction of a topic or topics, then outside for a scenario related to those topics. Typically during a scenario a third of the class was victims (complete with realistic looking makeup) and the remaining two thirds divided up into two person teams. We occasionally did scenarios with half the class victims and the other half the rescuers so we could learn how to do all of this if it was just one us alone and a victim. The first thing we learned was the “12345ABCDE” method of initial assessment. The 12345 is the scene size up protocol, principally meant to prevent the rescuer from becoming another victim. The second half is meant to discover any “life threats” present in the victim that need to be dealt with immediately. This would include airway blockage (the “A” for airway) or sever bleeding (the “C” for circulatory). The “D” is for decision about the spine – hold the head or not. We spent much of the course learning about spinal injuries and how important it is to be very aware and careful about those injuries. Basically, fall from height, at high velocity or associated with loss of consciousness are modes of injury that can lead to a spinal injury. I never thought I would remember what that all stood for but eventually it came naturally, except the “E” (which stands for expose the chief complaint) seem to evade me until the second half of the course. The scenarios at the beginning covered the initial assessment and any other topic we had just cover, such as splinting or wound care. Next we learned the Head-to-Toe exam, the important vitals to take (early and late changing), and the patient history interview (SAMPLE). Between these three new steps in the patient assessment and all the new aliments and injury care, my head started to swim in details. Thankfully, it all began to come together for me after the Wednesday break day but up to that point I really didn’t think I would be able to remember everything.
Trauma injuries were covered first in the class. We learned how to clean and bandage wounds. Irrigate with drinkable water and nothing more. Use sterile tweezers to carefully remove debris. And bandage.
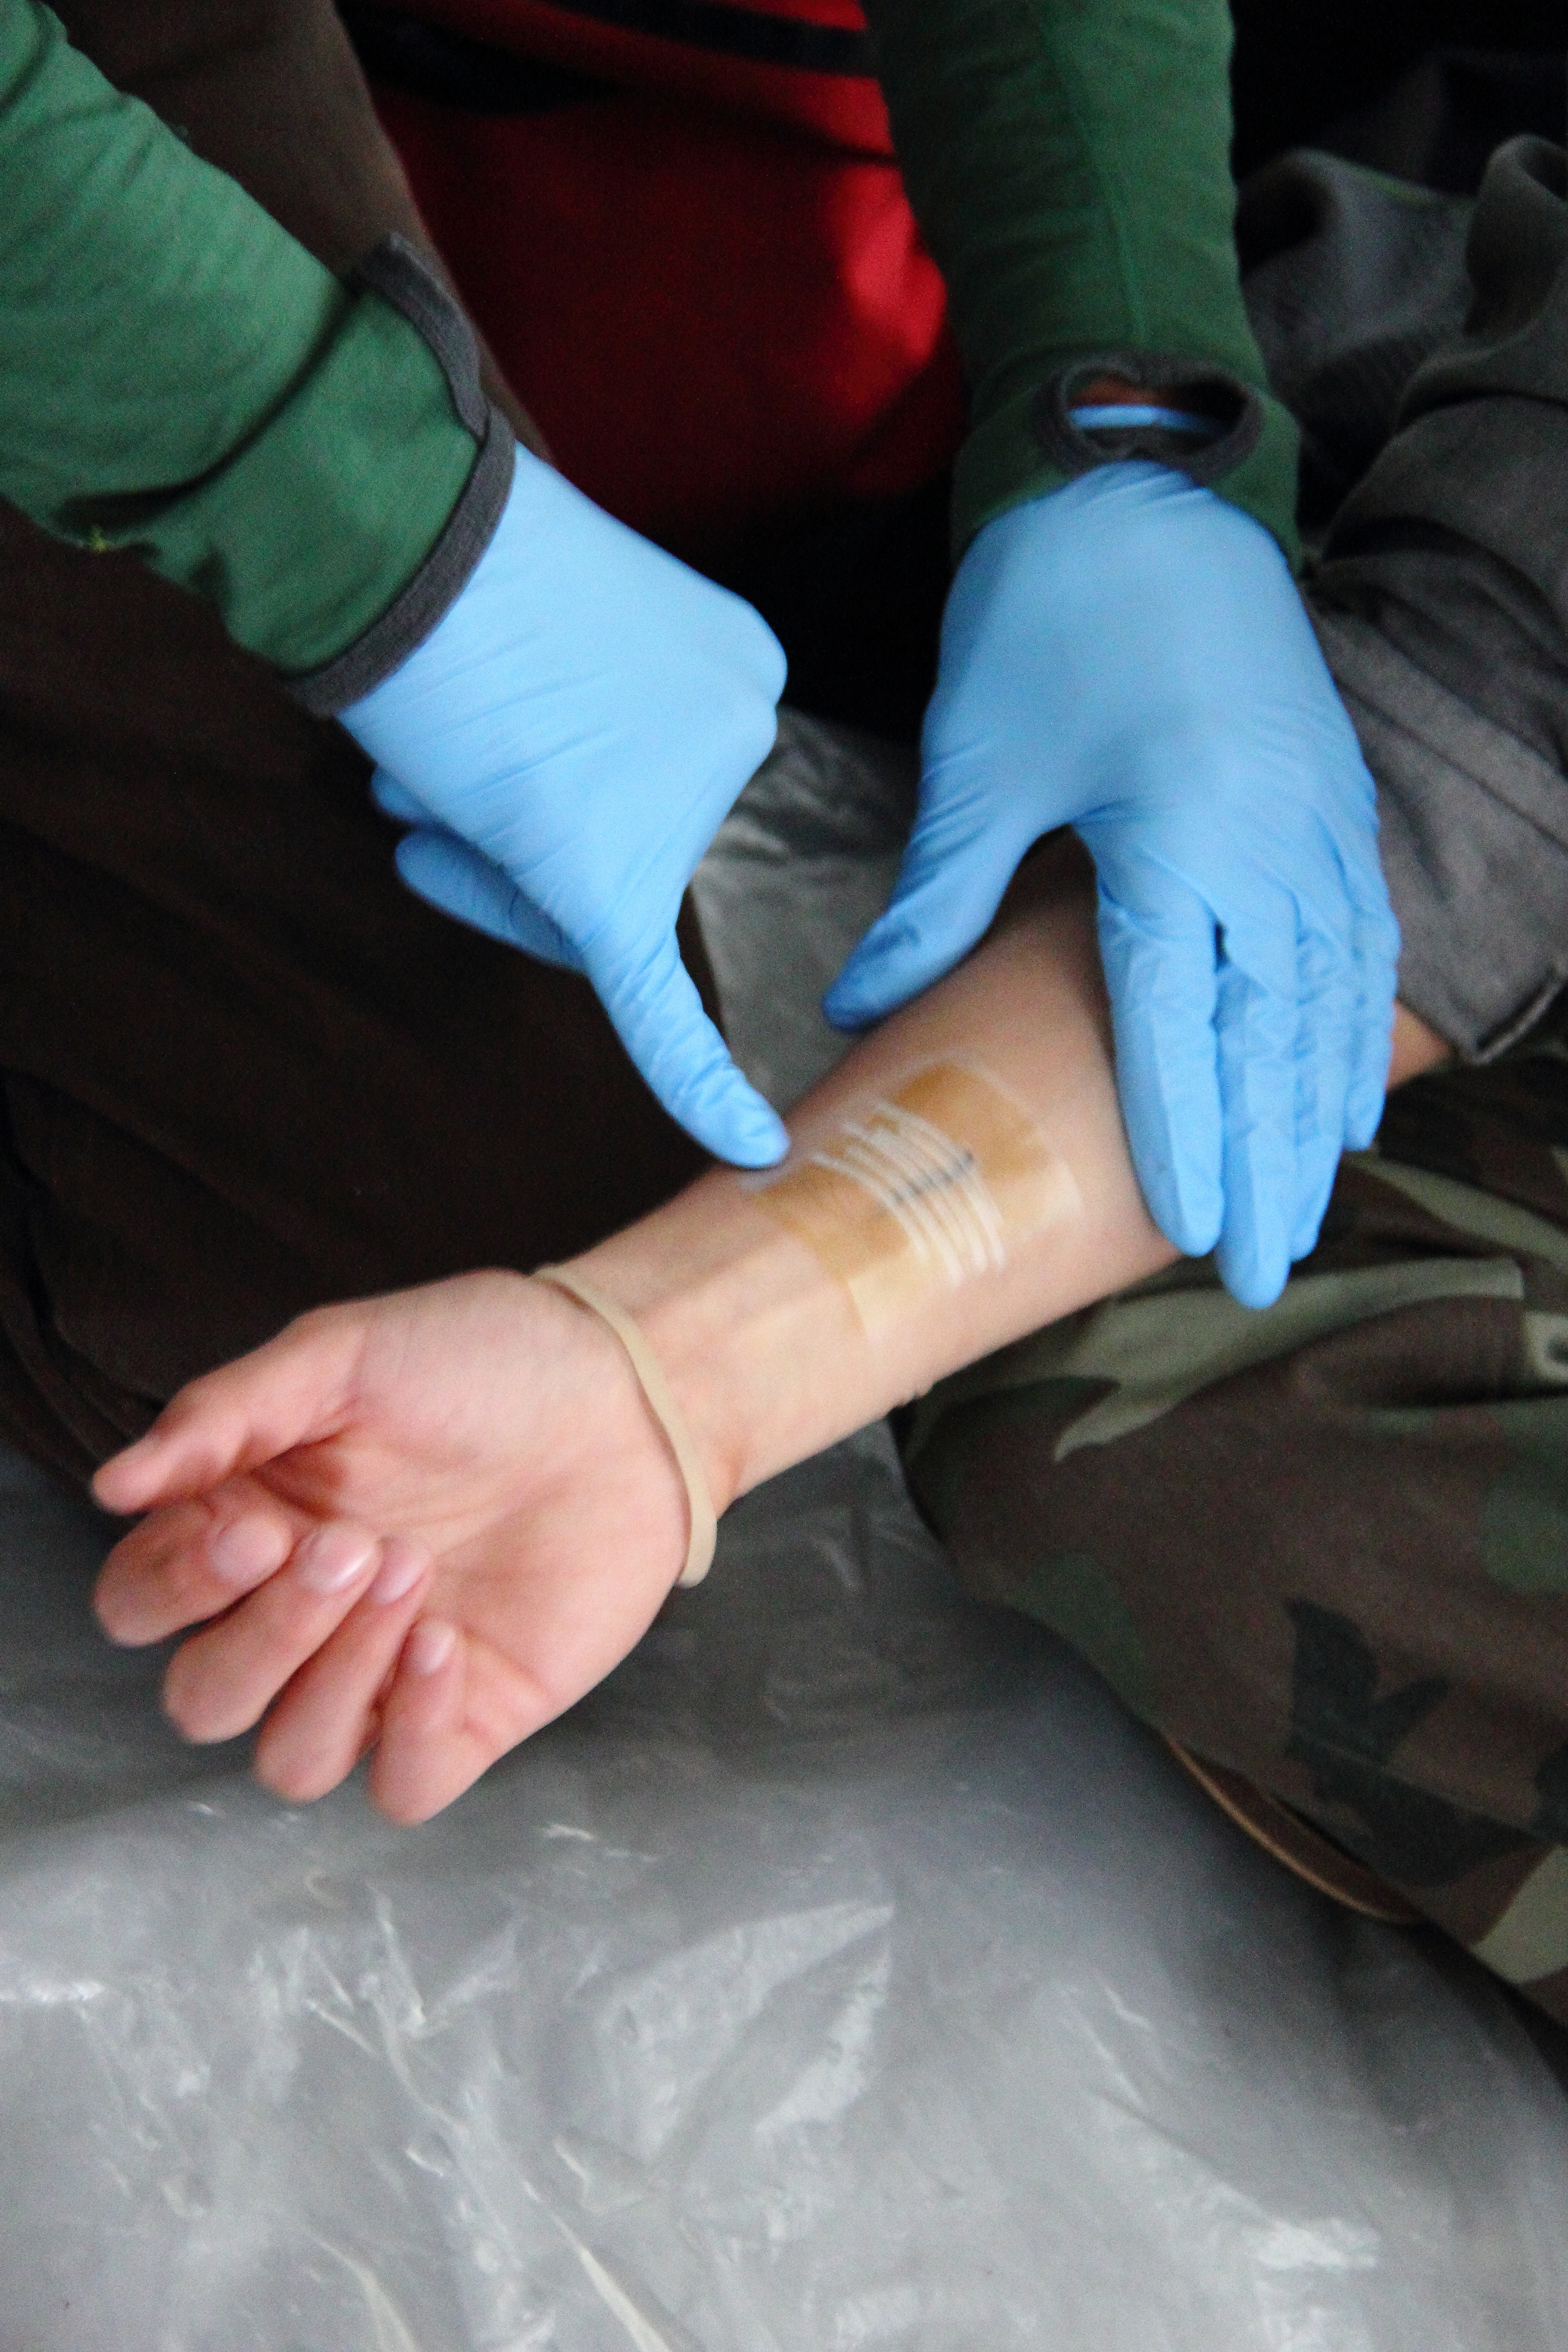
A well dressed wound. He can probably “stay and play.”
The simulated burn was particularly real looking. Pour cool water over the wound to cool down the skin. Then evaluate the depth of the burn. The burn below would be full thickness. That’s immediate evacuation time.

Serious burn. Cool it down immediately!
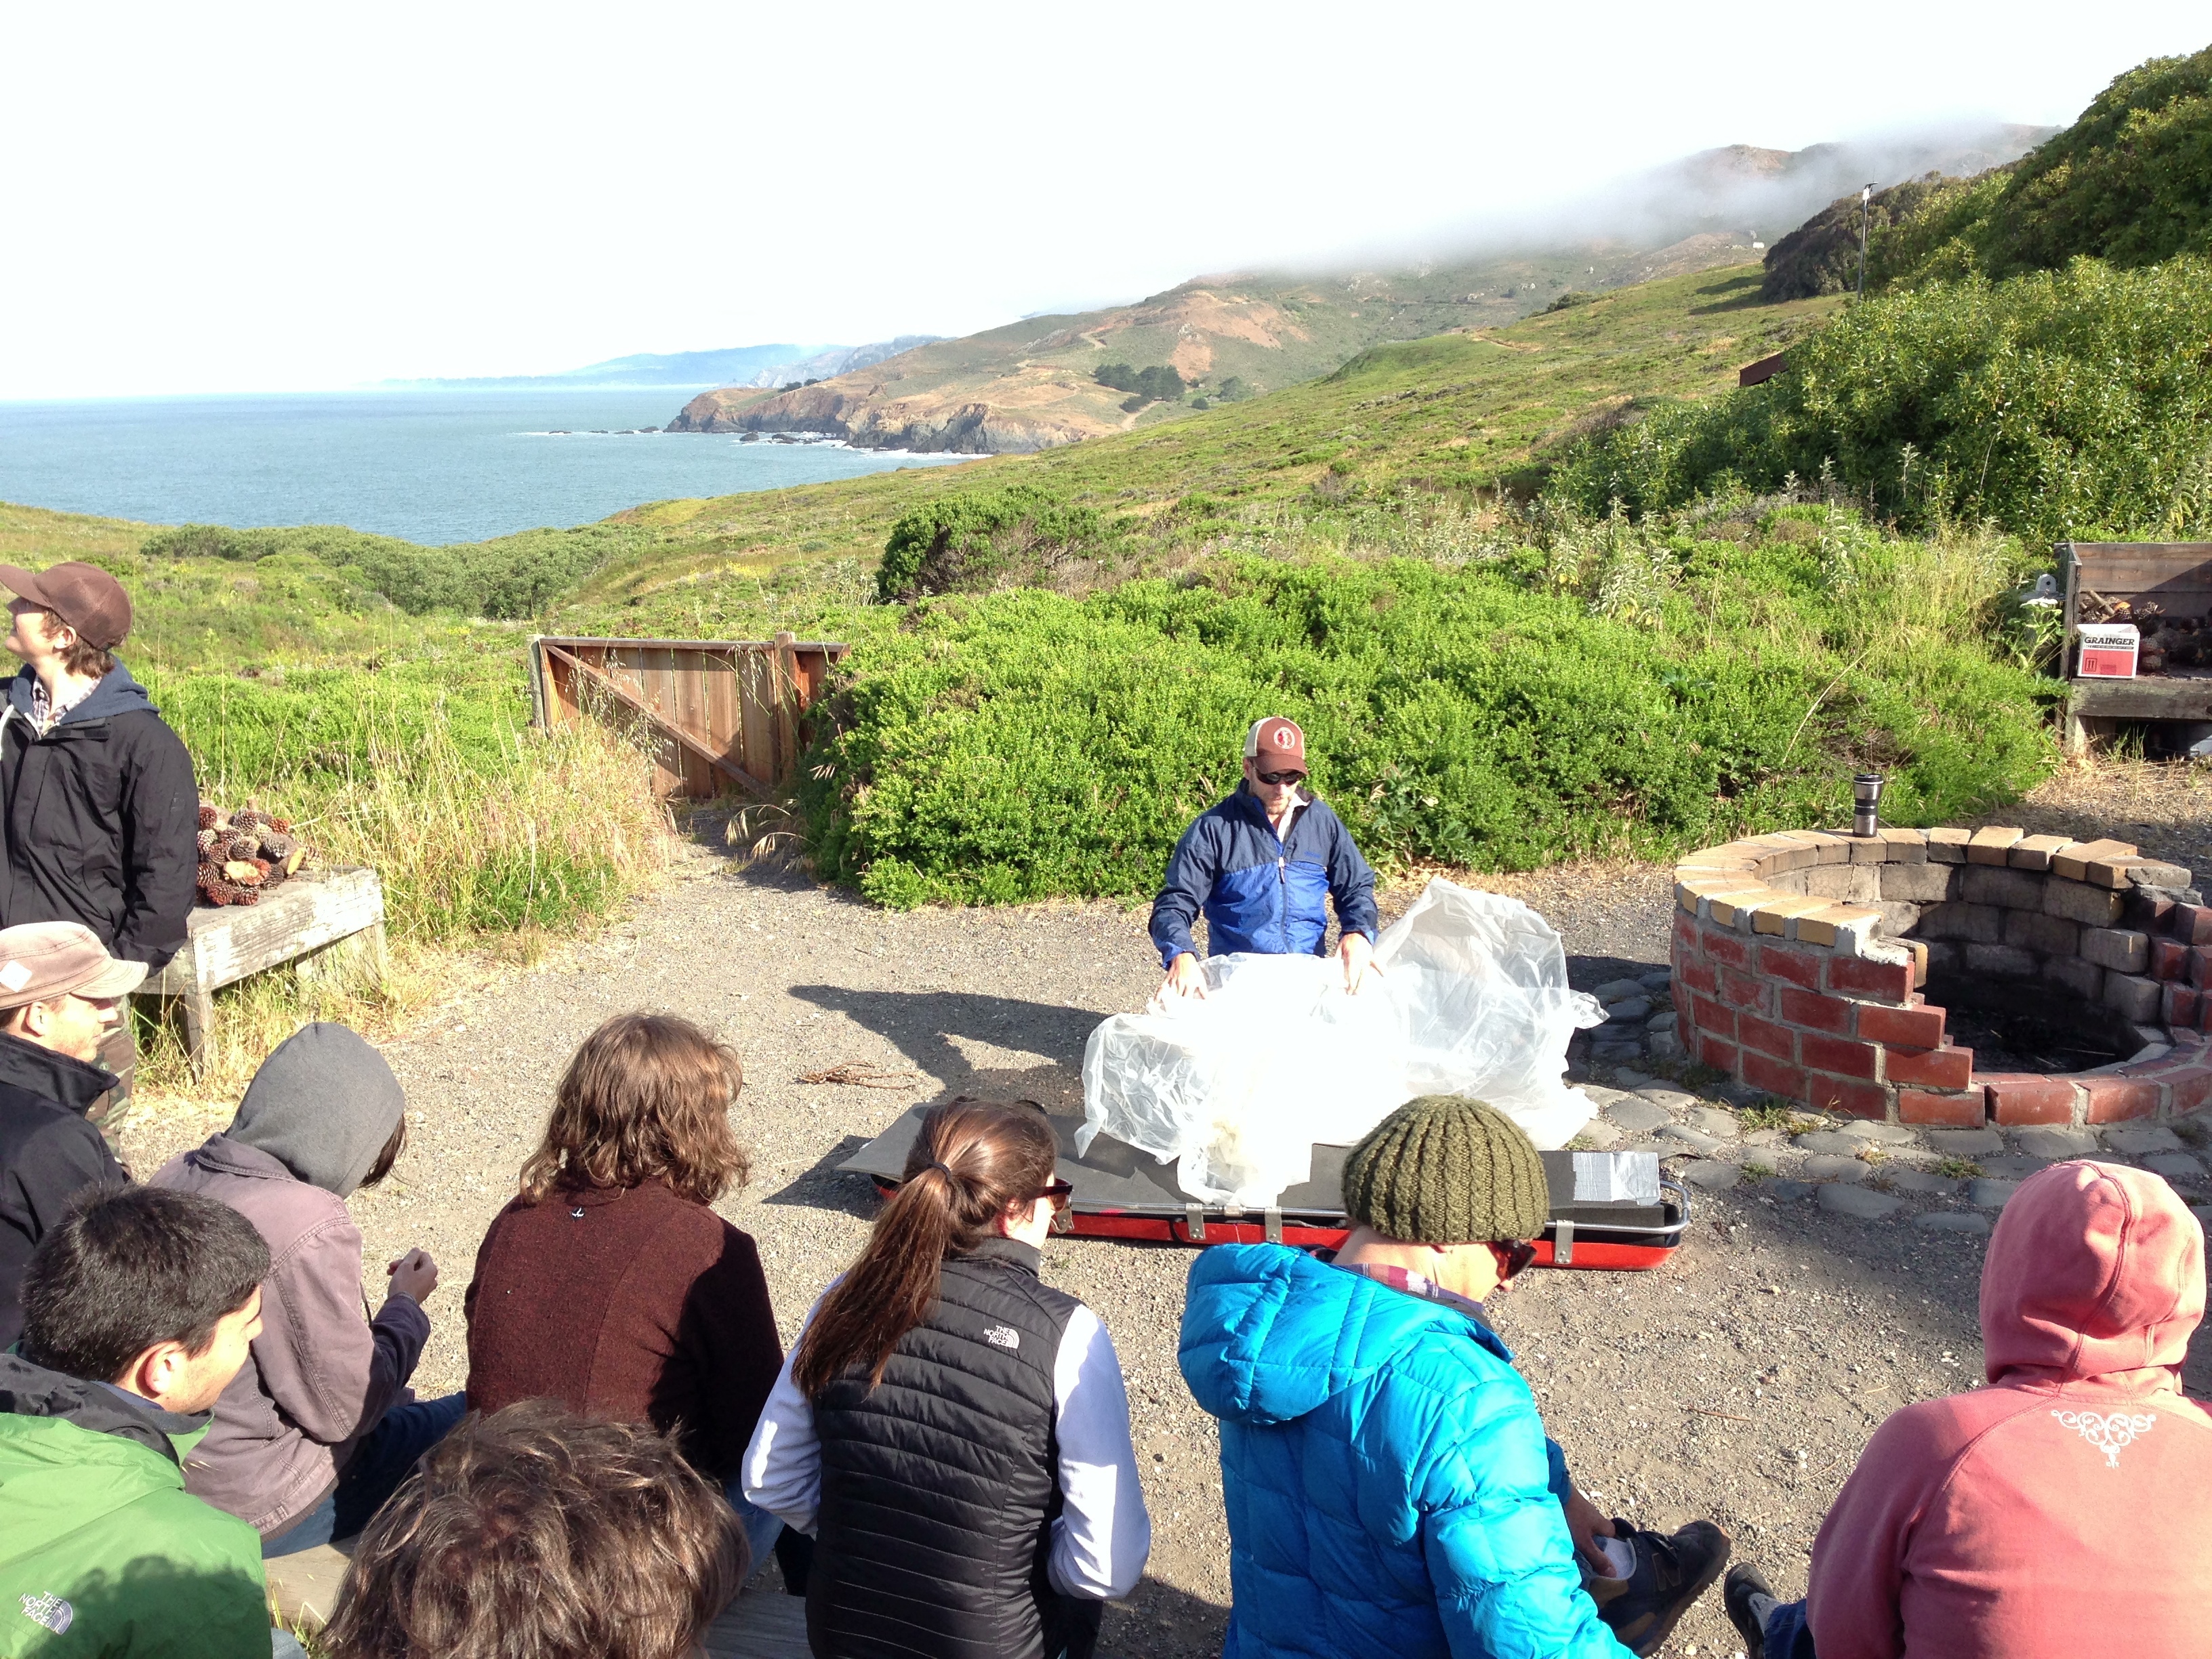
Dave showing us the basics of litter setup.
We had a beautiful “classroom” to spend part of our time in. When we learned backboard and litter use we had a lovely view of the Pacific Ocean. We learned our backboard lesson well, our patient allowed us to turn him completely upside down and he didn’t move at all! Dave said that was a really good job because some movement is expected. We managed that without cutting off circulation!
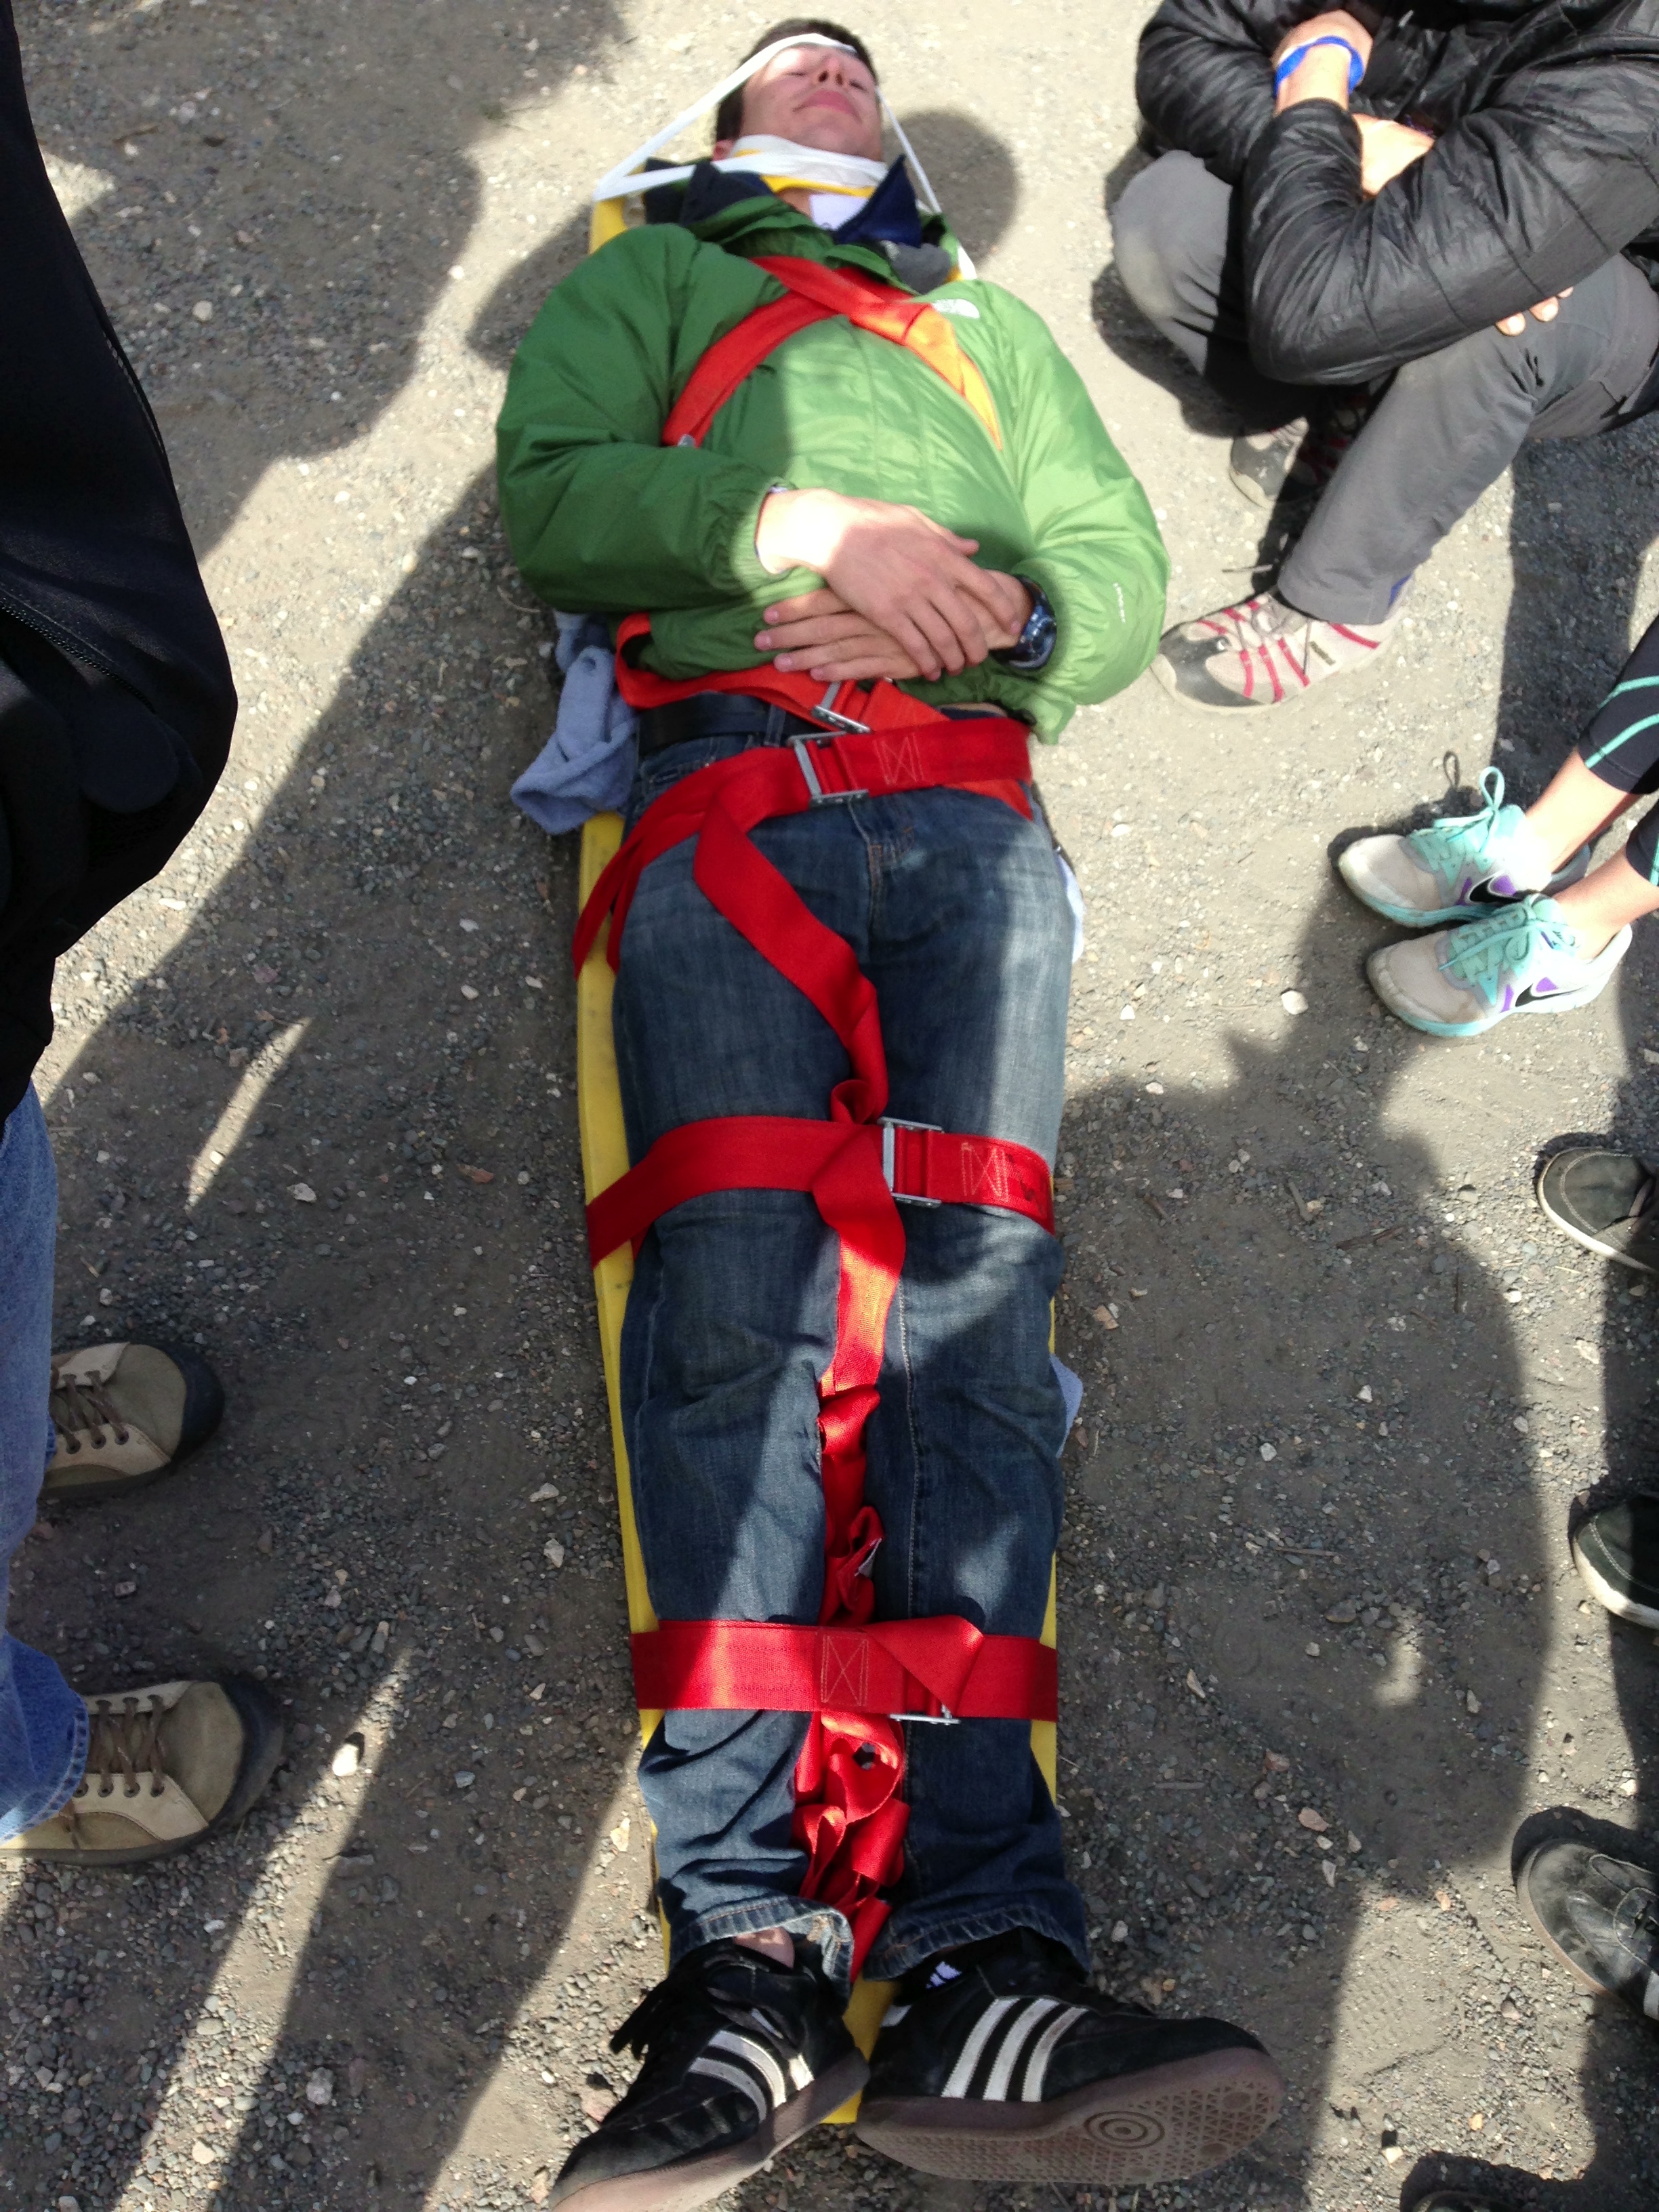
Patient all secure on the backboard!
Let’s check… looks he doesn’t move at all!
We also learned to roll a patient, both with two people and by ourselves. It was much easier than I expected but there is technique to master to make it “easy” on both the patient and the rescuer. One thing I wish I had brought was my pair of knee pads. The head holding job is harder than it seems. I thought I was the only one but several other classmates also said their knees hurt.

Becca demonstrates a one person patient roll.
On Monday we had our first of two night sessions. That first night session we learned how to fashion a splint out of just about anything. A good splint needs to be rigid. Immobilization of the joint above and below the break is required. No splint? Do you have hiking poles? Sticks/wood found on the trail? The frame from a backpack? Sleeping pad? The list goes on. Padding? Unneeded clothing (the key there is “unneeded,” never use clothing you may need to keep yourself or the patient warm) or an extra sleeping bag is perfect. Clothes can be shredded for tying. A jacket the patient has on can be zipped and folded up towards the shoulders to start constructing a sling
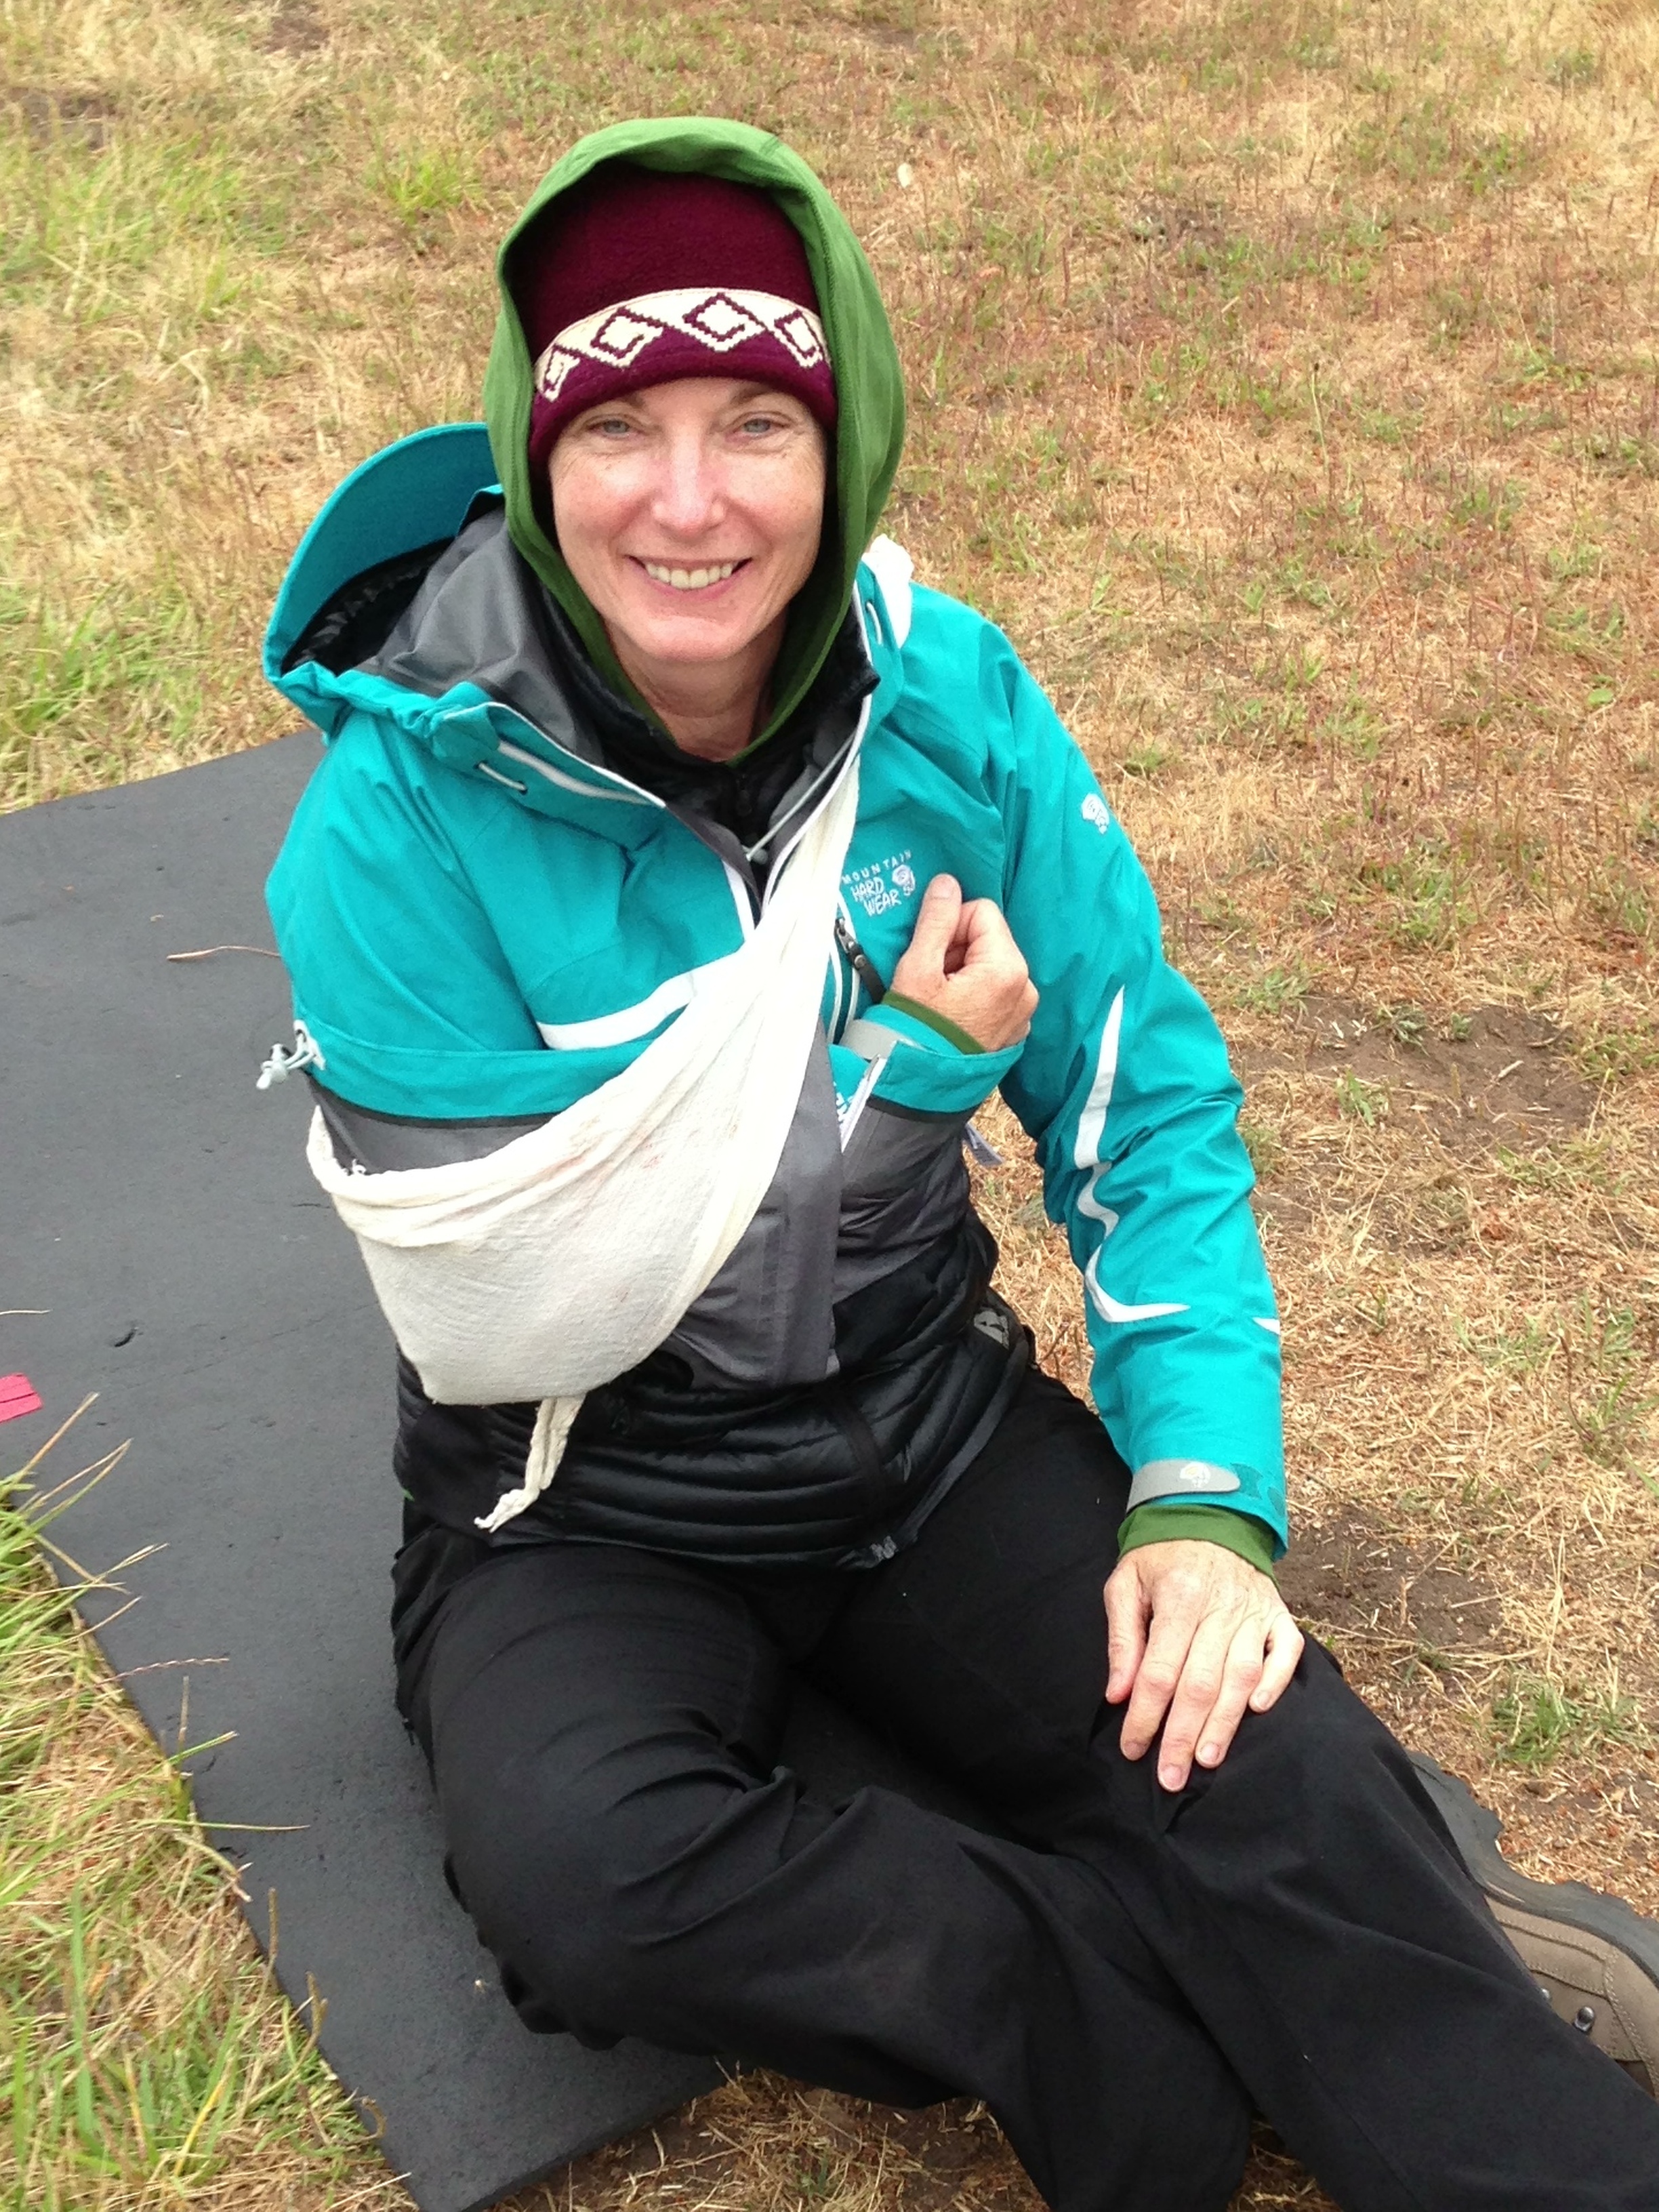
A sling fashioned out of my jacket and a triangle bandage. I’m good to self evacuate now.

Improvised lower leg splint.
We learned to be creative. The patient’s shoe can be turned upside down and placed against the foot to stiffen a leg splint. The most fascinating backcountry splint was the traction splint for a mid-femur break. After this class I think I will always bring my hiking poles.
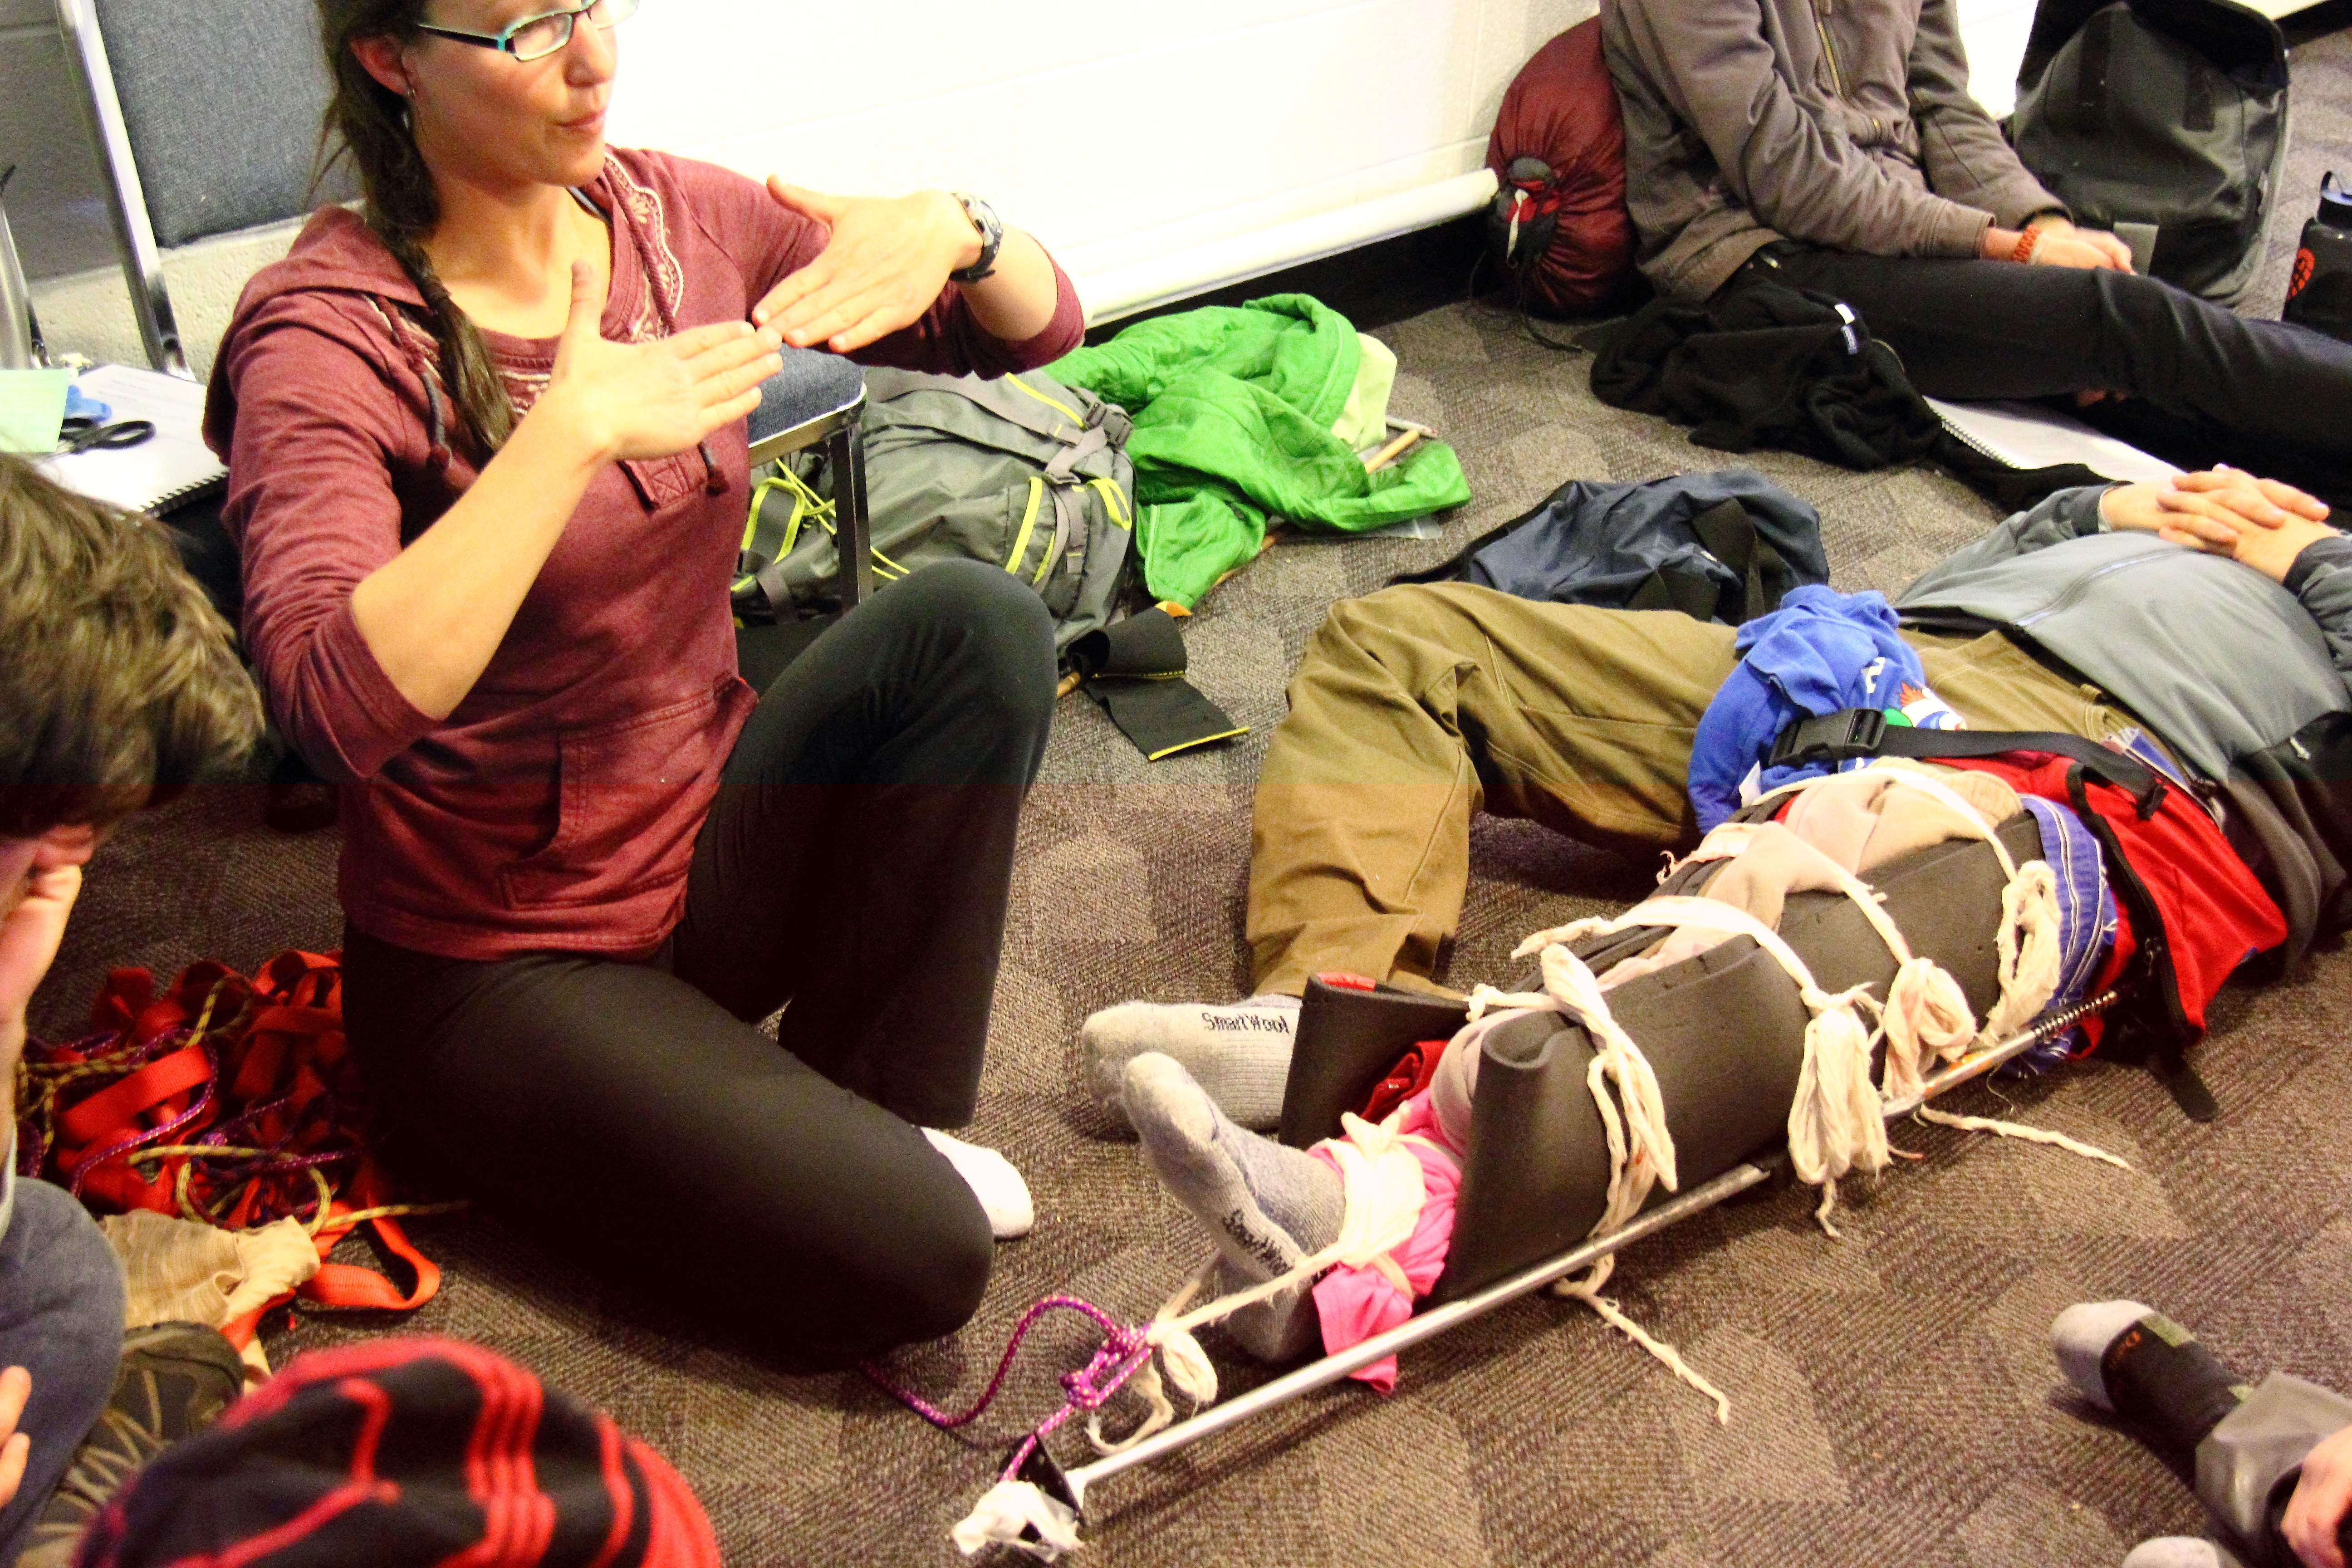
Improvised traction splint.
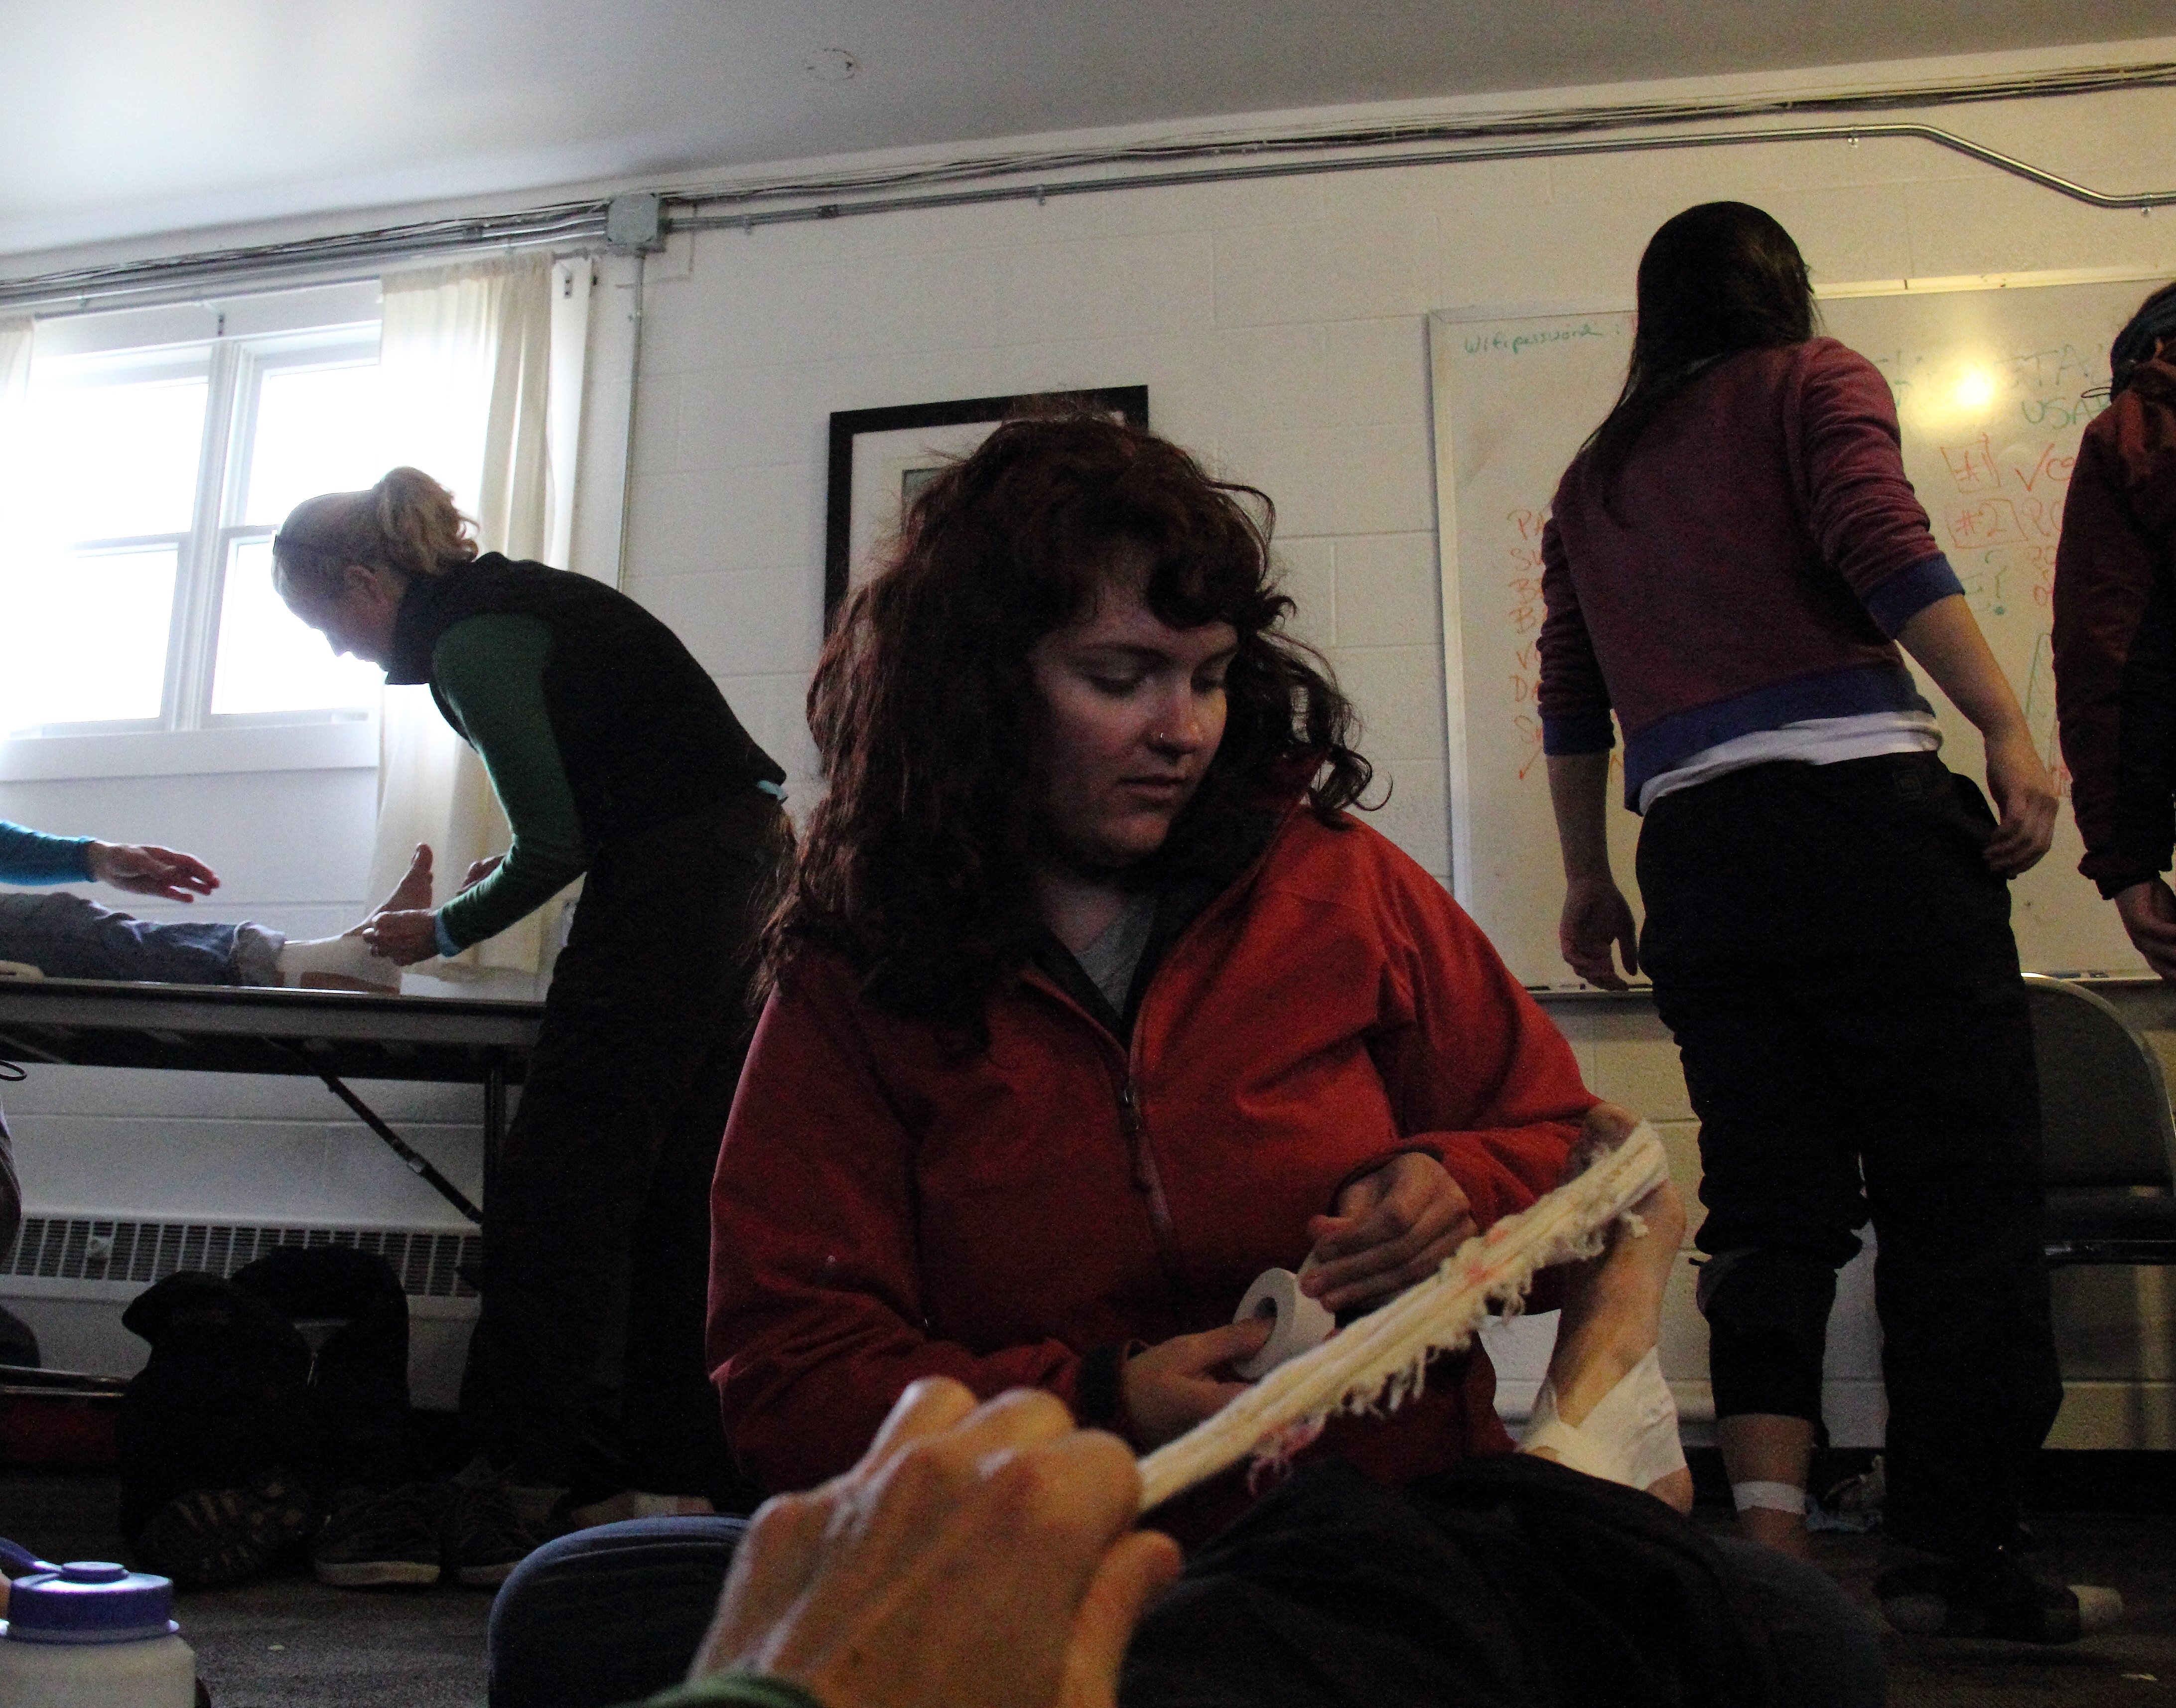
Emily taping my ankle. I’m being a good patient, assisting by holding my foot at the proper angle.
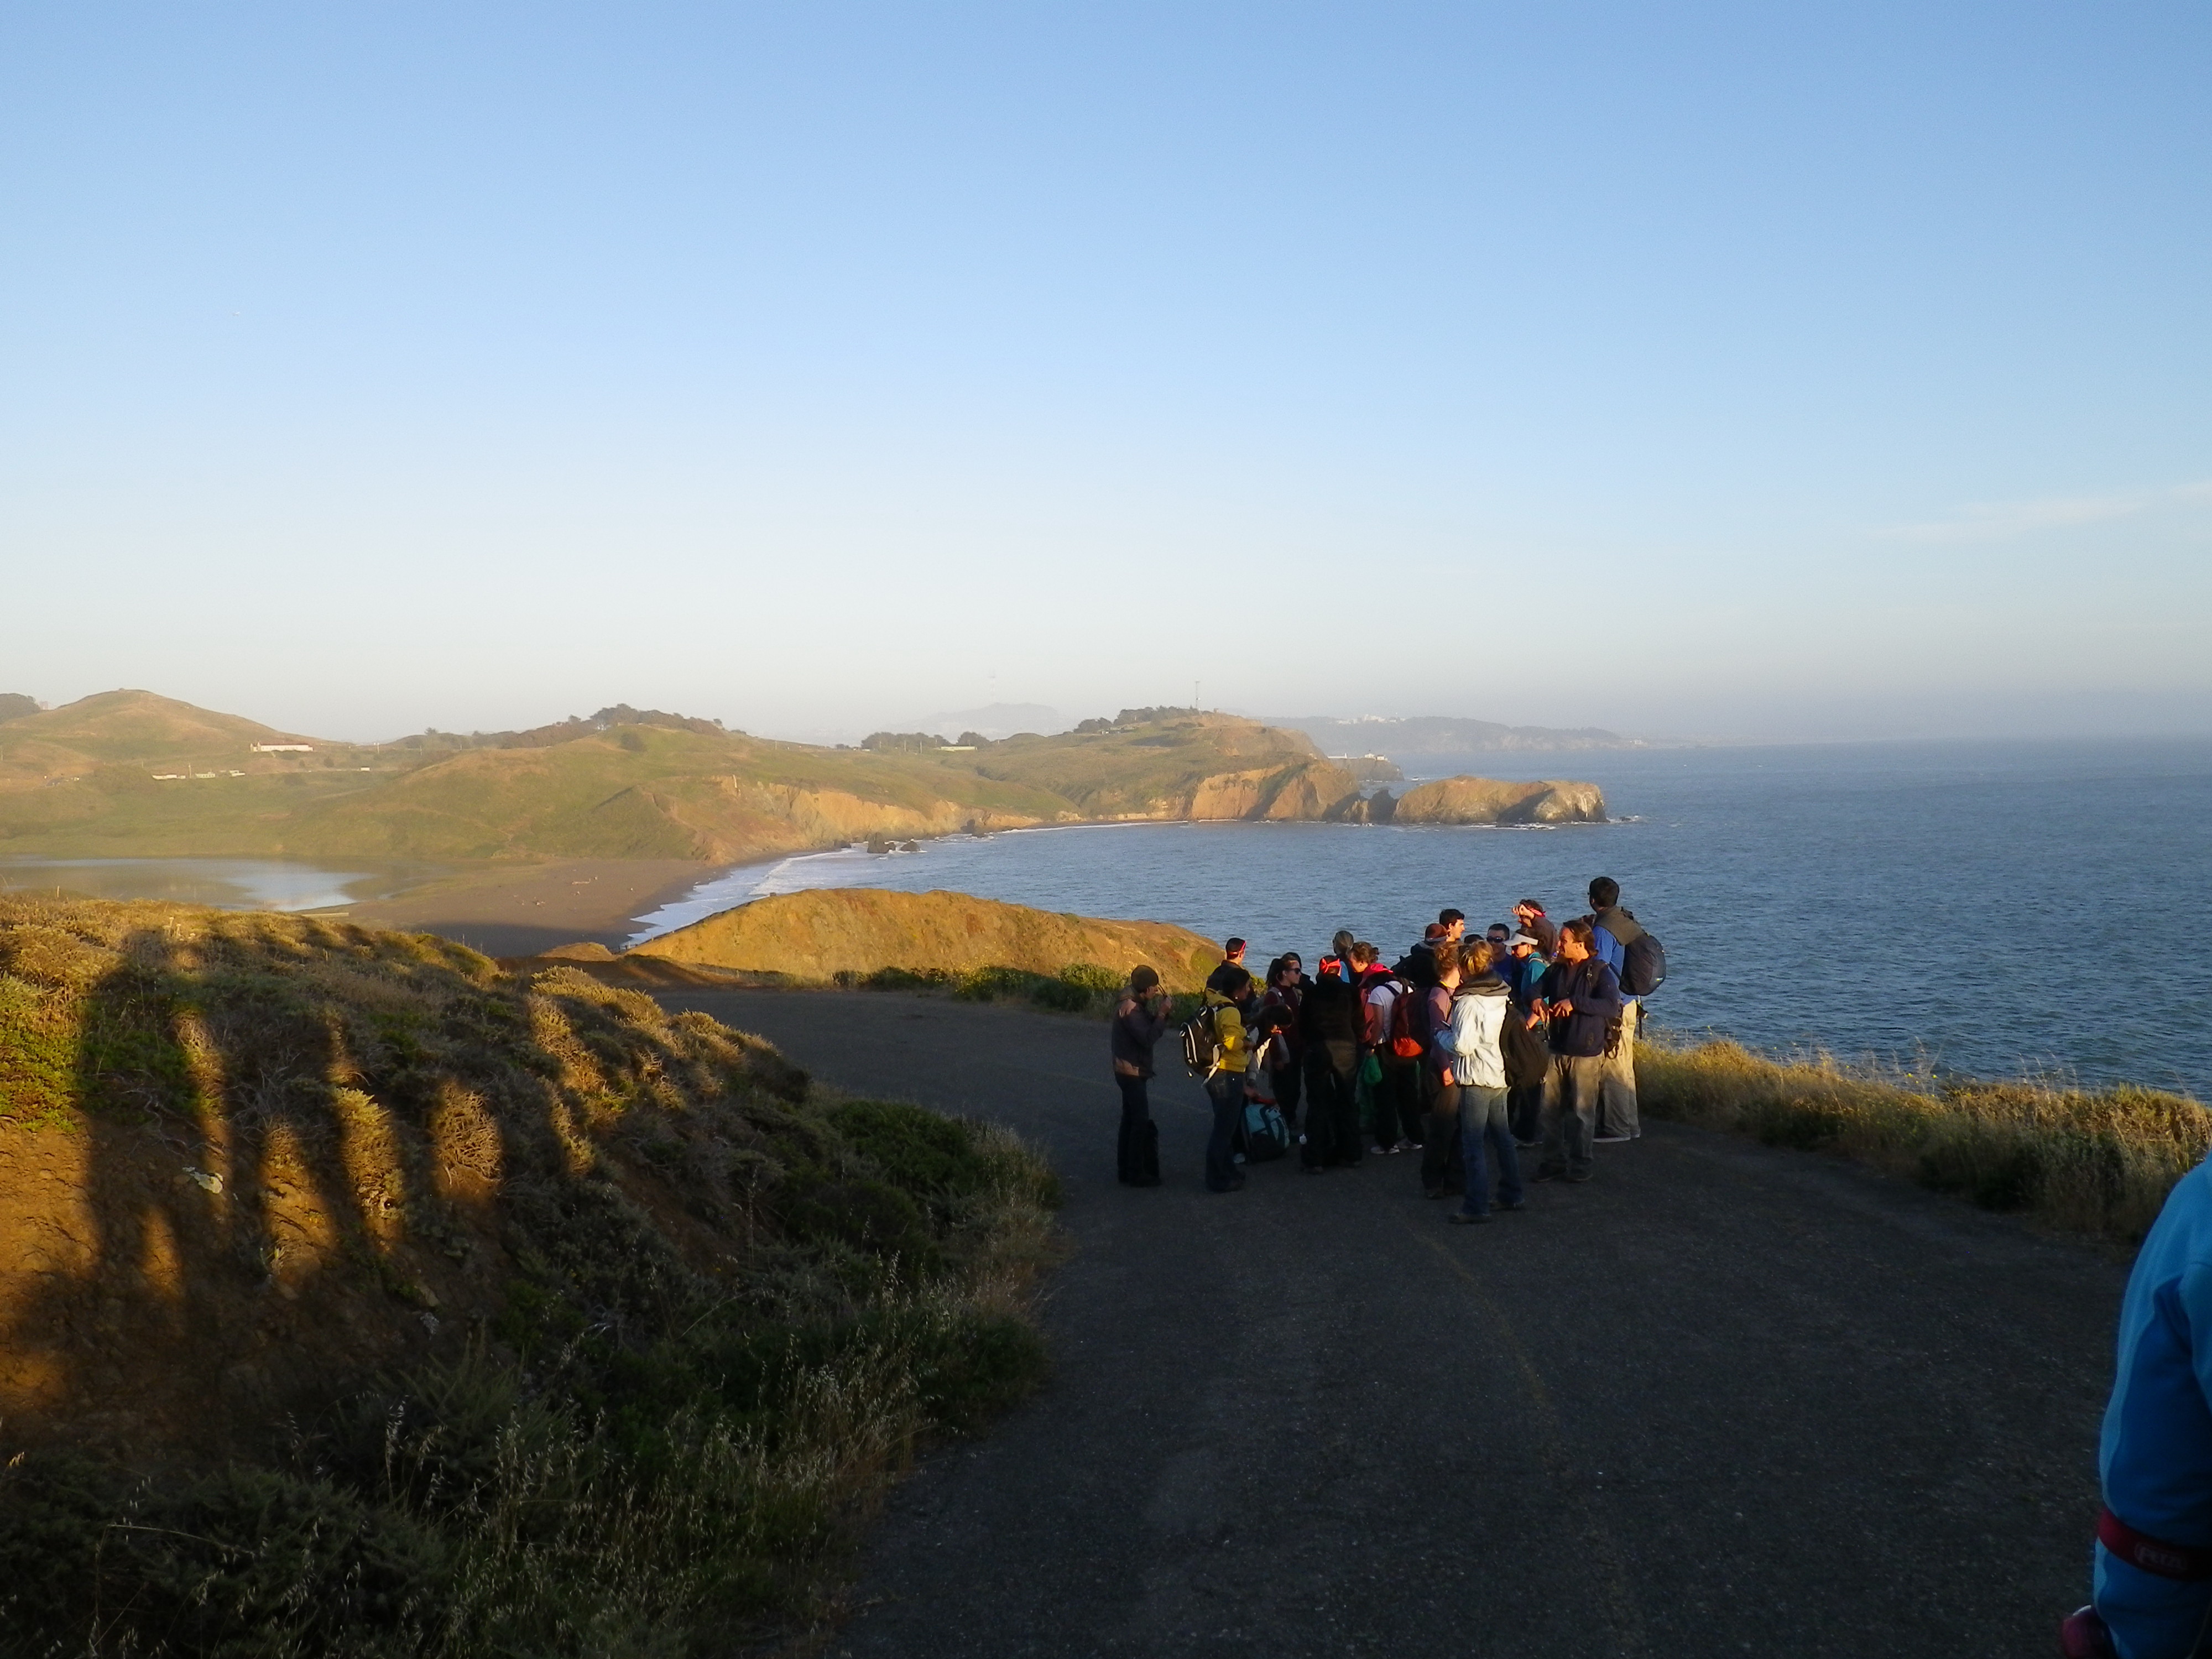
Our first of two outdoor scenarios was at the beach near our classroom. It was a “mass casualty scenario” and those of us who were not victims were assumed to be part of a search and rescue team. We had an incident commander, assistant commander, and a gear management person. The rest of us were broken up into teams.

On our way down to the beach for the mass victim scenario.
When we got to the beach we found 7 victims of a fishing boat wreck. Two of the victims were either in the water or very close to it. One person was running around with only a mark on her head yelling that we needed to help her friends. Shortly after that she dropped to the sand and became unresponsive. My partner and I were assigned to a person who had lost his eye.

Me attending to my patient on the beach. Notice I’m stabilizing his head. Photo credit: Dave Yacubian.
Yes, it looked real. And he behaved as if it was real. He asked for his wife, he kept trying to touch his eye, yelling, “where’s my eye!!! I can’t see.” He kept asking about his friends and whether they would be ok, who’s that down in the beach? Is he going to die? Could he work again? It was very realistic. We got a lot of practice calming him down and not giving answers that would lead him to believe everything would be ok. That is really important. We said we were taking good care of him and his friends and nothing beyond that. We did our complete patient assessment, including a Focused Spinal Assessment and we bandaged his eye. Meanwhile, the other groups were attending to the other victims. There was a mid-femur fracture victim who was down near the water. Both the victim and the rescuers ended up overrun by the surf

A moment of back turned towards the ocean can be serious. Photo credit: Dave Yacubian.
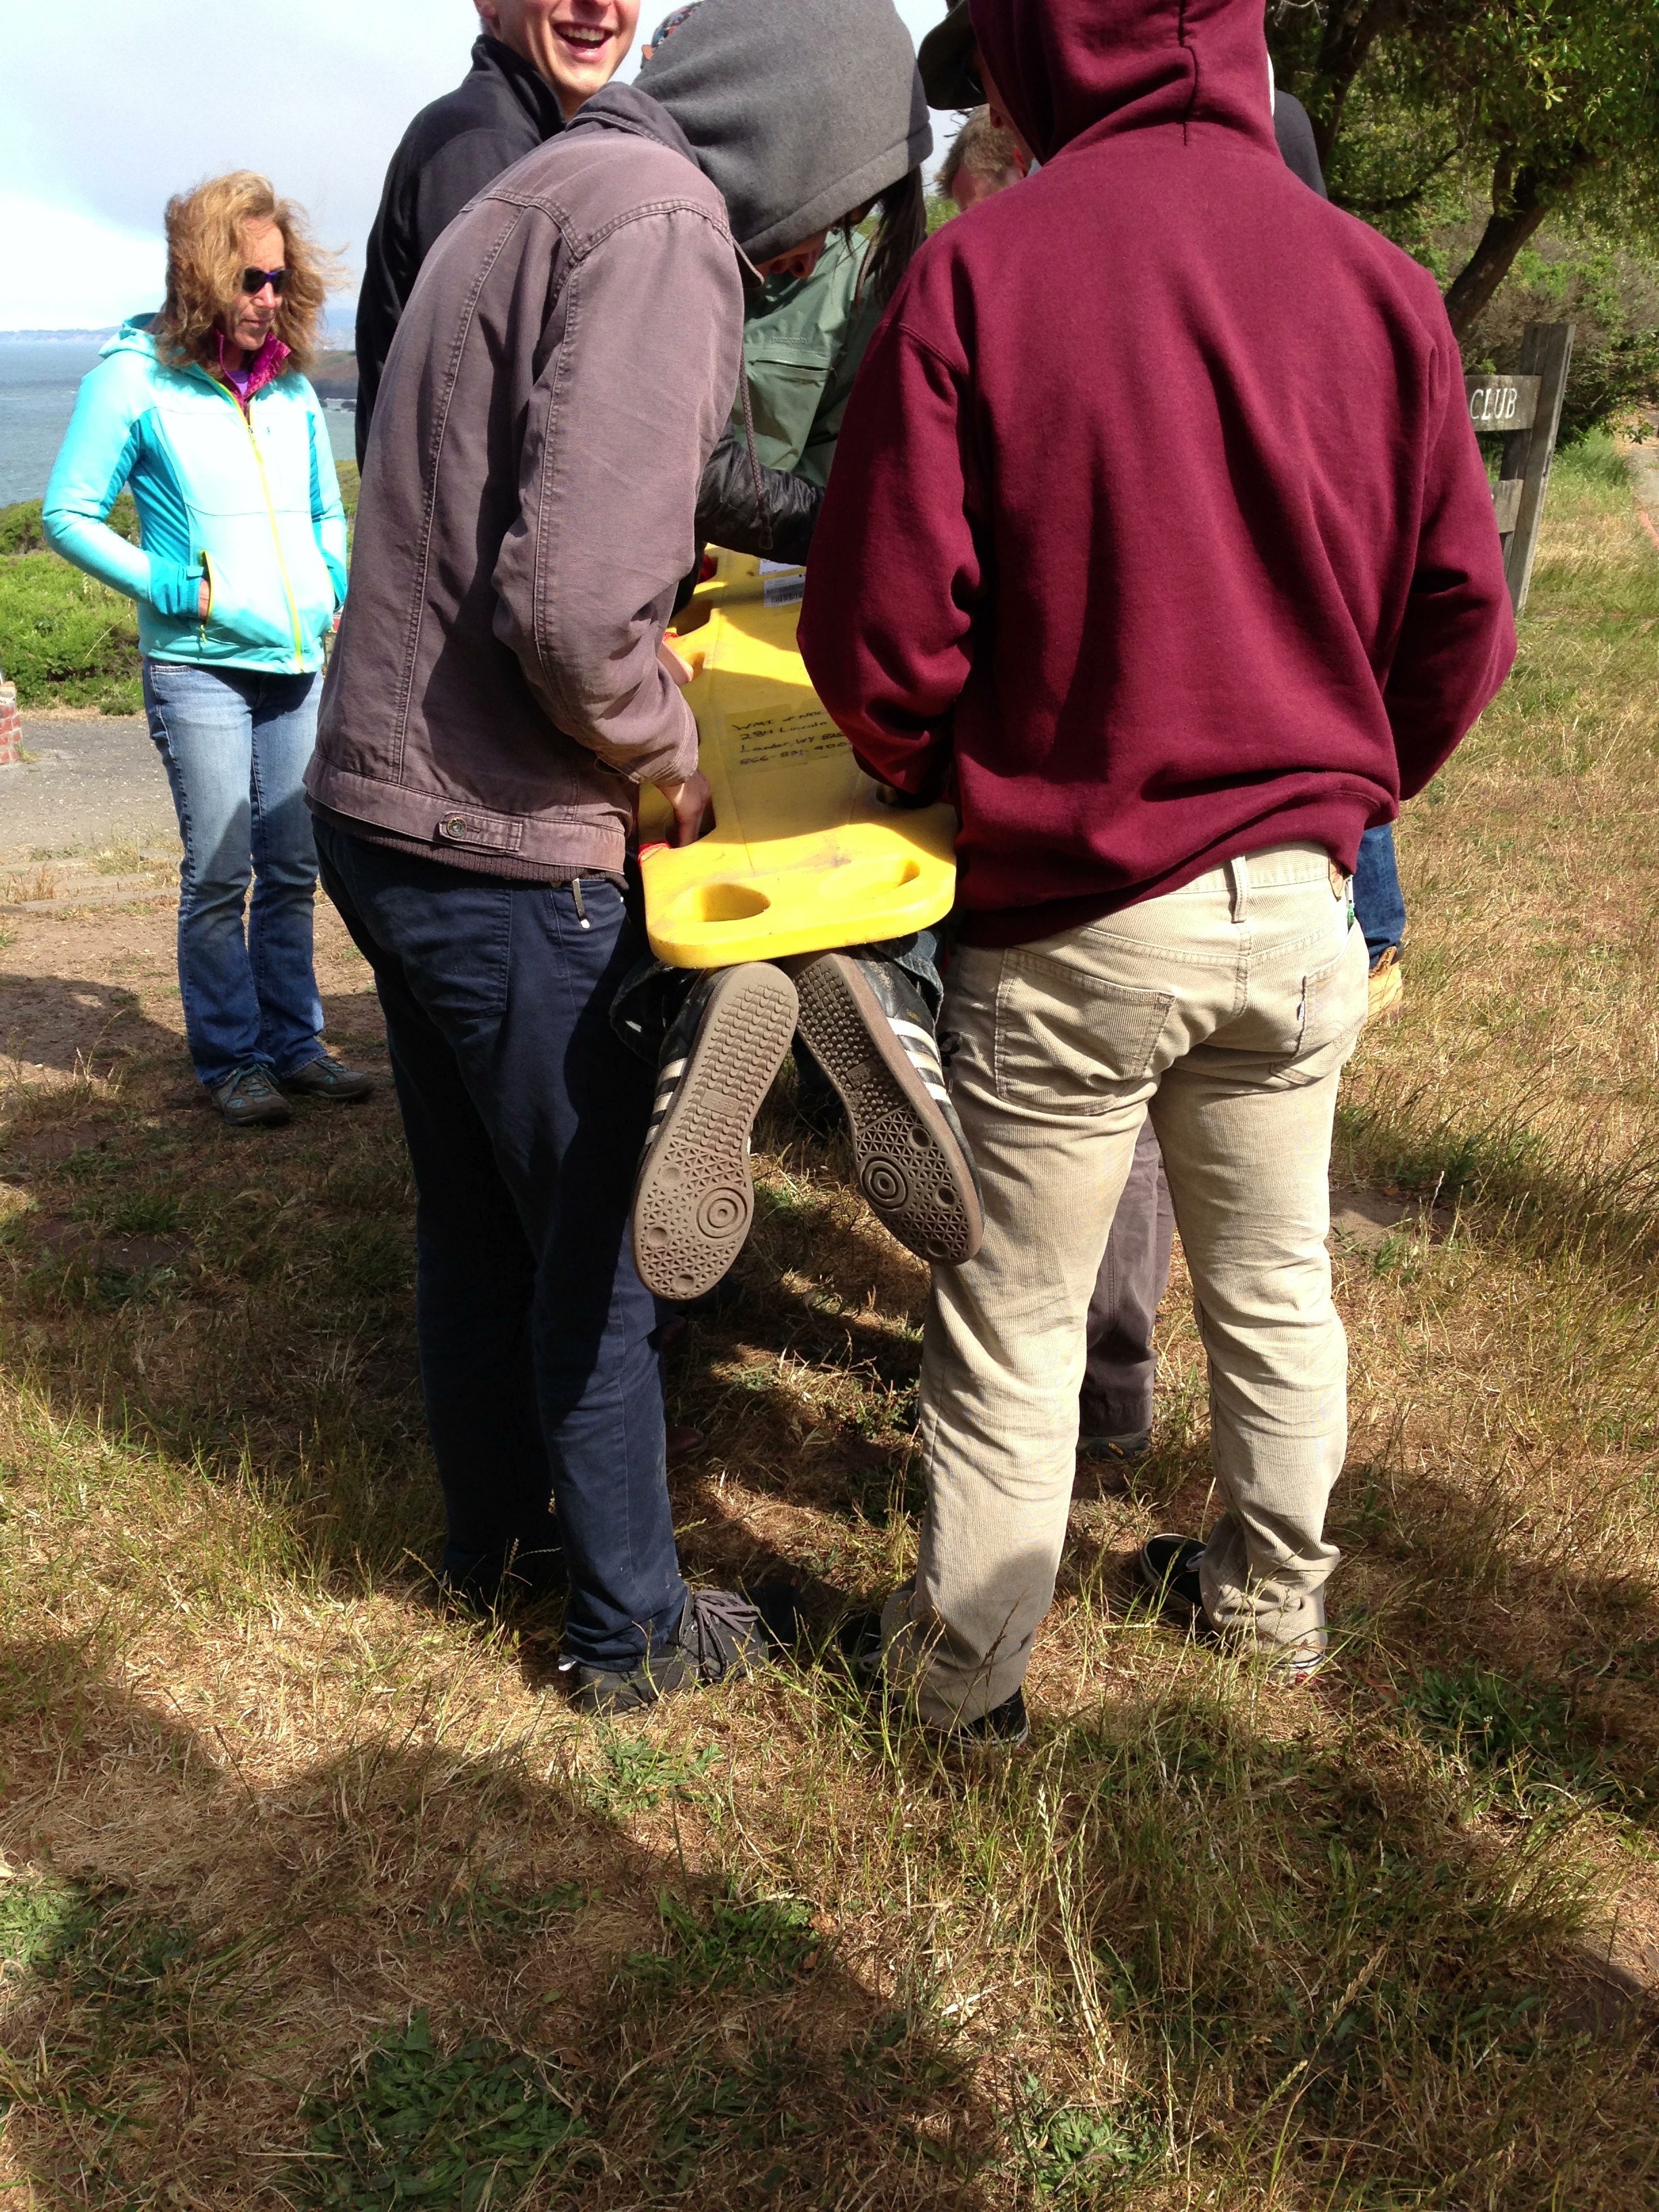
A lesson in don’t turn your back on the ocean – someone always must be watching. Apparently, just about every class that happens. Good learning experience. It was amazing that after just three days were able to evaluate and treat all 7 victims in about 90 minutes. Dave asked us to consider what we would have done if this scenario was on the very first day. I pictured total bedlam. I guess we were learning quickly after all. Once the main part of the scenario was over we decided to carry the mid-femur fracture patient all the way from the beach to the parking lot in the litter. That included up stairs and then a 1/8th mile hike on the trail. It was very hard work and illustrated why it takes 18 people to evacuate a victim on foot. We used the passing technique to negotiate the stairs, then hiked the rest of the way. It went very smoothly but it was clear that carrying out a victim even a short distance is very hard work.
After trauma we covered environmental hazards. This included heat, cold, altitude, lightening, and critters (snakes, spiders, etc.). We learned how to make a hypothermia wrap which is a sleeping bag wrapped inside a tarp. The victim is gently placed in the bag after wet clothing is removed. We also learned it is more effective to place warm water bottles in the sleeping bag (inside a sock) than another person. We even watched a clip from David Letterman! It was with Dr. Popsicle and it was fascinating. I couldn’t find the video but click here for a NOLS link. It turns out that a person does not become hypothermic immediately upon falling into cold water. The key is taking a minute or two to calm down and keep your head above water. The saying is “1 minute, 10 minutes, 1 hour” which means control our breathing in the first minute, you have about 10 minutes to move slowly in order to get out of the water before cold incapacitation occurs (if possible, lightly kick your legs to get into swimming position to climb out), and it is 1 hour before we are gravely hypothermic. So, there is time to get out, don’t panic! Dave told us a story about a person who got just his upper body from the shoulders up out onto the ice. His beard actually froze to the ice and kept his head above water. He was successfully rescued!

The hypothermia wrap.
The last major area we covered in class was medical illnesses. While some of these topics were mundane (e.g., garden variety stomach ache), these are also the most common things that occur on a trip. It was important to learn how to distinguish the garden variety from the must evacuate variety. We spend quite a bit of time on how to tell the difference. The diabetes section was very interesting. I will always remember to consider diabetes if I come upon someone who is very groggy or unresponsive. We also got very thorough coverage on cardiac issues to go with the CPR training we received on Day 2.
On our way up into the hills for our night scenario.
I think my favorite part of this course was the second night session. This was a night scenario out in the Marin Headlands. I can’t give away details on this one, but I will say that it had to be dark before we started. We were told to bring only what we would take on a day hike under the forecast conditions. Fortunately (or unfortunately depending on how you look at it), the weather was absolutely gorgeous.

Beautiful sunset over the Pacific Ocean. The calm before the night scenario storm…
It was clear and we saw a beautiful sunset, then the lights of San Francisco after dark. None of us knew what to expect. Once the scenario was underway it was wild. I would recommend the course just to do the night scenario. I learned so much about being prepared and how to manage an evolving crisis. That’s all I’ll say about it other than brought the class together in our common experiences that night. Those of us staying at the hostel enjoyed hot chocolate and each other’s company when we returned to the hostel that night.
One really important part of the course wasn’t actually anything to do with the “nuts and bolts” of how to care for a patient. Instead, it was how to be a good partner in care for a patient. The patient in the back country is totally dependent on the person caring for him or her. Sometimes this can be a period of days. That’s what really distinguishes wilderness emergency care from urban emergency care. Being a supportive and considerate caregiver was stressed, no matter how dire or unpleasant the situation. The patient will need to urinate or defecate, they may vomit. They won’t like it any better than you. But they need your help. Once the responsibility is accepted it should be carried out with compassion. What is said around the patient should be mindful, including unresponsive patients. We talked about the fact that some unresponsive patients can hear and remember what is said around them. Most importantly, no complaining. The injured patient already feels bad enough. Being made to feel like a burden is not something that needs to be added to that. Dave also continually stressed the concept of slow down to go fast. Hurrying for hurrying sake leads to mistakes and tragedies. In the wilderness there is time.
So, that’s my story of becoming a certified WFR. Emily is also a WFR! I recommend this class for anyone who spends time in the backcountry. It is a big chuck of time and a little expensive but well worth both the time and dollars. You may save a life.
