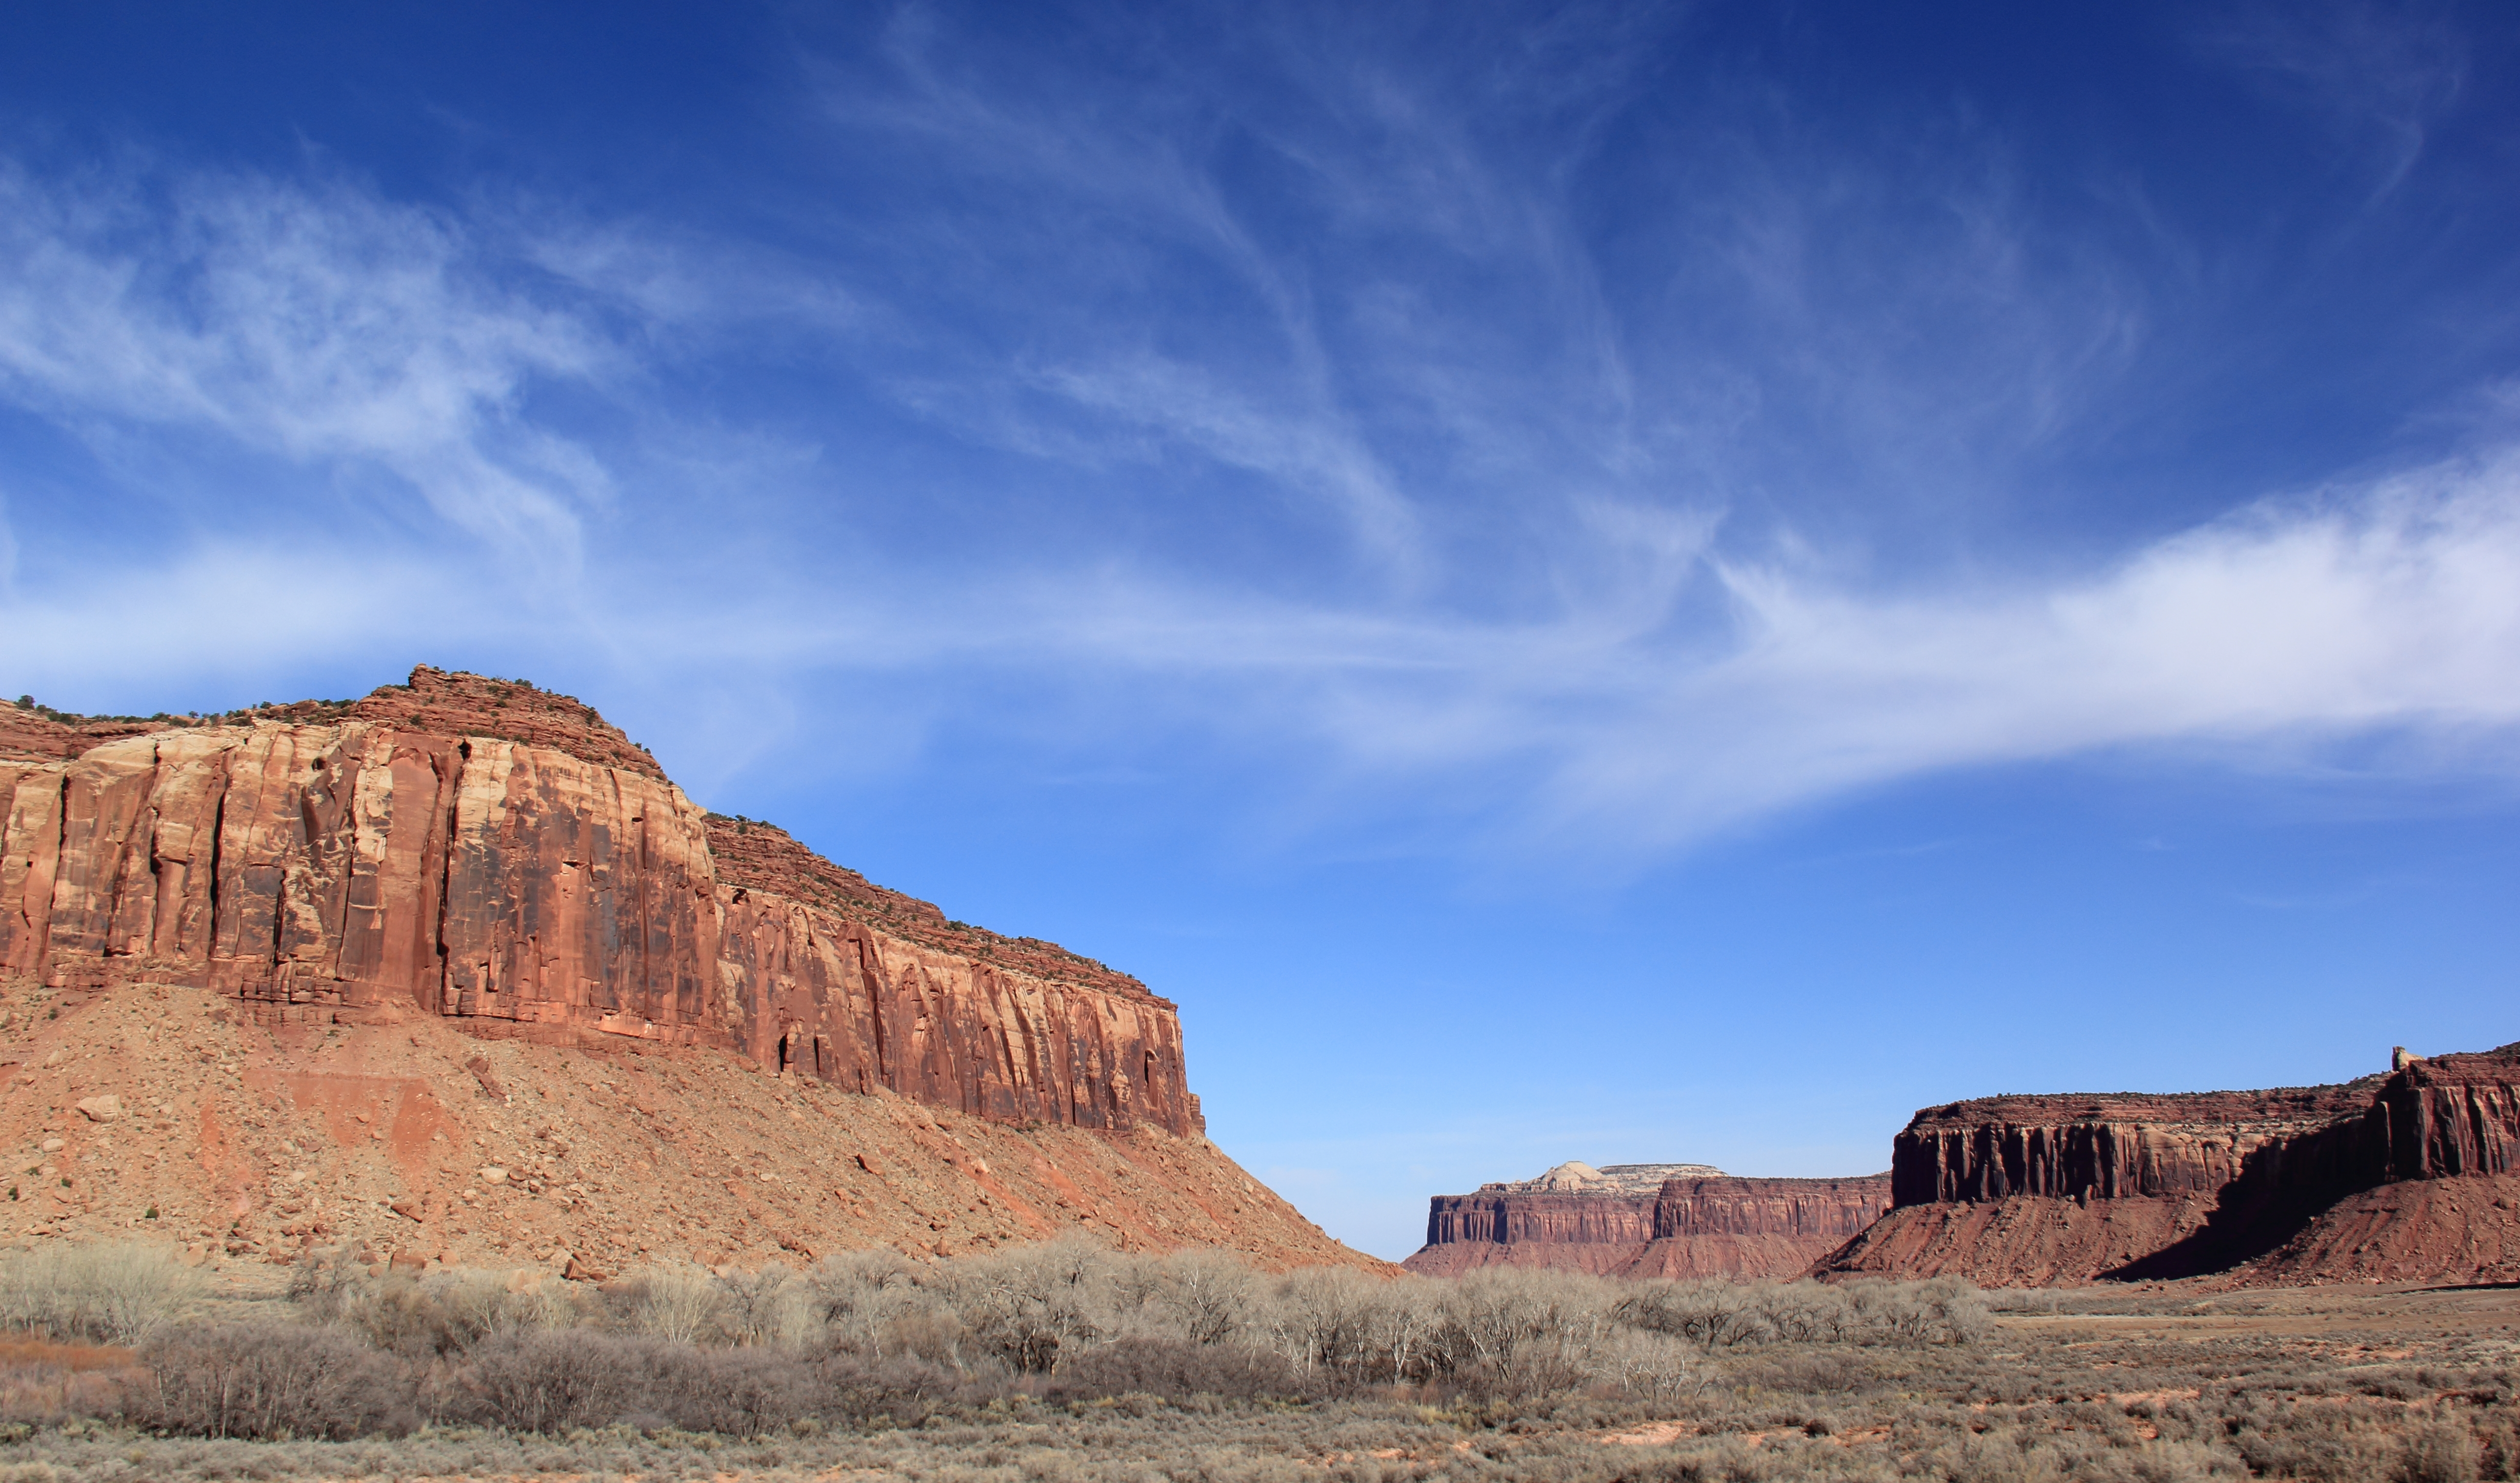
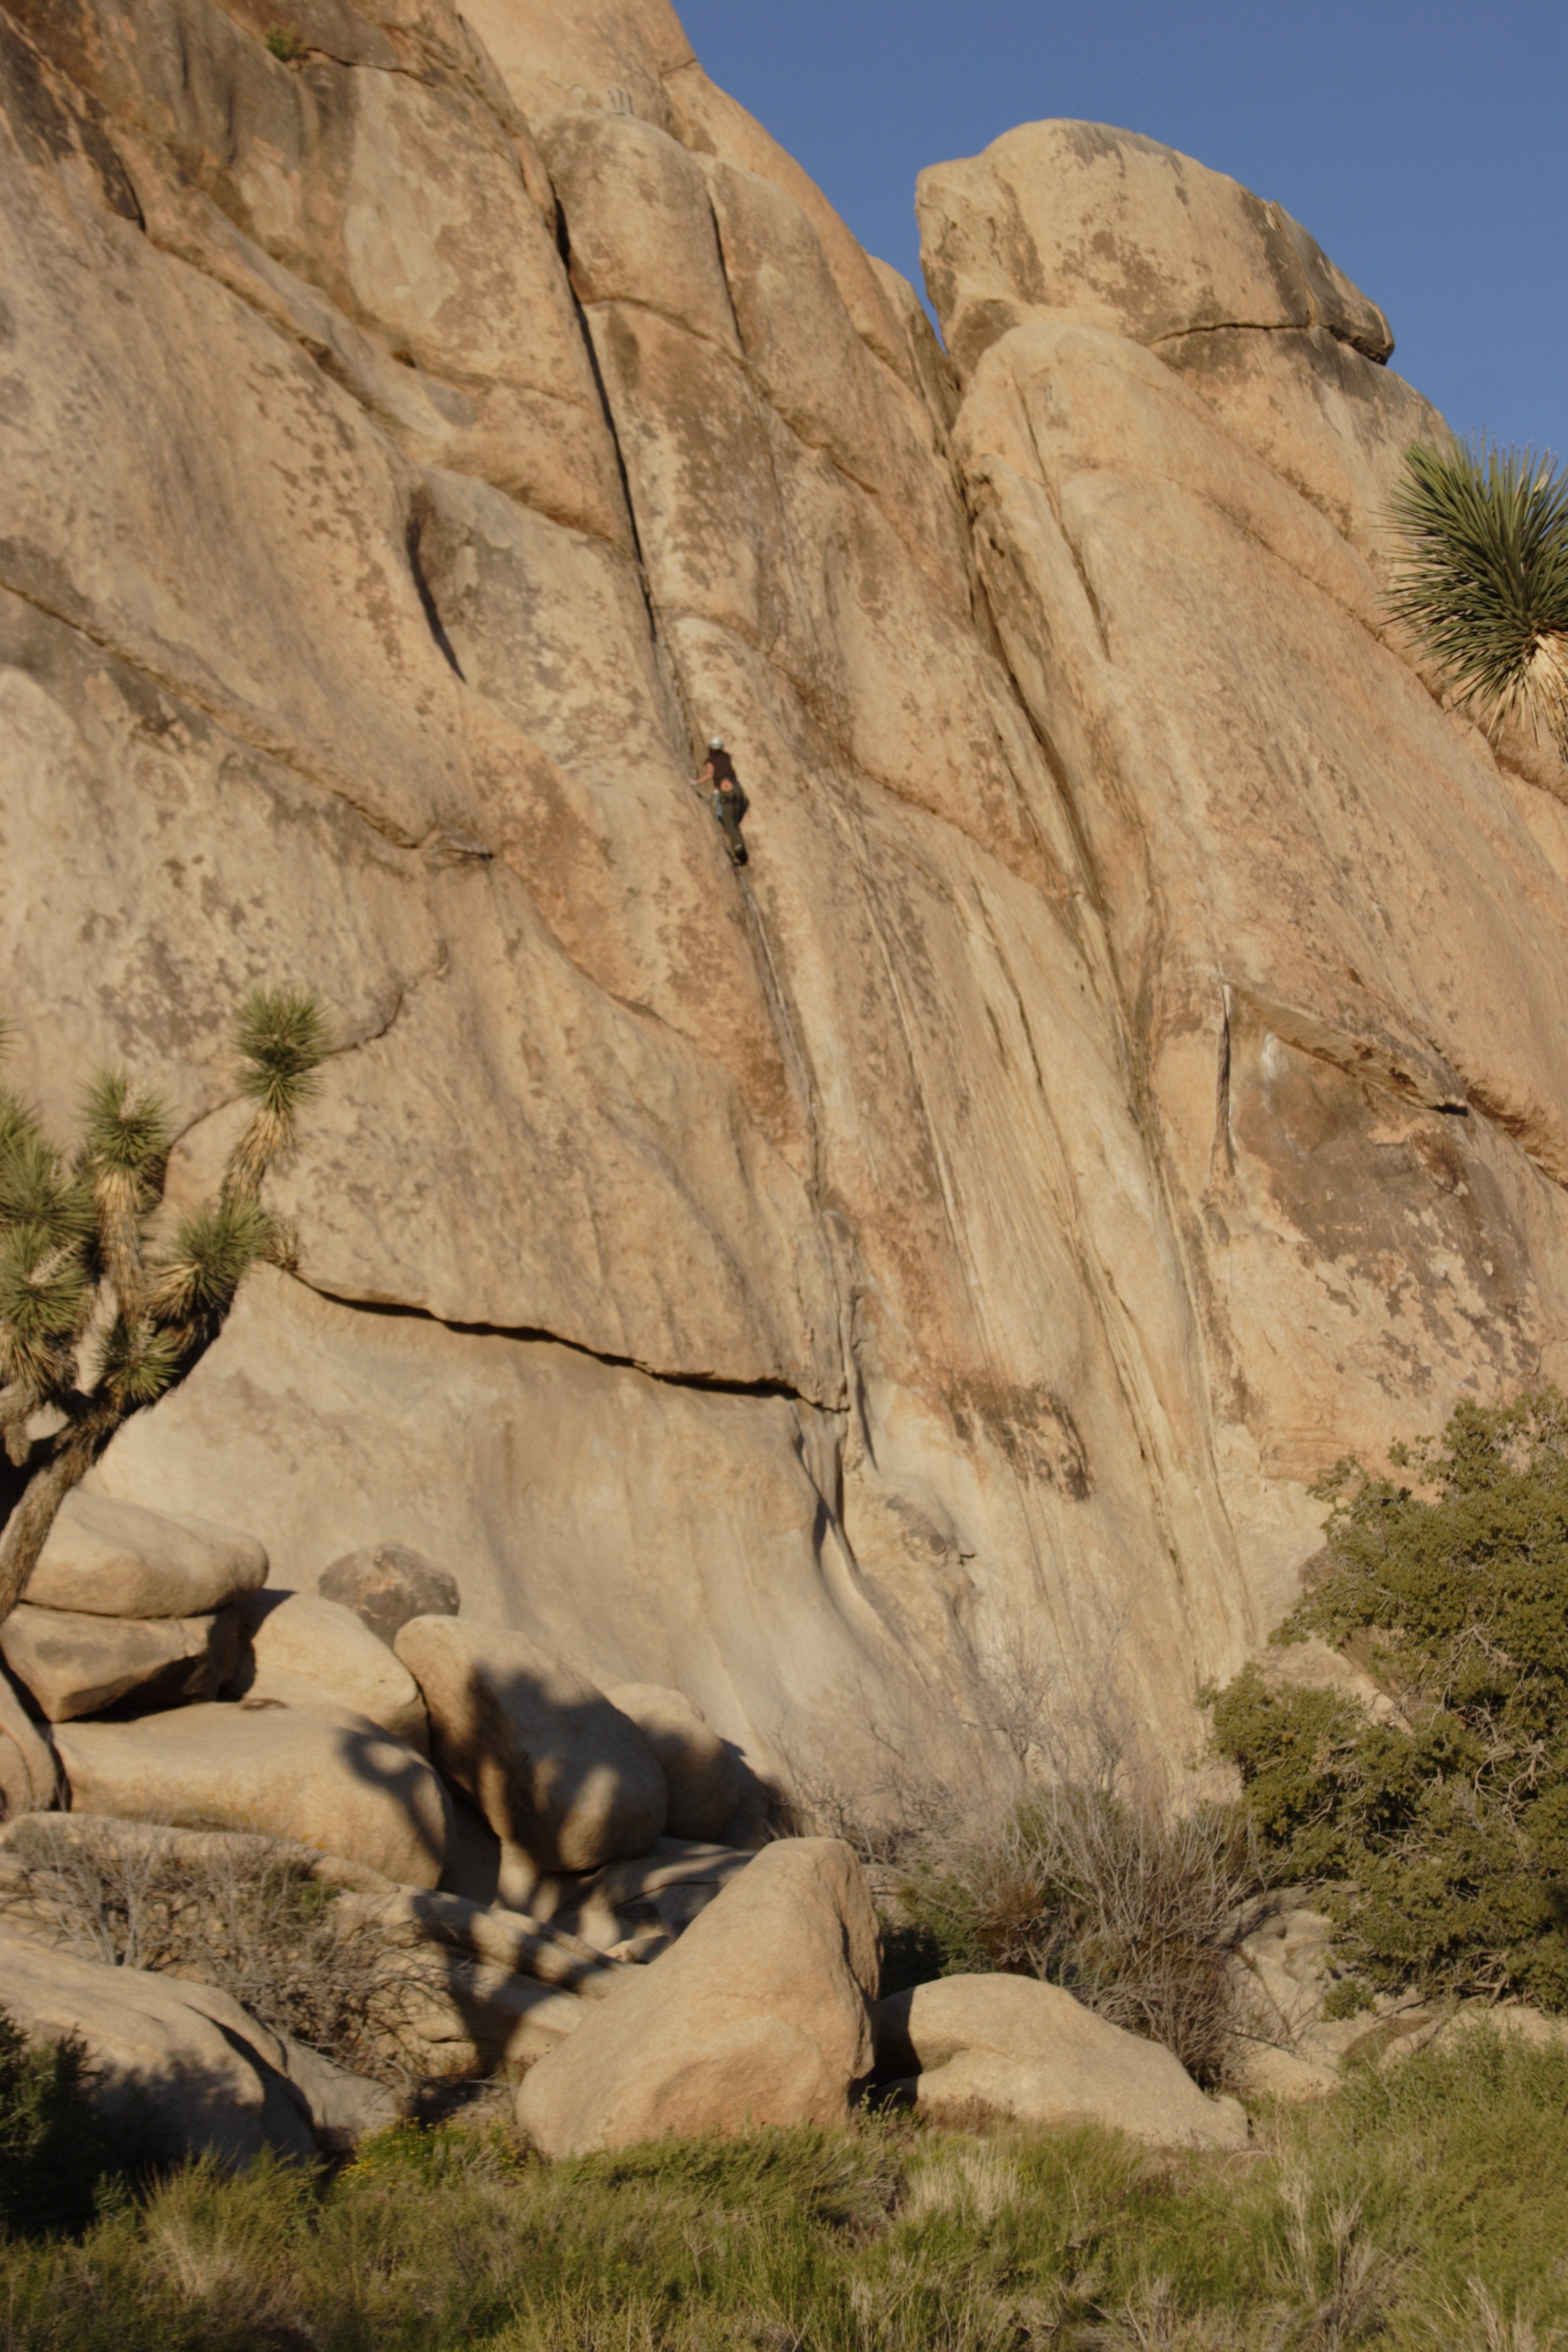
Ahhh, Indian Creek. Where do I begin? When I started climbing outdoors in late 2008 I read everything I could about where to go climbing. I live near Sacramento, California and we are lucky to have many day trip destinations. Lake Tahoe, the Sierra foothills, the San Francisco Bay area, even Yosemite. Easy weekend trips can be made to Yosemite or the Eastside of the Sierra. I actually made a day trip to Lee Vining to ice climb this winter! Longer weekend trips include Joshua Tree, the High Desert, Smith Rock in Oregon. The list goes on. But it wasn’t long before I began to look afar. I discovered Indian Creek in Utah pretty quickly. It stuck firmly in my psyche. The photos grabbed me. I wanted to climb there. The question was… when would I be ready. Even at the naive beginning of my outdoor climbing it was not lost on me that climbing in “The Creek” would be difficult. So, over the last several years I focused on developing crack climbing skills. I moved up the grades outdoors. Last season I followed some 5.9 and 5.10a crack climbs and have top roped up to 5.10d face climbs. I’ve lead a little here and there. I’ve been to Joshua Tree enough times to figure out the minimum skills needed to crack climb. One of my early partners, Jason, donated an entire trip to Joshua Tree to helping me learn to crack climb, bless his heart!

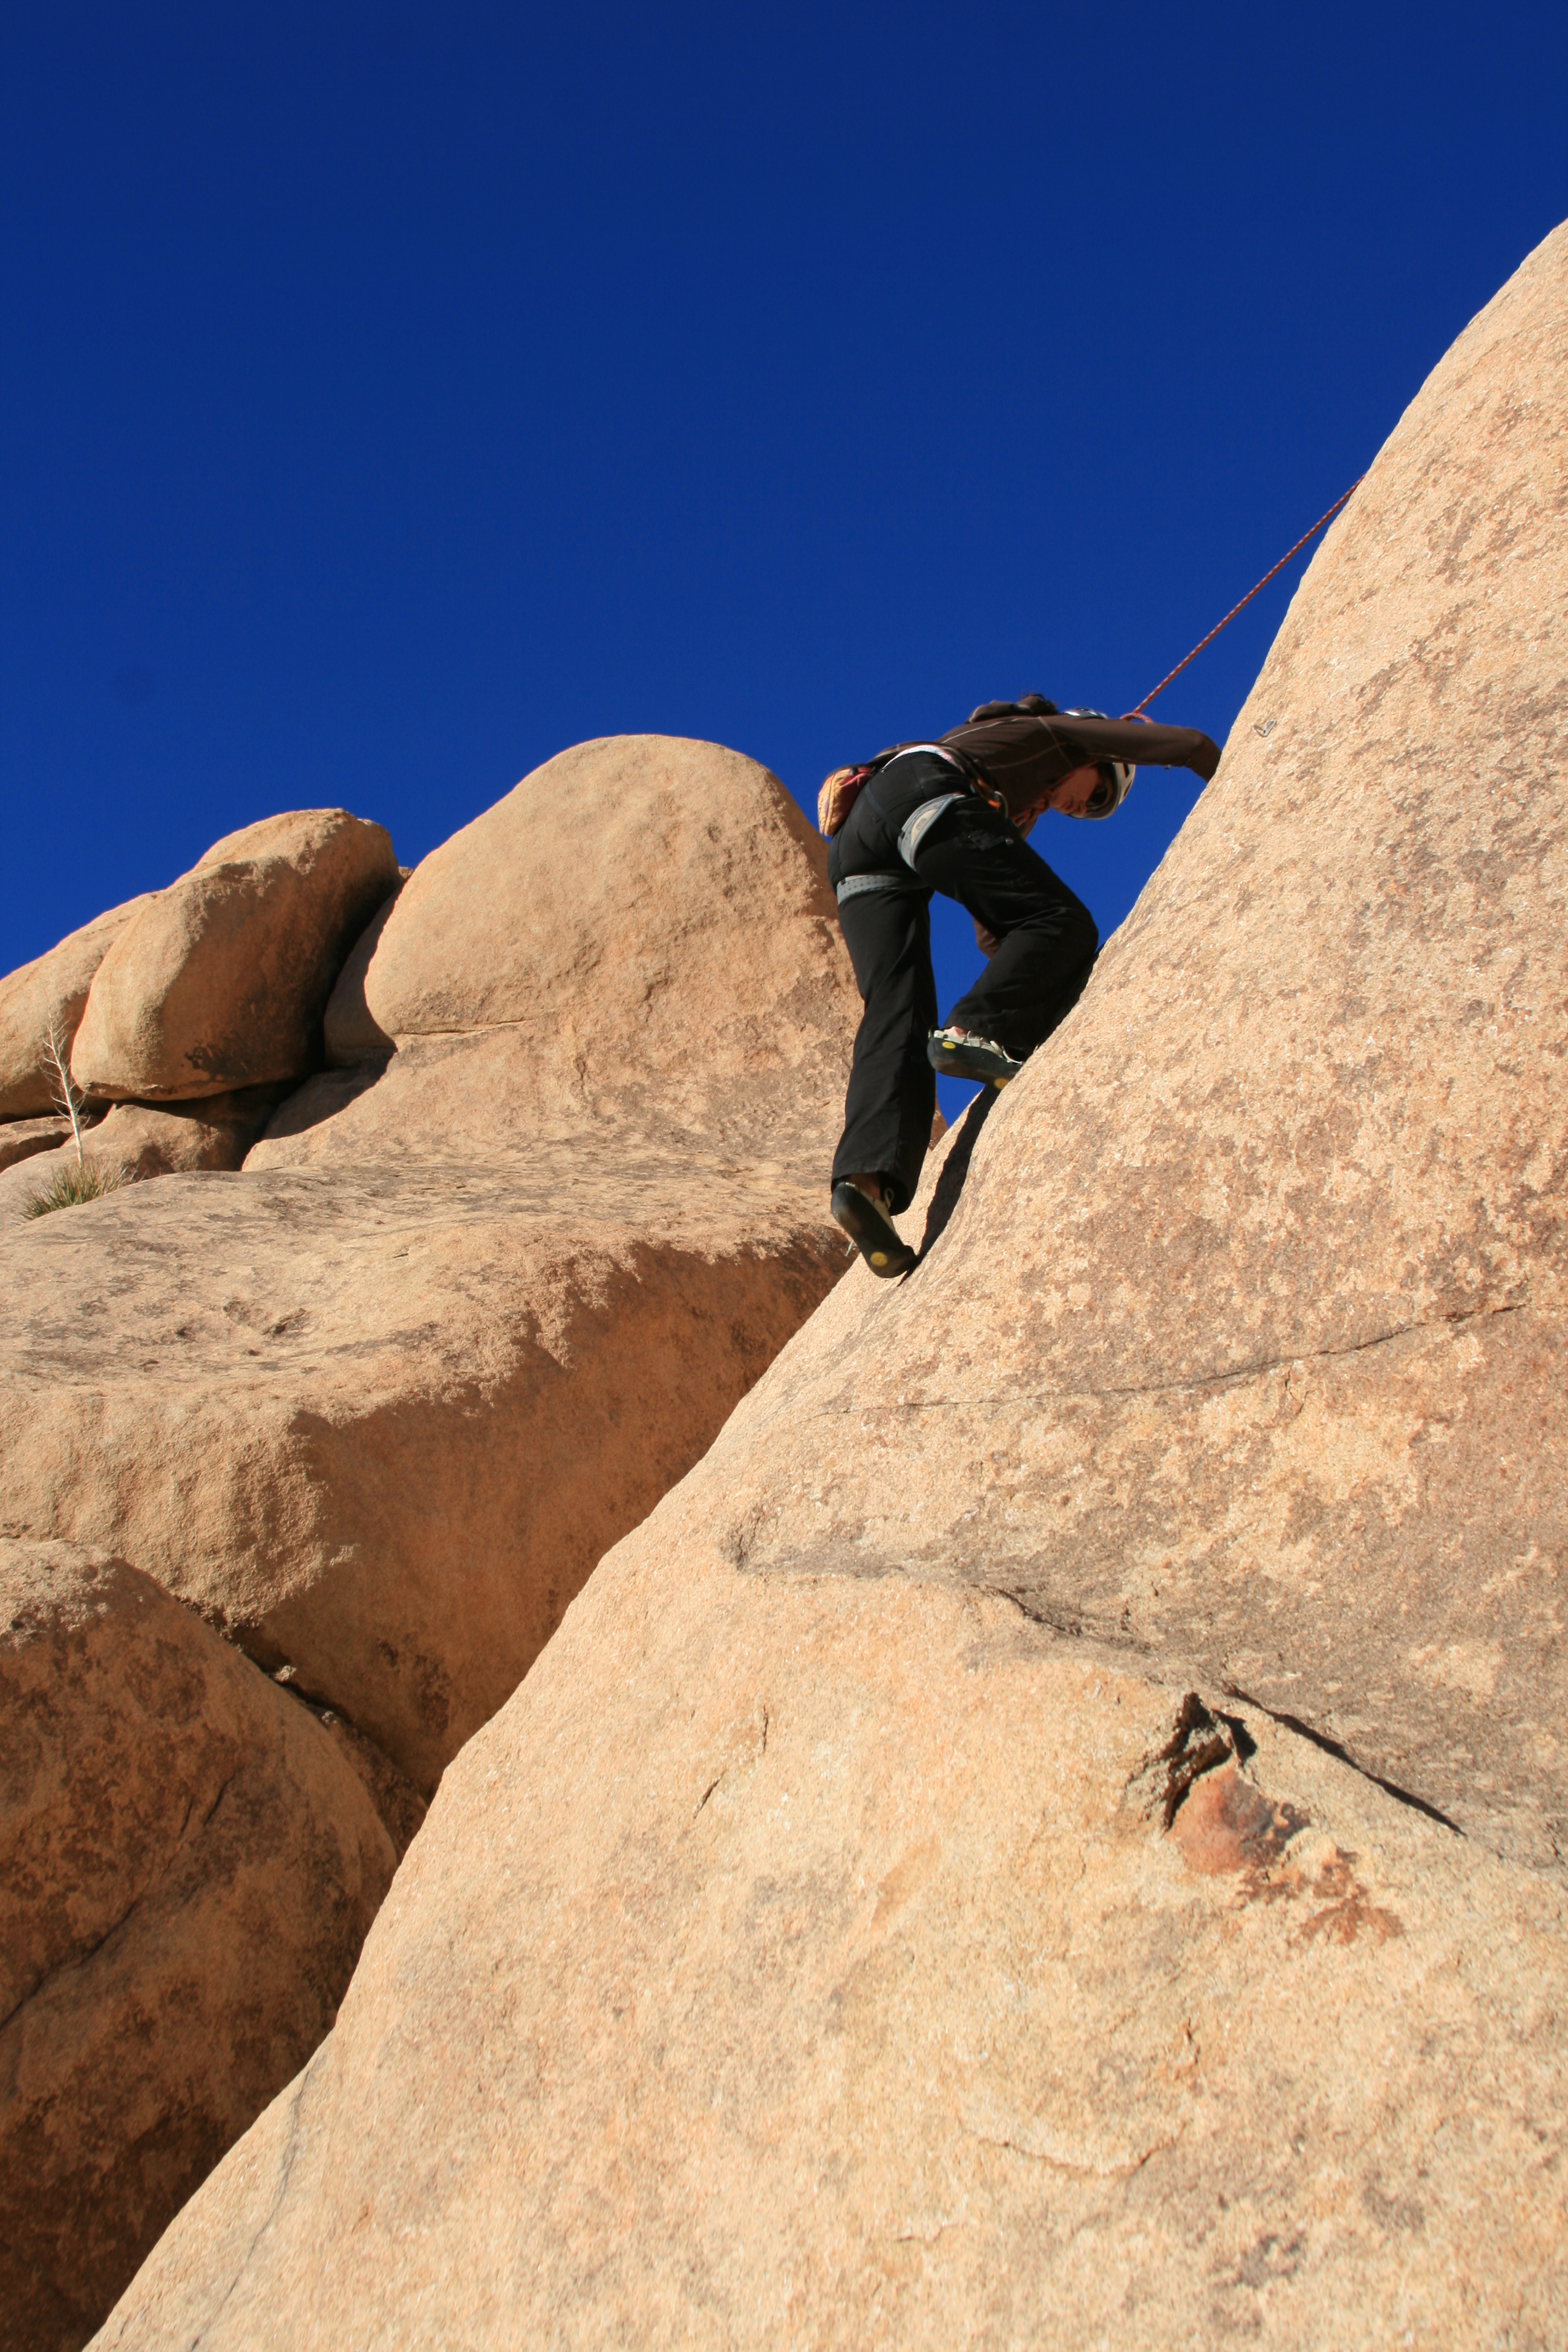
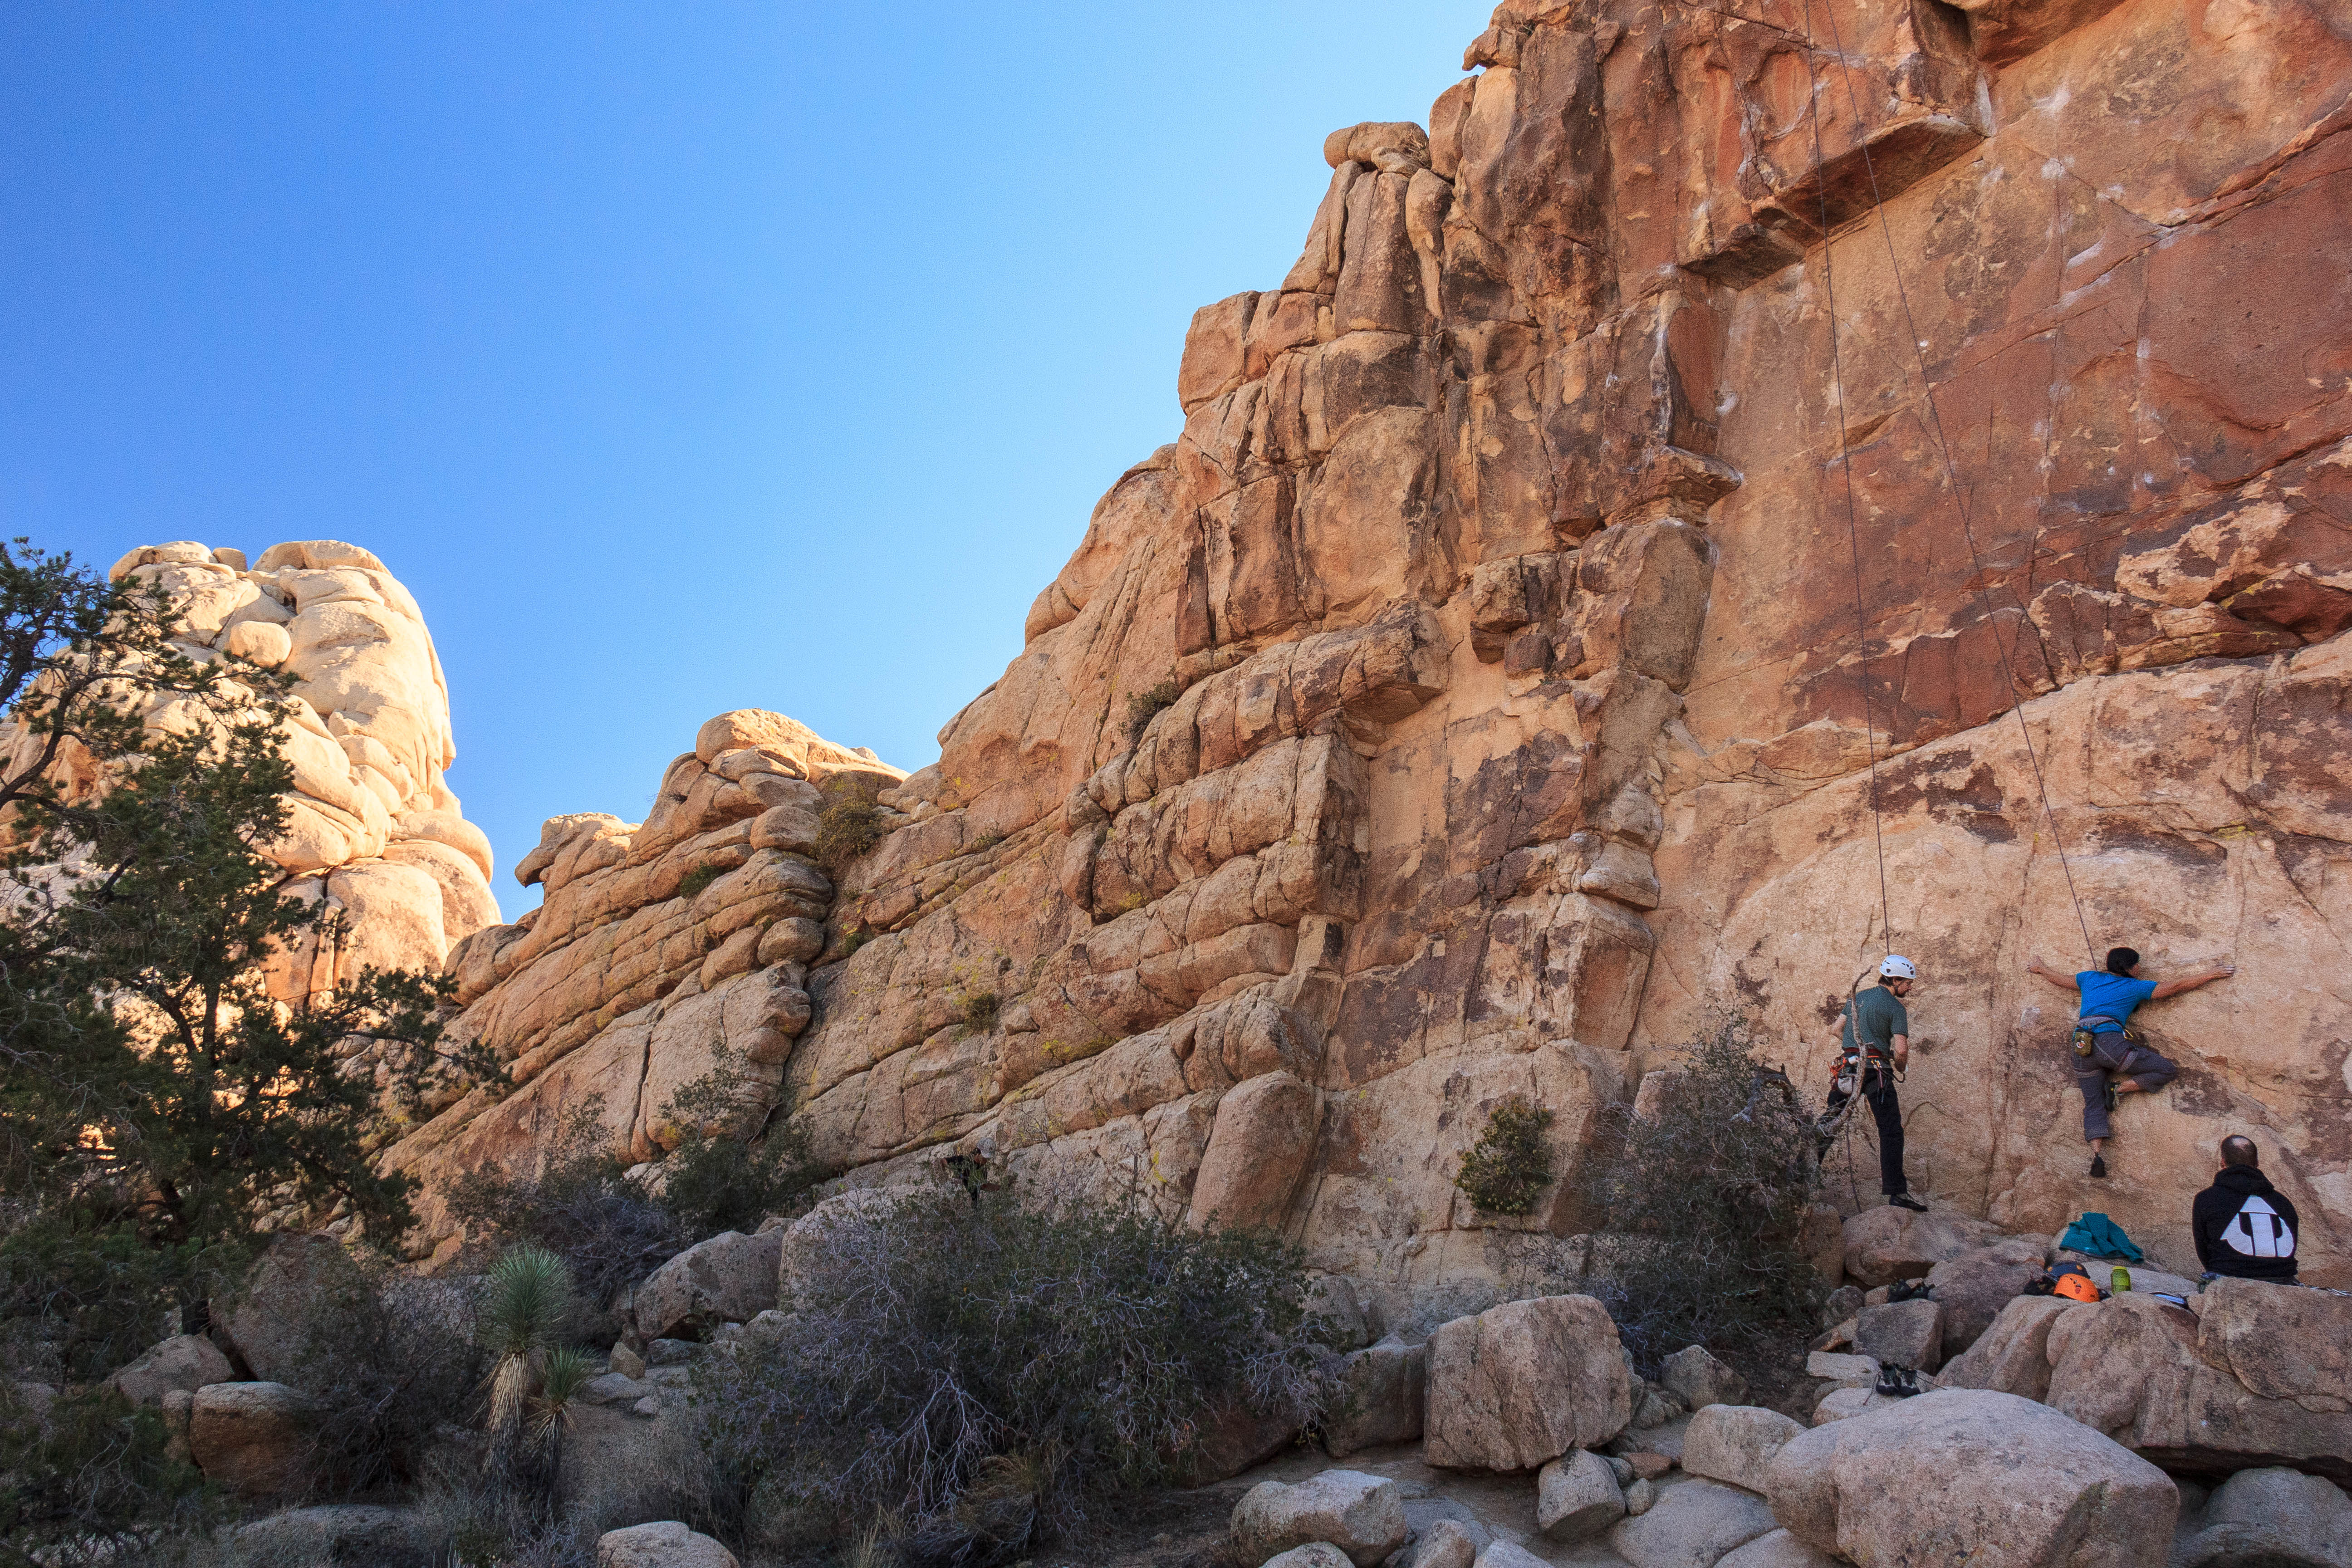
Me doing laps on
Double Cross/Joshua Tree
Photo Credit:
Sean Barry 2011
But I wasn’t sure when the opportunity to head to Indian Creek would materialize and if I would be even remotely ready to climb there when it did.Then one day this last February, a discussion began on Twitter about an Indian Creek trip. Suddenly it seemed possible. When my main outdoor partner, Leo (@LeoDClimber), said he could go this spring it became inevitable – we would go! Was I ready? I wasn’t sure. He wasn’t sure he was ready (I knew otherwise, he was ready!). So, we spent several sessions at local climbing gyms (Planet Granite SF and Granite Arch in Rancho Cordova) known for their awesome cracks to convince ourselves we could make it off the ground (in my case) and lead climbs (in Leo’s case). We planned the trip. The cracks at Indian Creek are long and often the same size. So, many cams of the same size are needed. We borrowed cams from all our friends – we needed 12 #2 Black Diamond Camalots alone. We would drive there in one day. Climb four days. Drive back over two days. Happily, my friend Eileen (@rockgrrl, coordinator of #JTreeTweetup) was able to join us. She flew into Sacramento from Southern California and drove with us. My friend Haley (@climbliftrunmom) came from Salt Lake for the weekend with her friend Matt (@provotrout). Haley and I had conversed quite a bit by Twitter and Skype but we would meet in real life (IRL) for the first time in Indian Creek. That was exciting! Our friend Luke (@lstefurak) was already in Indian Creek. Good thing too because we ended up crashing his campsite in the Creek Pasture Campgrounds when we couldn’t find an open site at 11pm the night we arrived. Big, big thank you to Luke! It was suddenly a mini-tweeup!
So, after driving 15+ hours on Wednesday Leo, Eileen and I were settled into our sleeping bags around midnight. We had decided during the drive that we would head to a climb called Bunny Slope for our very first Indian Creek (IC) climb. Sweet dreams! The next morning the weather was glorious. We sort of slept in but it was chilly anyway so no worries there. We met all the people staying in Luke’s campsite. What a great group. Lots of activity and talk about all the climbs people planned to do.
It was just the three of us heading to Bunny Slope 5.9+ (160’) on Critic’s Choice Wall. This was the climb that required the 12 #2 BD Camalots. We also would need to tie our two 70m ropes together to top rope it. Quite an introduction! So, off we went. Leo and I have gotten much better at finding climbs and Eileen had been to IC once before so we found the parking area with out to much trouble. We spotted the climb immediately and found the trail. The question to myself, “I wonder how you get up to those climbs…” was answered. The trails are steep and, in most cases, long. But the trails are also well maintained and marked with cairns. Thank you to Friends of Indian Creek!

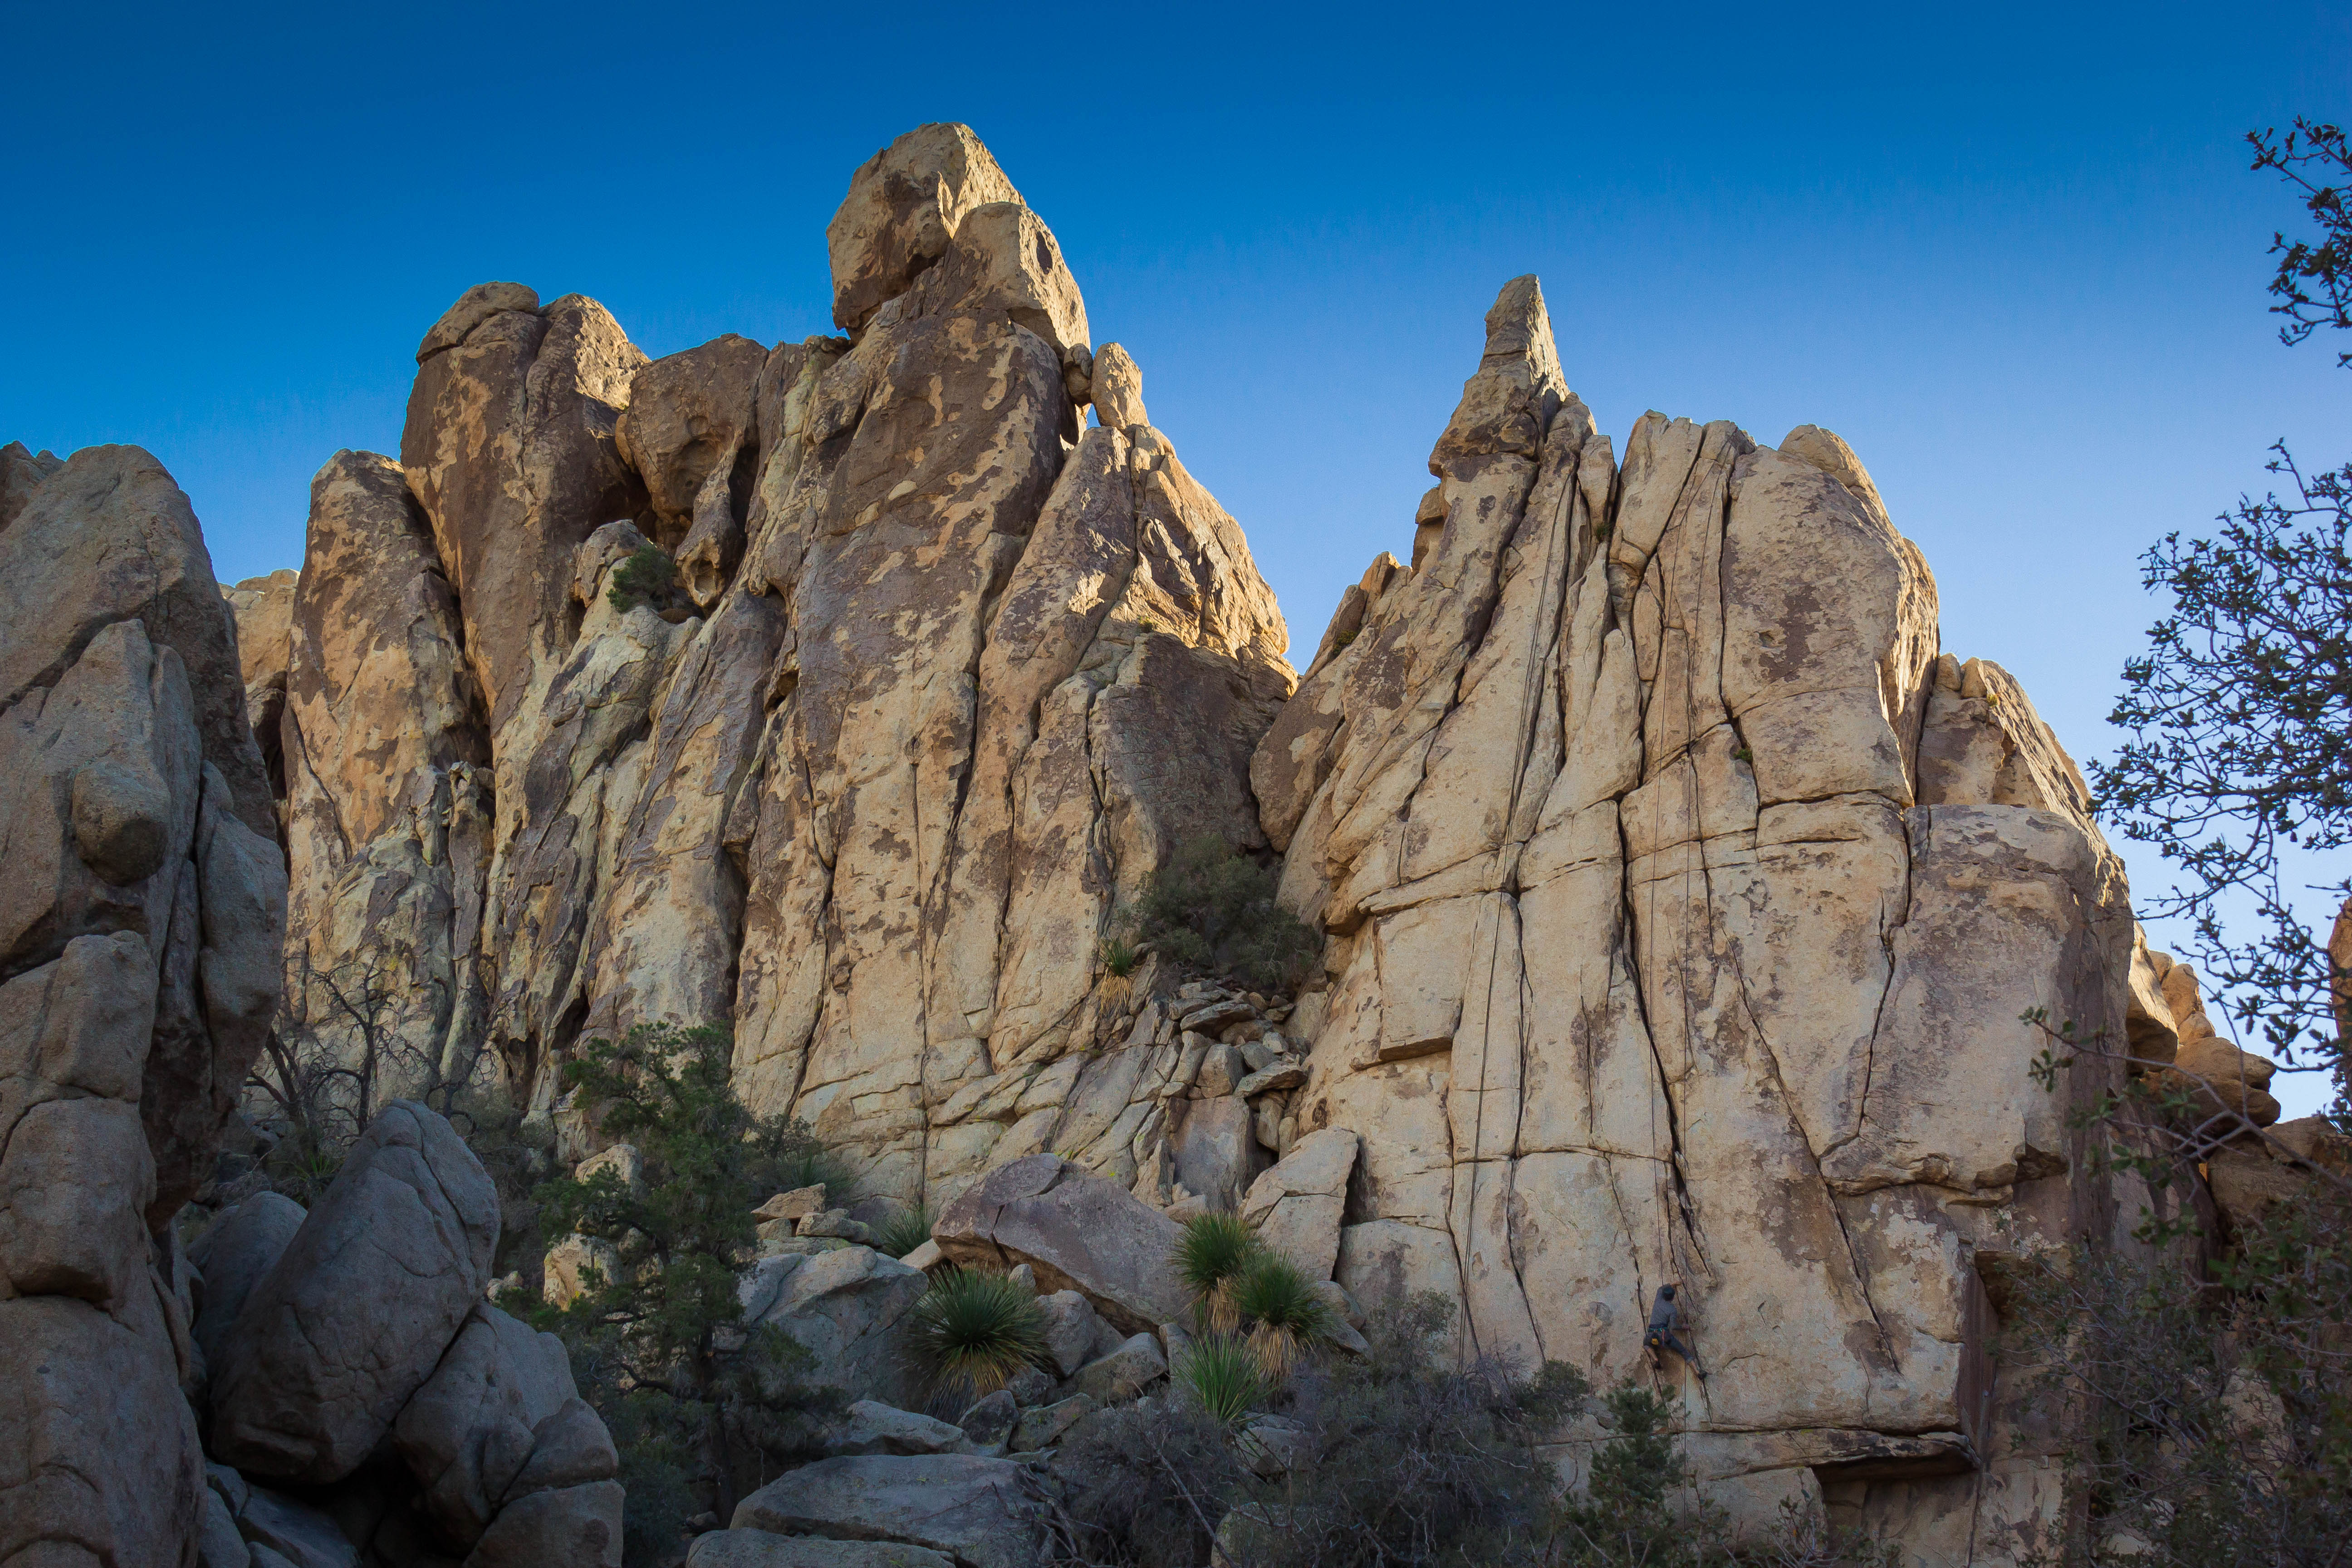
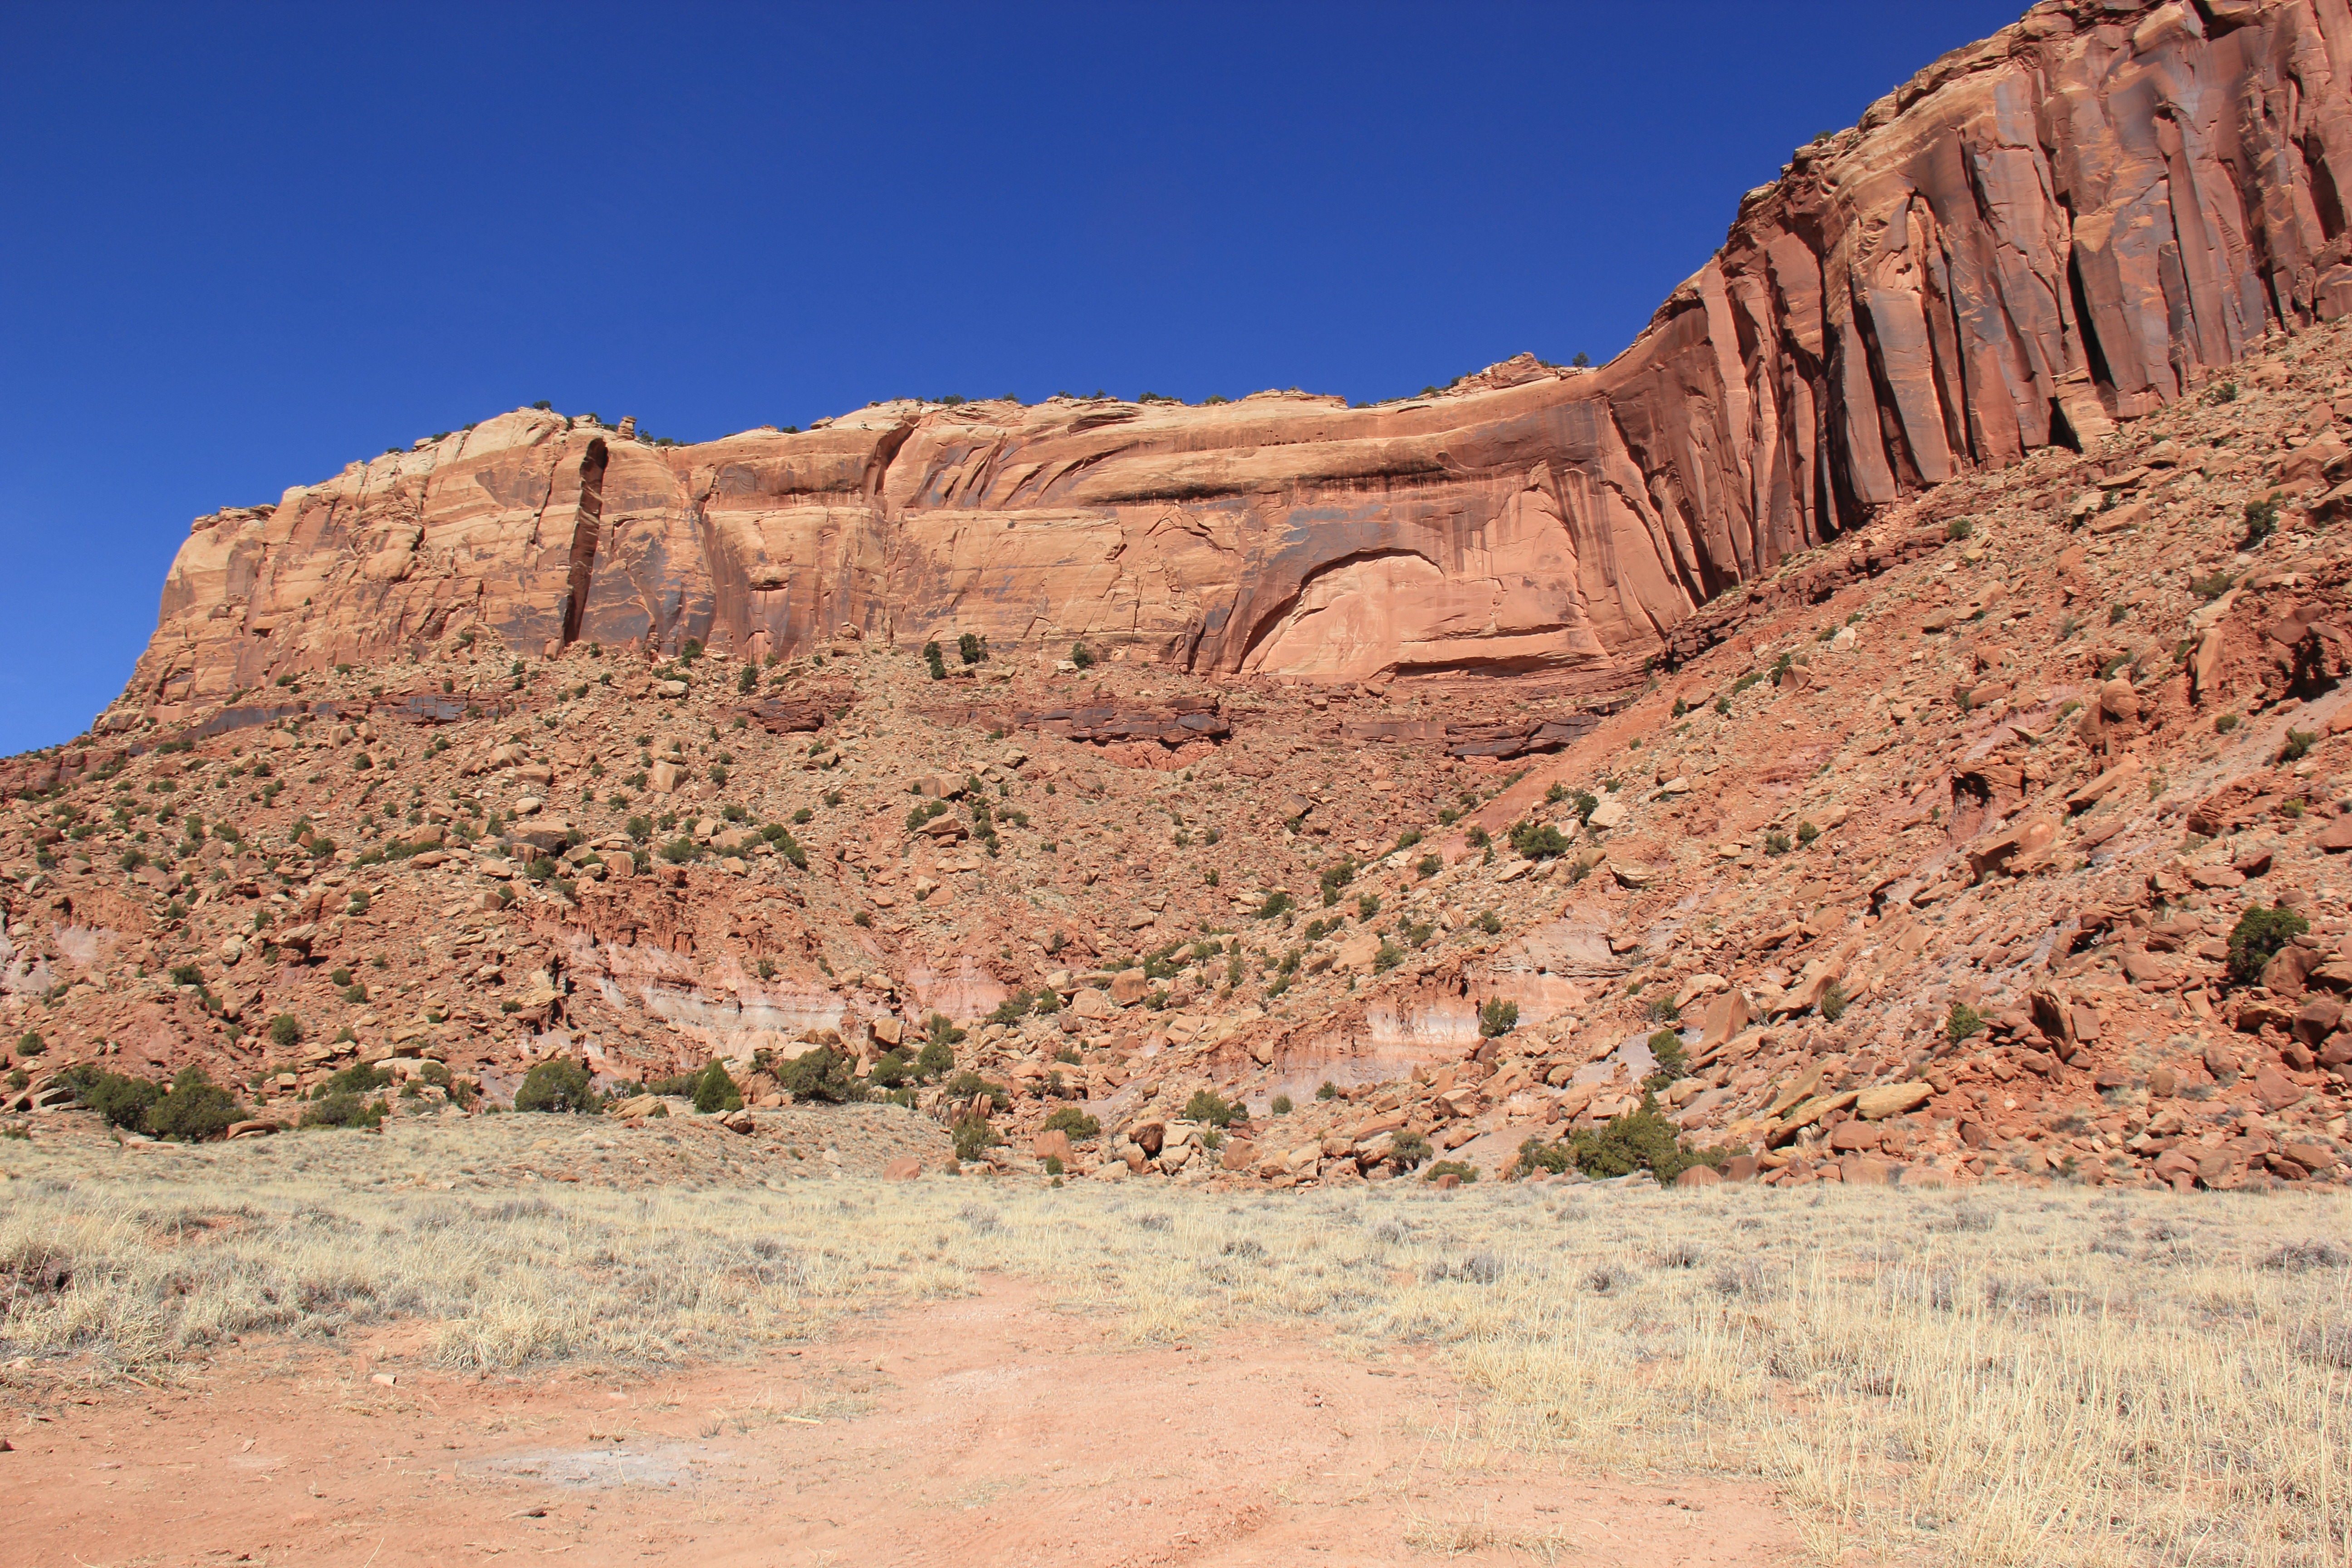
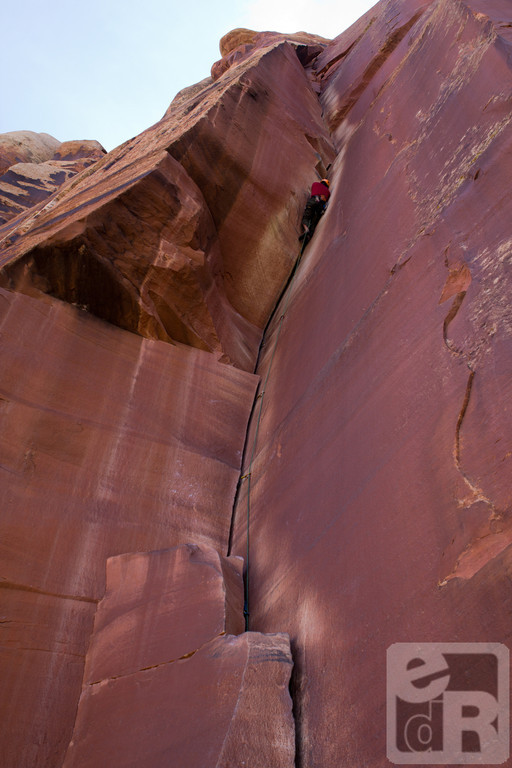
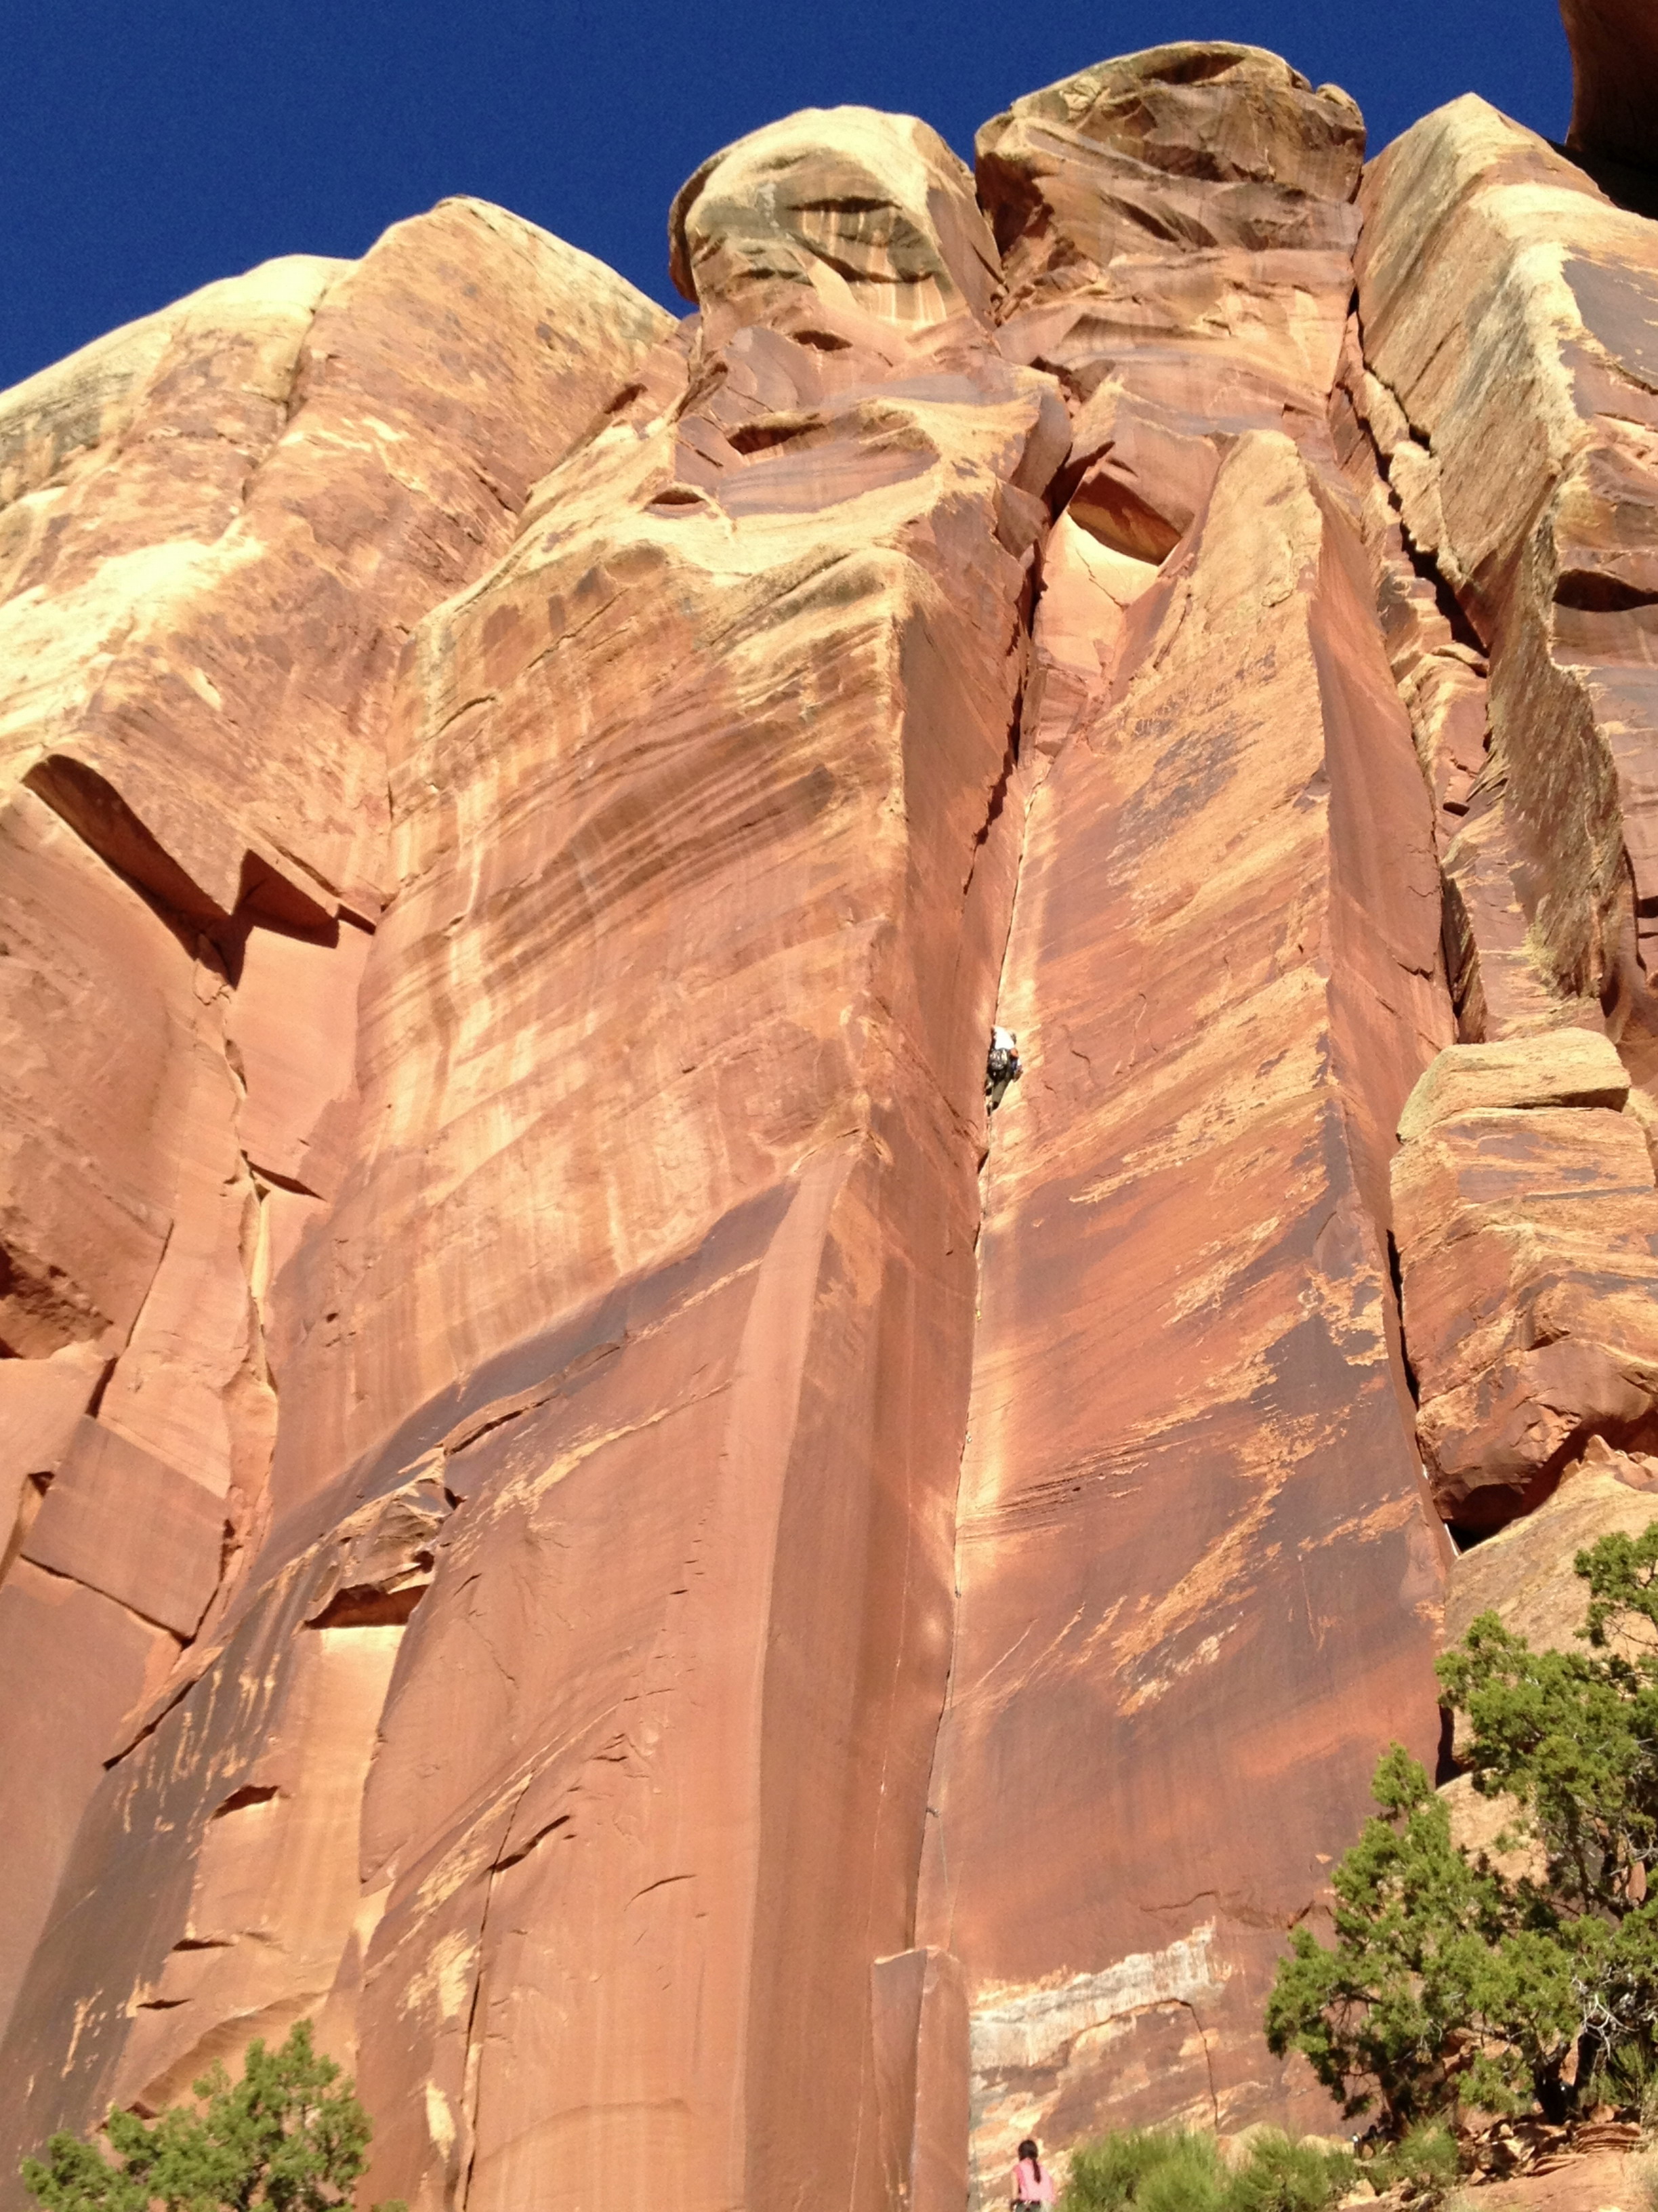
Critic’s Choice Wall
Bunny Slope is just to the right of the dark vertical line on the left side of the wall.
Photo: Terrell Barry 2013
So soon we were at the base of the climb. Leo was racked up and ready to lead his first IC climb. About 25 feet into the climb he remarked that he hoped the #2 size section happened soon since he hadn’t brought much else. I read the guide book beta to him and sure enough, he hit the first #2 placement just where it said he would (several of the other descriptions in the guide book would not be so accurate…). It was clear this climb was both long and hard work. I don’t often hear him breathing hard when he leads. But he finished it in great style.

Leo on his first Indian Creek lead.
Bunny Slope 5.9
Photo Credit:
Terrell Barry 2013
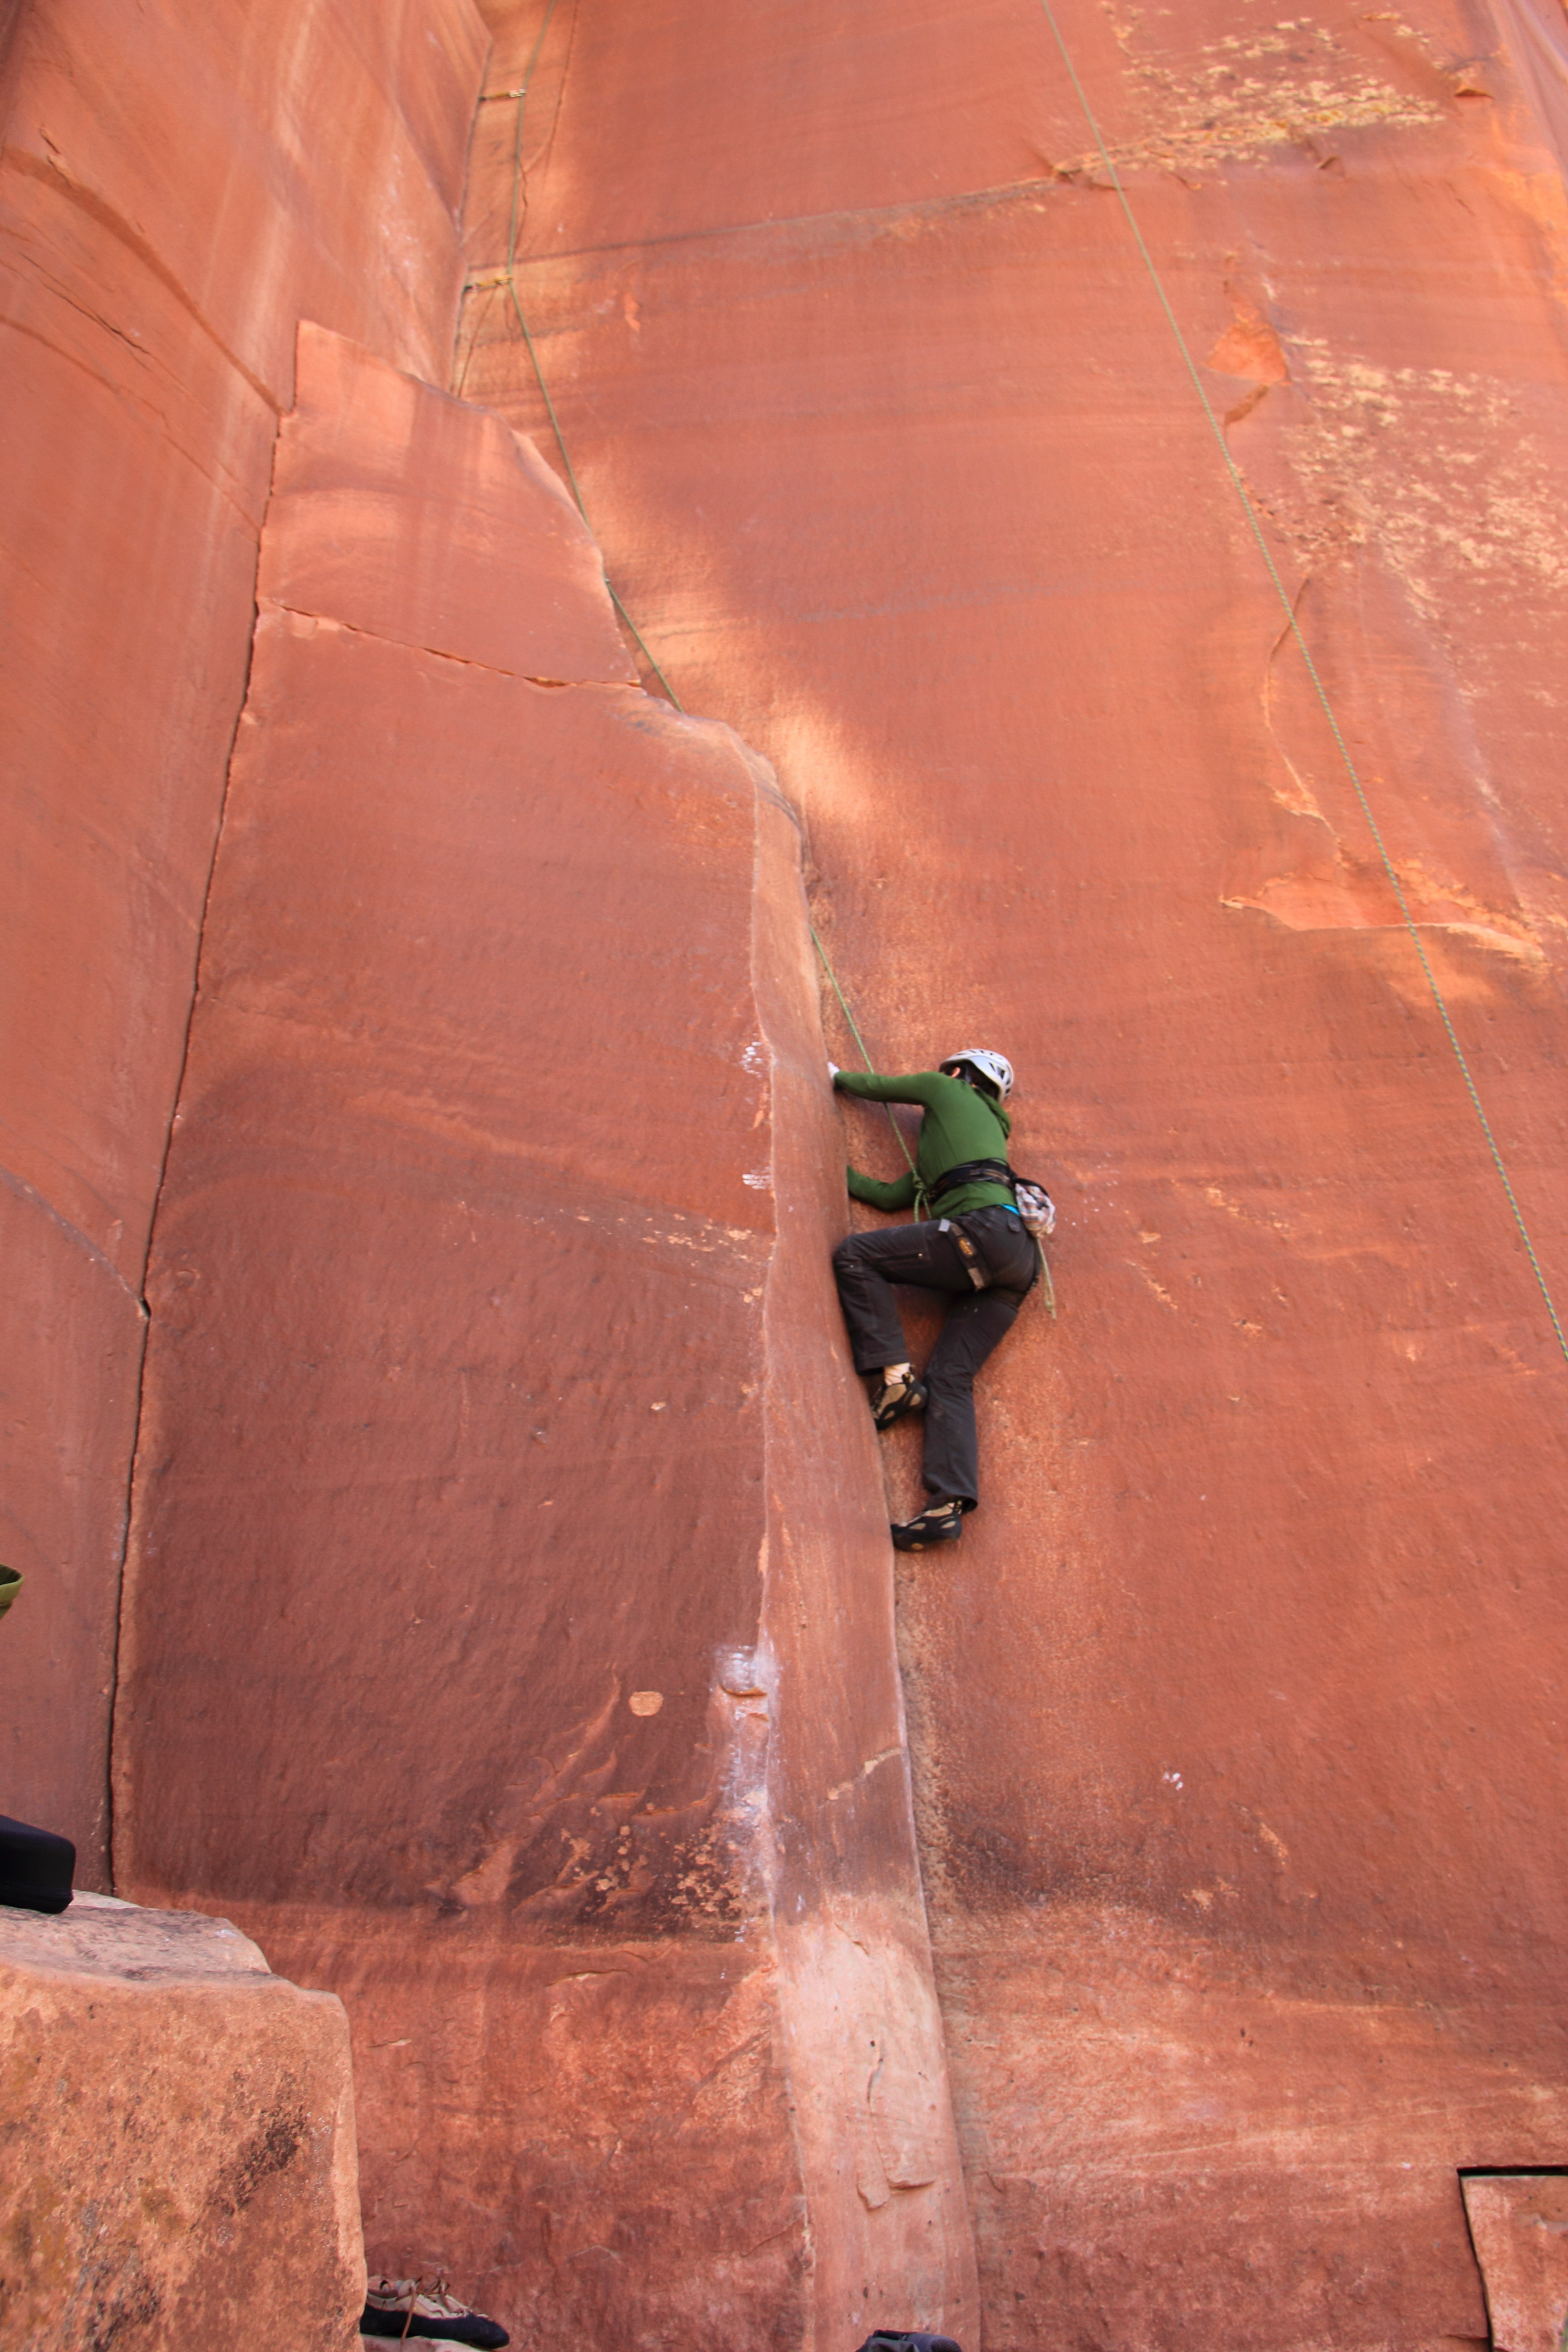
Next it was my turn. The moment of truth had come. Could I even get off the ground, let alone get to the top… The start was hard – that seems to be the case on many of the IC climbs. I was thinking that I would, indeed, not make it off ground. Then I managed to make a few moves off the deck (Leo may have helped me there a bit…). I gathered myself up onto the first small ledge and got ready for the rest of the climb. I’m not sure how many takes I required. I lost count. But I made slow, steady progress. The jams got a little better as I went but the difficulty did not let up. It looks like the steepness of the route eases up as it approached the anchors but it was only an optical illusion! And at the very top there is a pretty wild set of moves. Fun but unexpected. I won’t give it away tho! Eileen saw a side of me she had not seen before but Leo knows well. That’s the “Terri climbing at her limit, lots of noise, foul language” side of me. Yeah, I did a lot of that this trip. But guess what, I made it to the top! And, I liked it! Next was Eileen’s turn on Bunny Slope and she did a great job. She followed it cleanly. I watched her technique, trying to learn tips for the next climb.

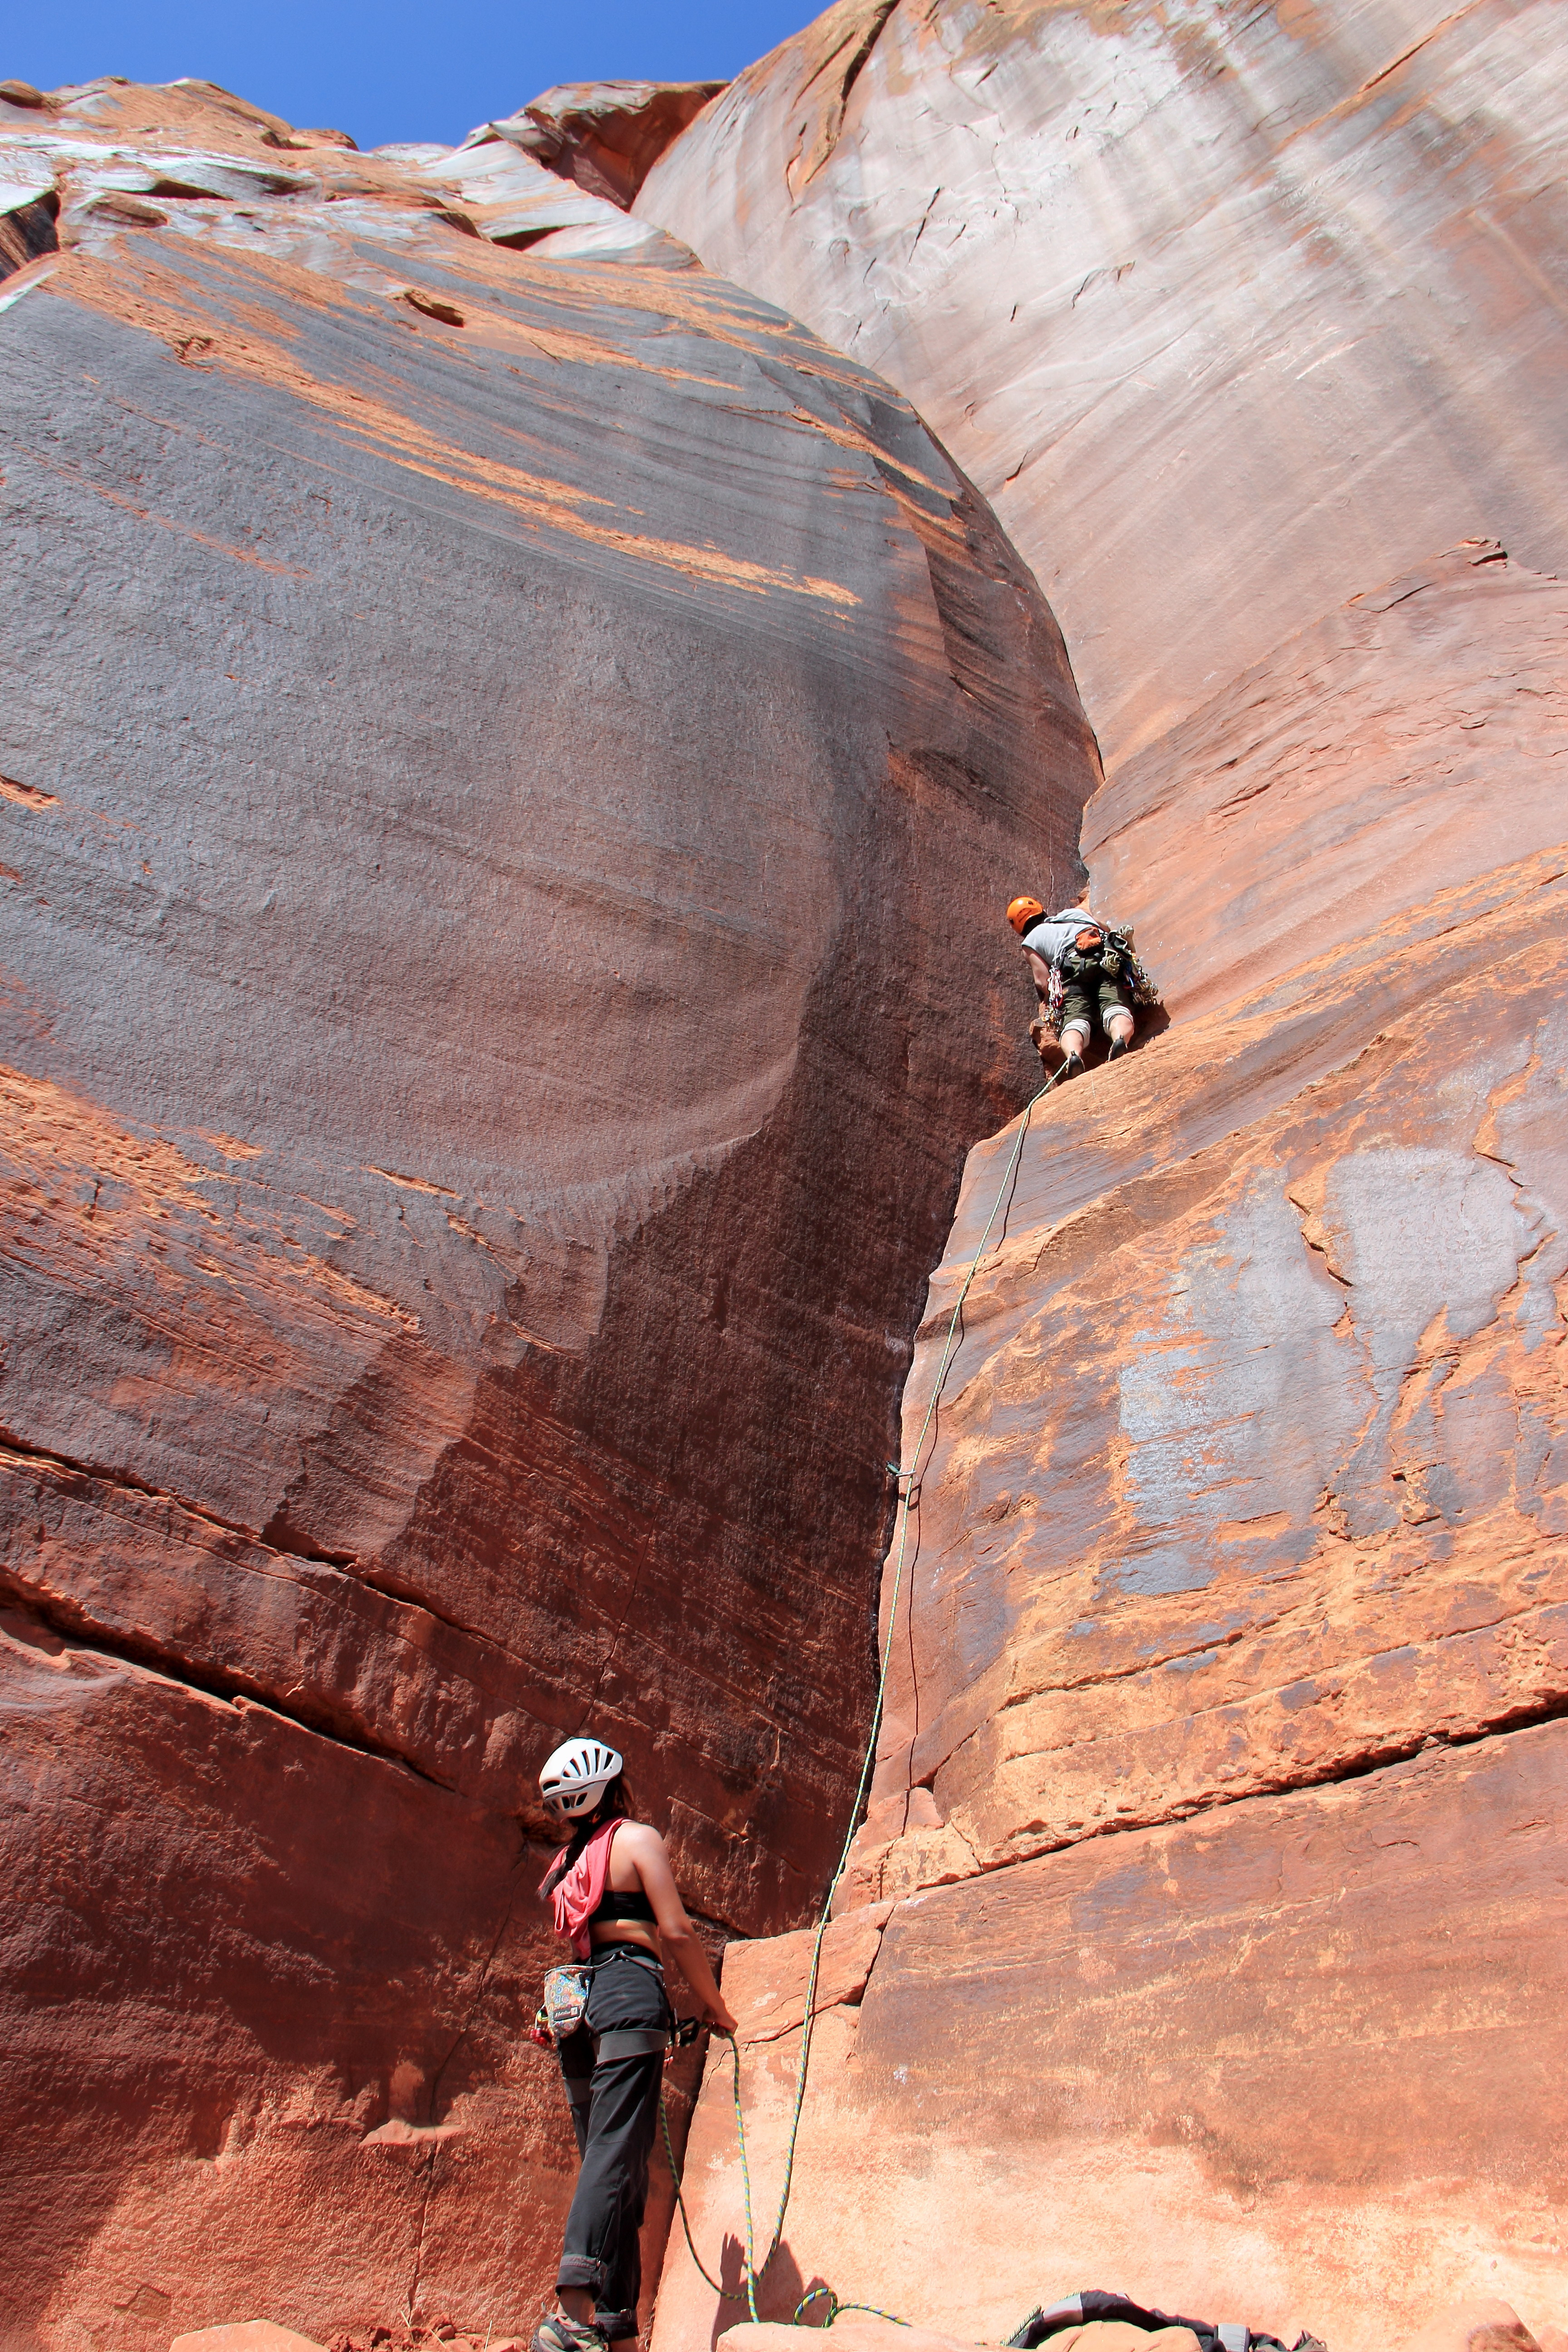
That speck on the wall is me top roping Bunny Slope
Leo belaying me.
Photo Credit:
Eileen Descallar Ringwald Photography 2013

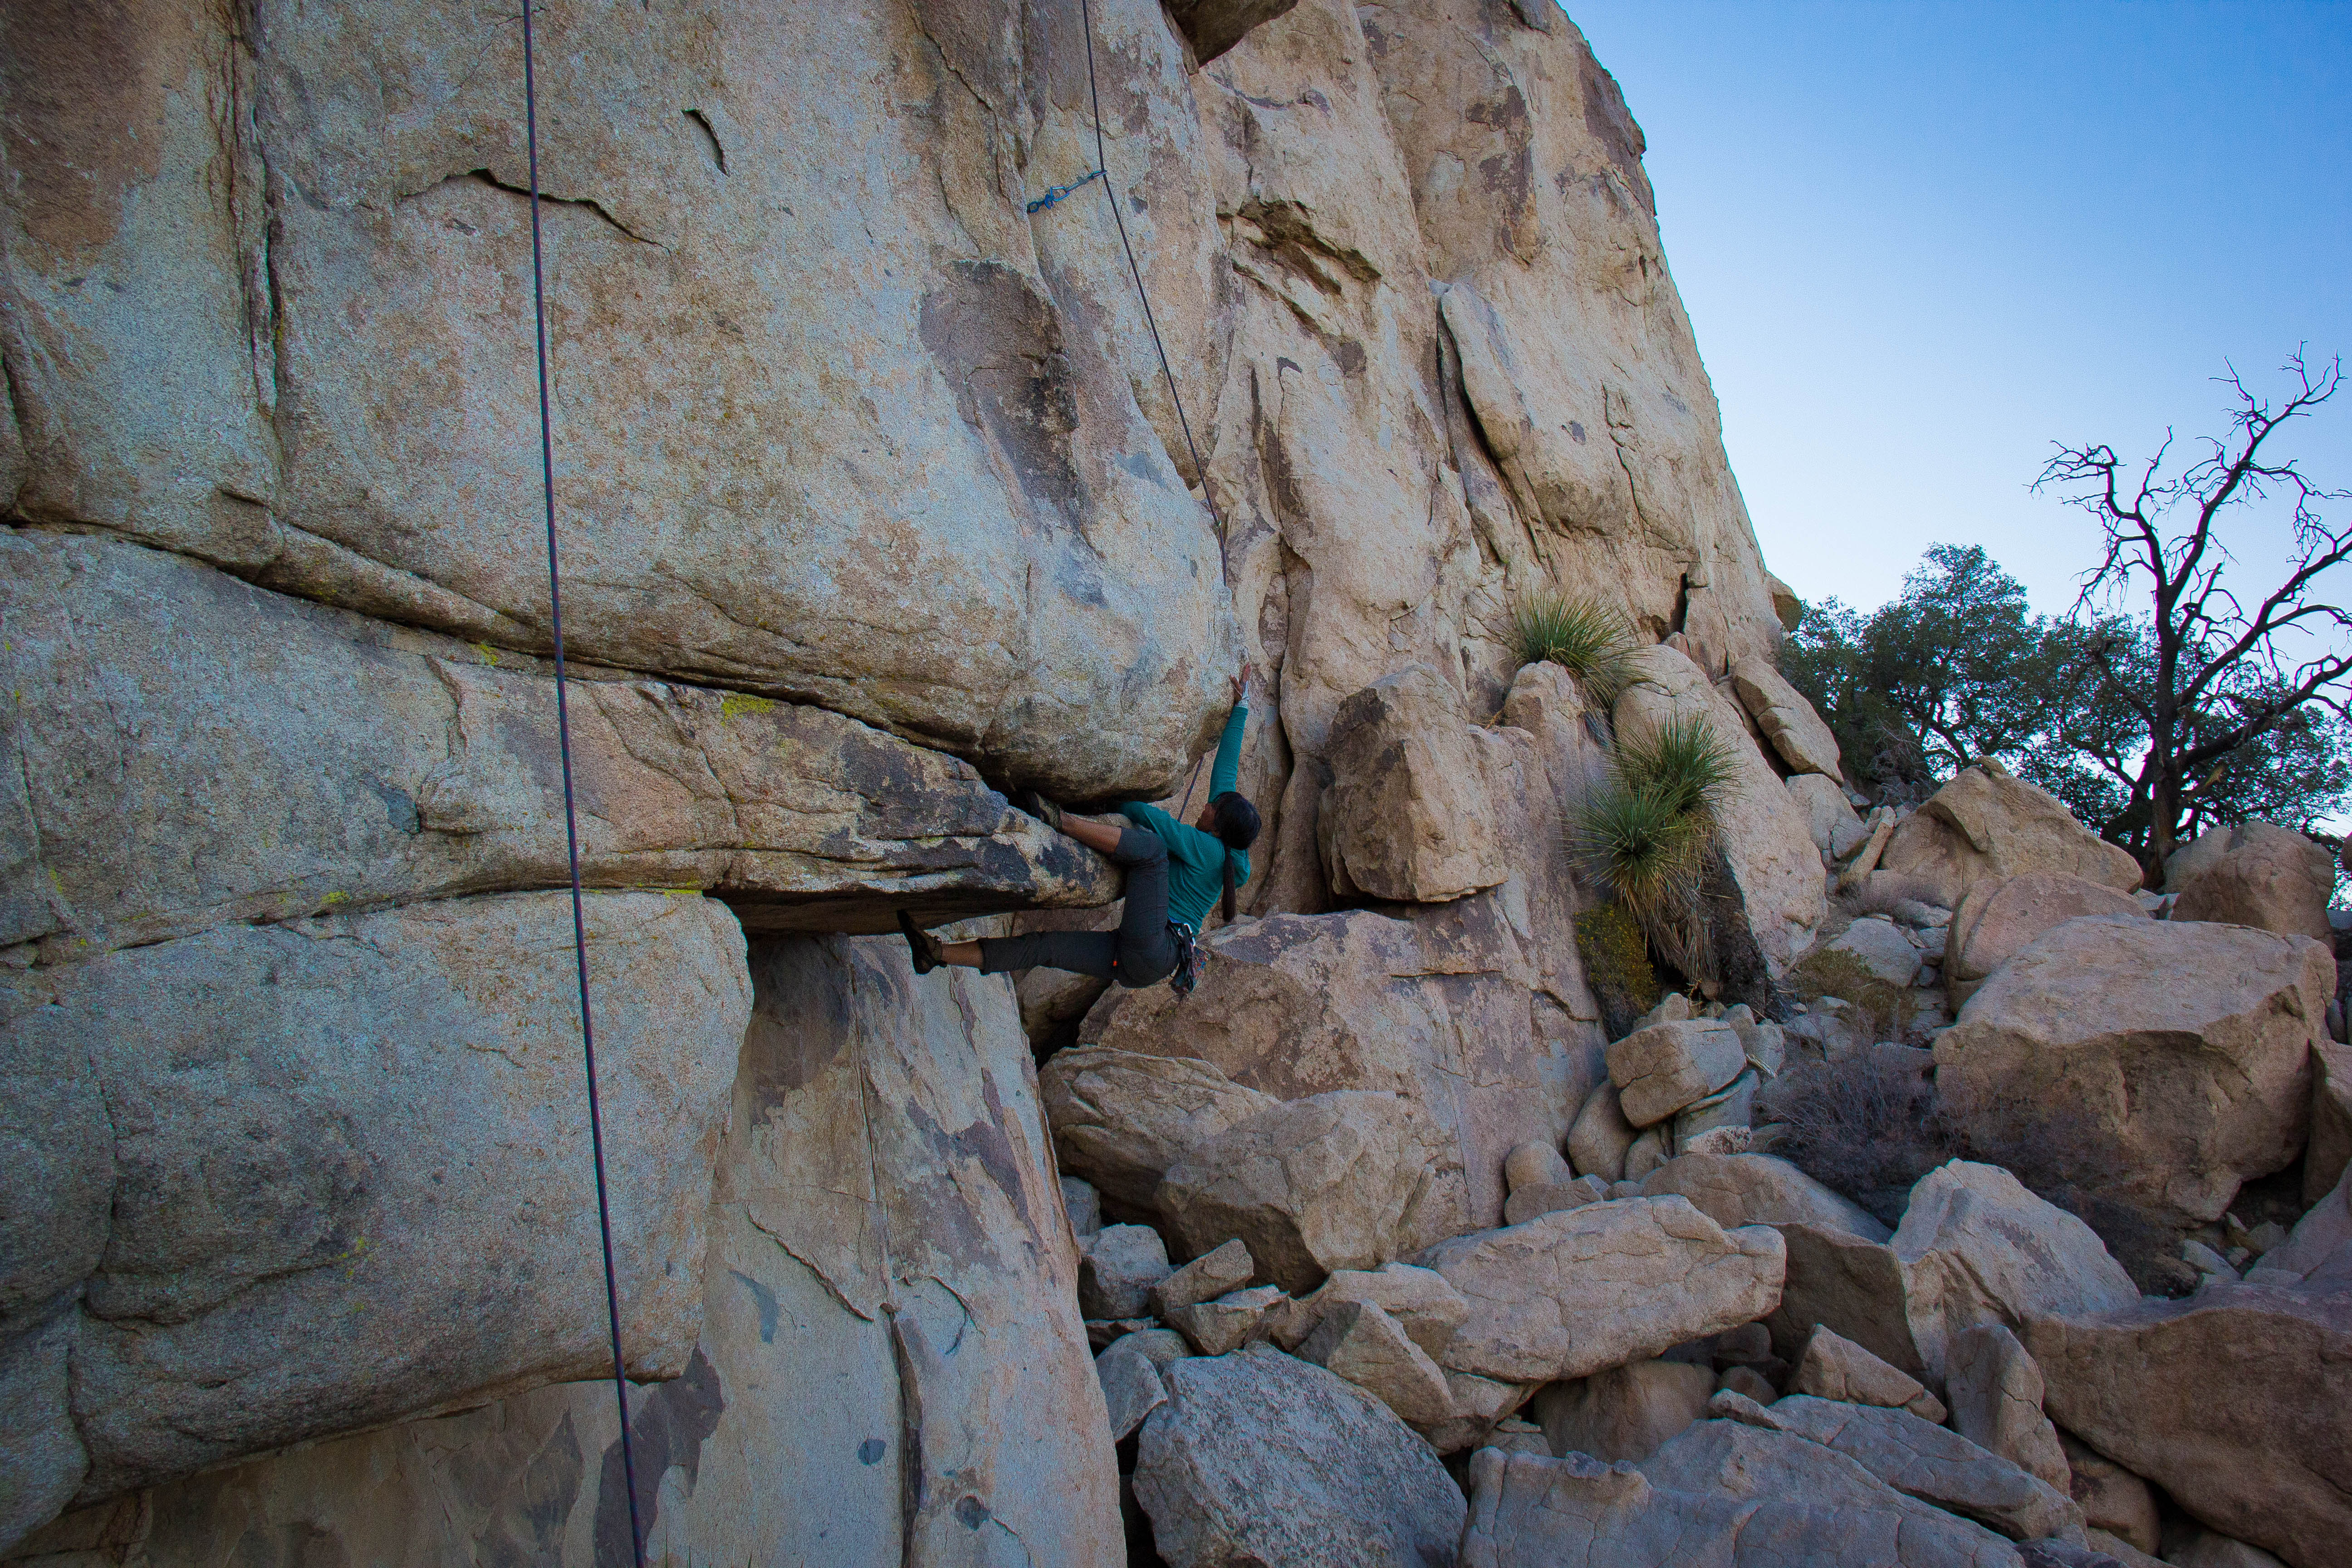
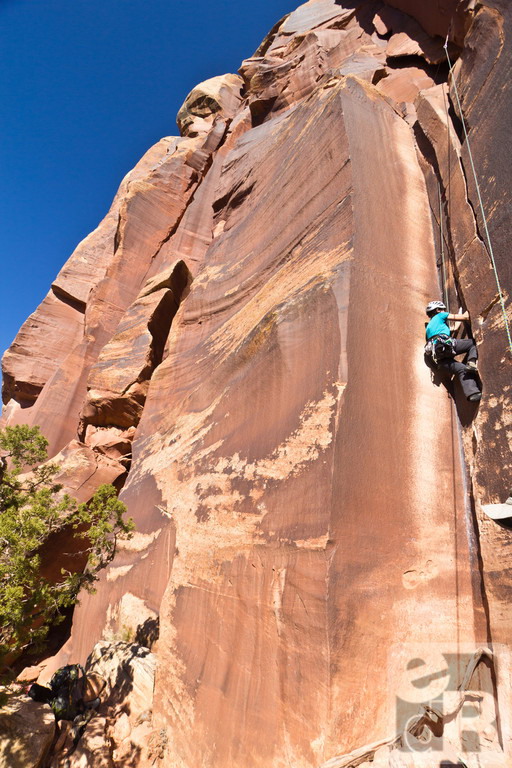
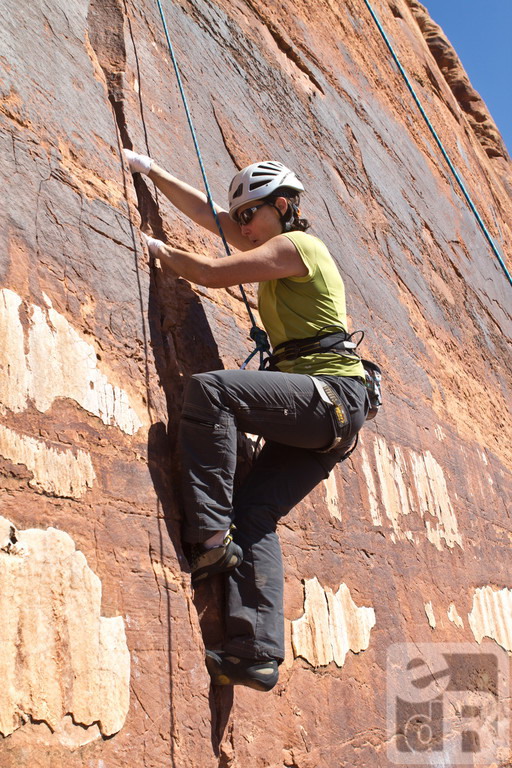
Me on Elephant Ear 5.10+
Photo Credit:
Eileen Descallar Ringwald Photography 2013
Our first climb of the trip was under our belt. The other climbs on the Critic’s Wall were more difficult than we wanted to tackle the first day. So, we headed back to the car and off to Donnelly Canyon. It was late in the day and the hike is short to Donnelly Canyon from the parking area. We had hoped to get on Binou’s Crack 5.9 but a group was already on it. So, we chose Elephant Ear 5.10+ (120ft) instead. Leo made quick work of it. I think he hit his stride right away on the first day! I watched Eileen climb it, noting that she said it was indeed “funky hands” as the guide book said. I had less trouble with this climb, but yes, it was funky. I didn’t climb it clean but I did climb sections of it well (no clean climbs this trip but that’s ok!).
The last climb of the day was Chocolate Corner 5.9 (60’). Leo led it and left the gear in so Eileen could pink pointed her first IC lead. She looked very solid!

Eileen leading
Chocolate Corner 5.9
Photo Credit:
Terrell Barry 2013
When it was my turn, I thought, hey, it’s 5.9 – easier grade and shorter than the other two climbs we did today. What could go wrong… I needed to clean the anchors. I had to make it to the top. It was getting dark. The climb is a somewhat tight corner. My left leg didn’t want to bend the way it needed to in order to have a solid foot jam. The hand jams were not solid for me. I struggled, I cried, I swore, I had a mini asthma attack. At one point I wasn’t sure I could make it to the top. But I did. It wasn’t pretty. As he always is, Leo was very patient on belay. It had been a very long time since I struggled that much on a climb. I am still angry at myself for crying and subjecting my partners to that. I certainly learned more new lessons. Personal growth, personal growth. Never to old for personal growth. As a reward to all of us for a day of great climbs and hard work, we treated ourselves to dinner in Moab that night. Pizza & beer. Yay. Back to camp at midnight… Boo.

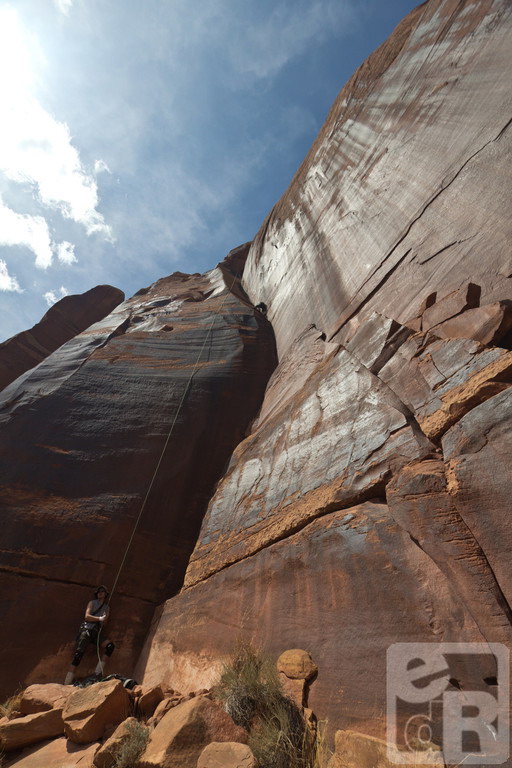
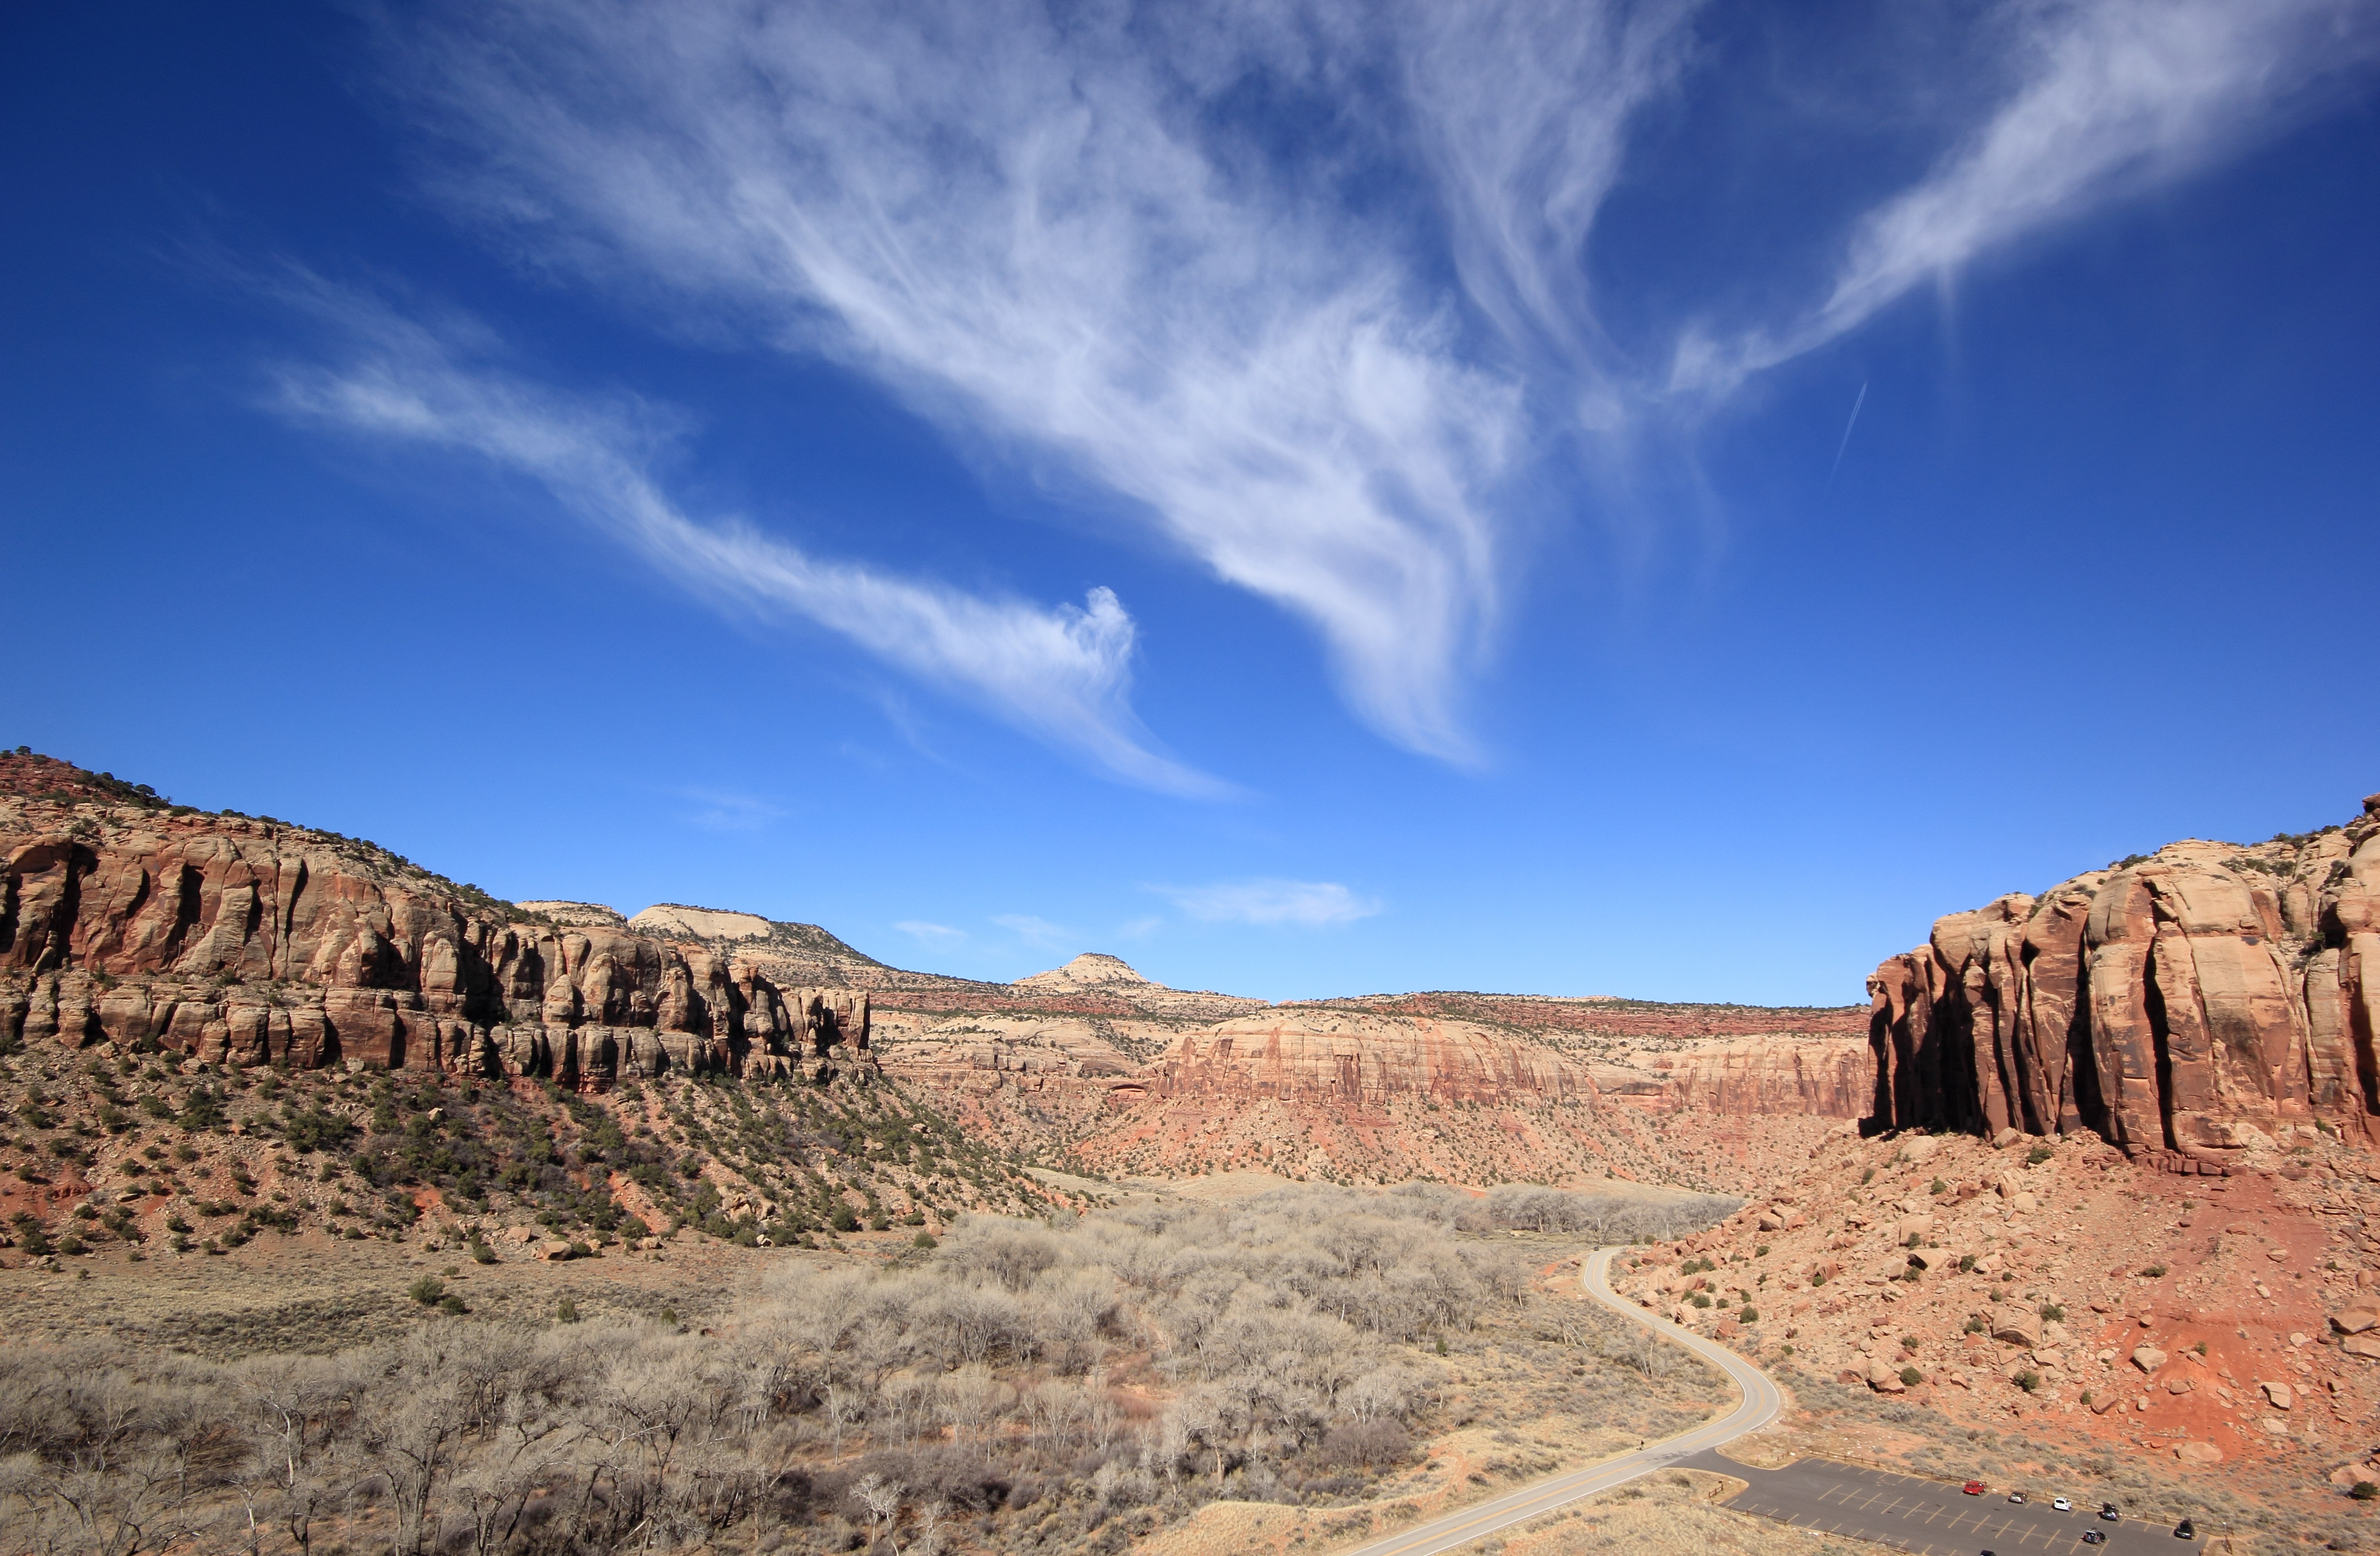
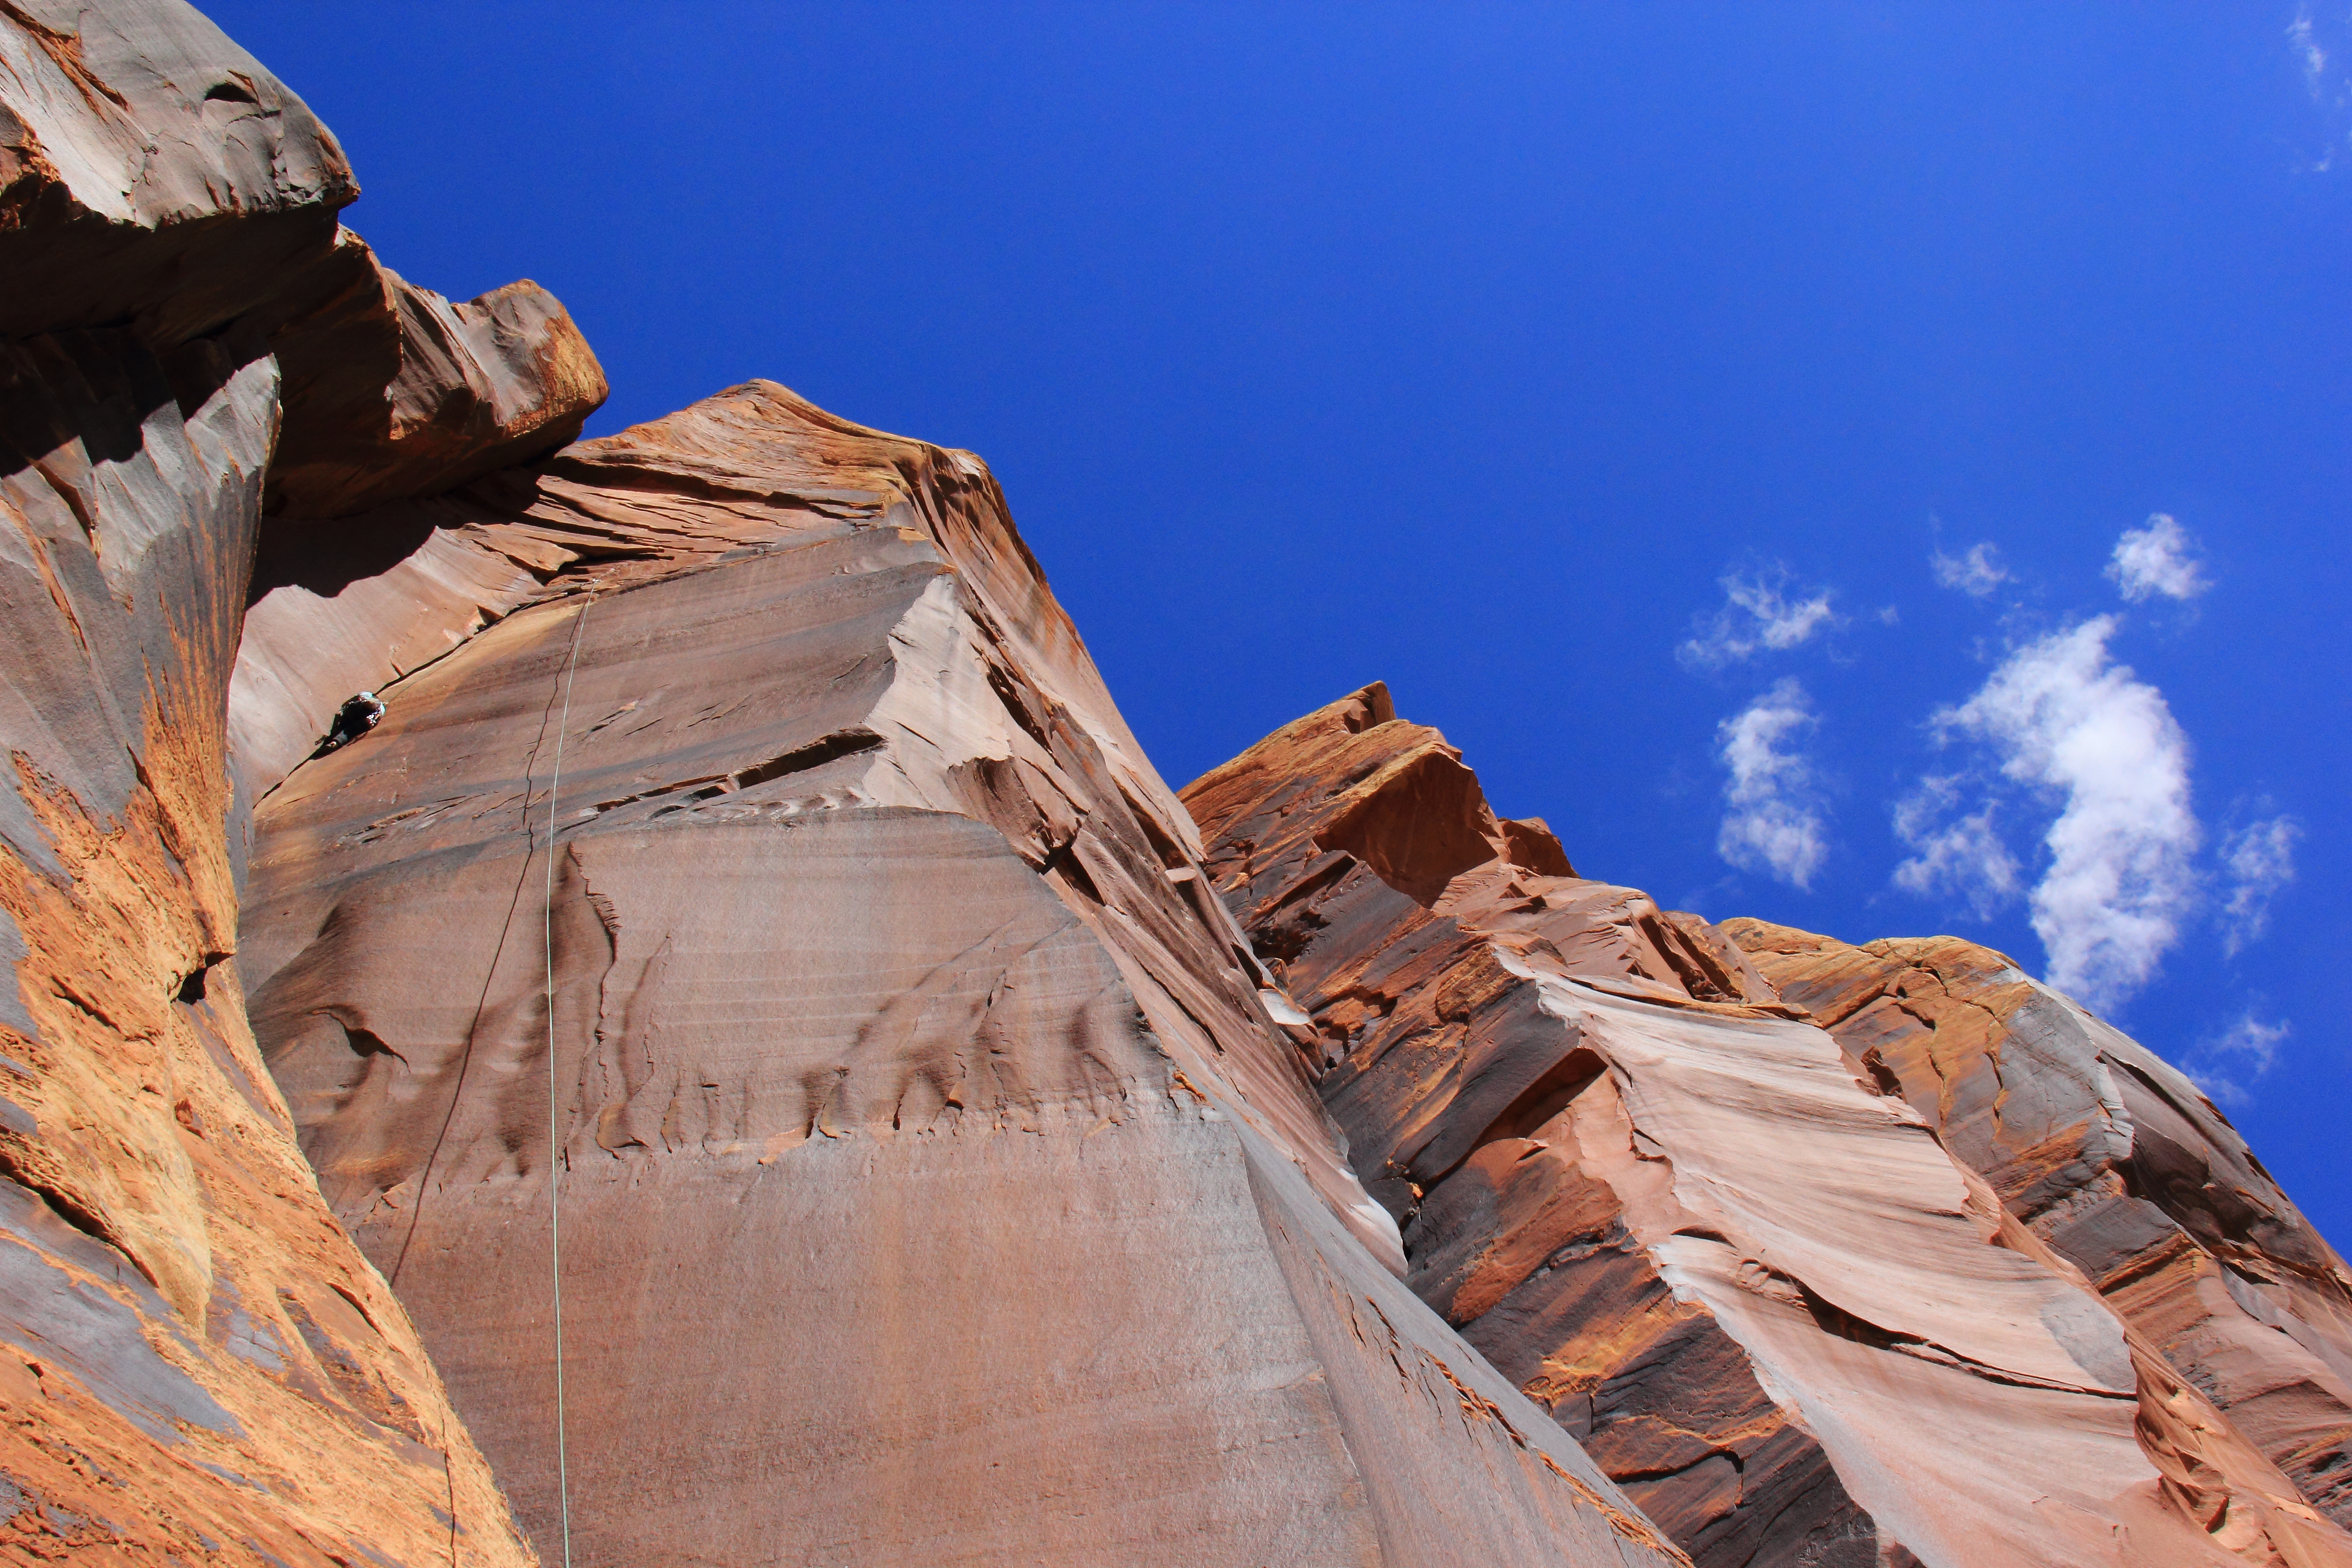
The view from Super Crack Buttress. Not a bad place to spend the day!
Photo Credit: Terrell Barry 2013
Our plan for the next day was to hang out at Super Crack Buttress. Leo had his eye on The Incredible Hand Crack 5.10 (100’) as the first climb of the day. It is billed as perhaps the most climbed route in IC. But when we got there it was open! So, Leo, the leading machine, jumped on it. With just a little trouble at the overhanging roof section, he made it to the anchors. It was fun to watch. I have no idea what it feels like to climb like that but it looks very fun. Great job!

Leo leads
Incredible Hand Crack 5.10
Photo Credit:
Eileen Descallar Ringwald Photography 2013
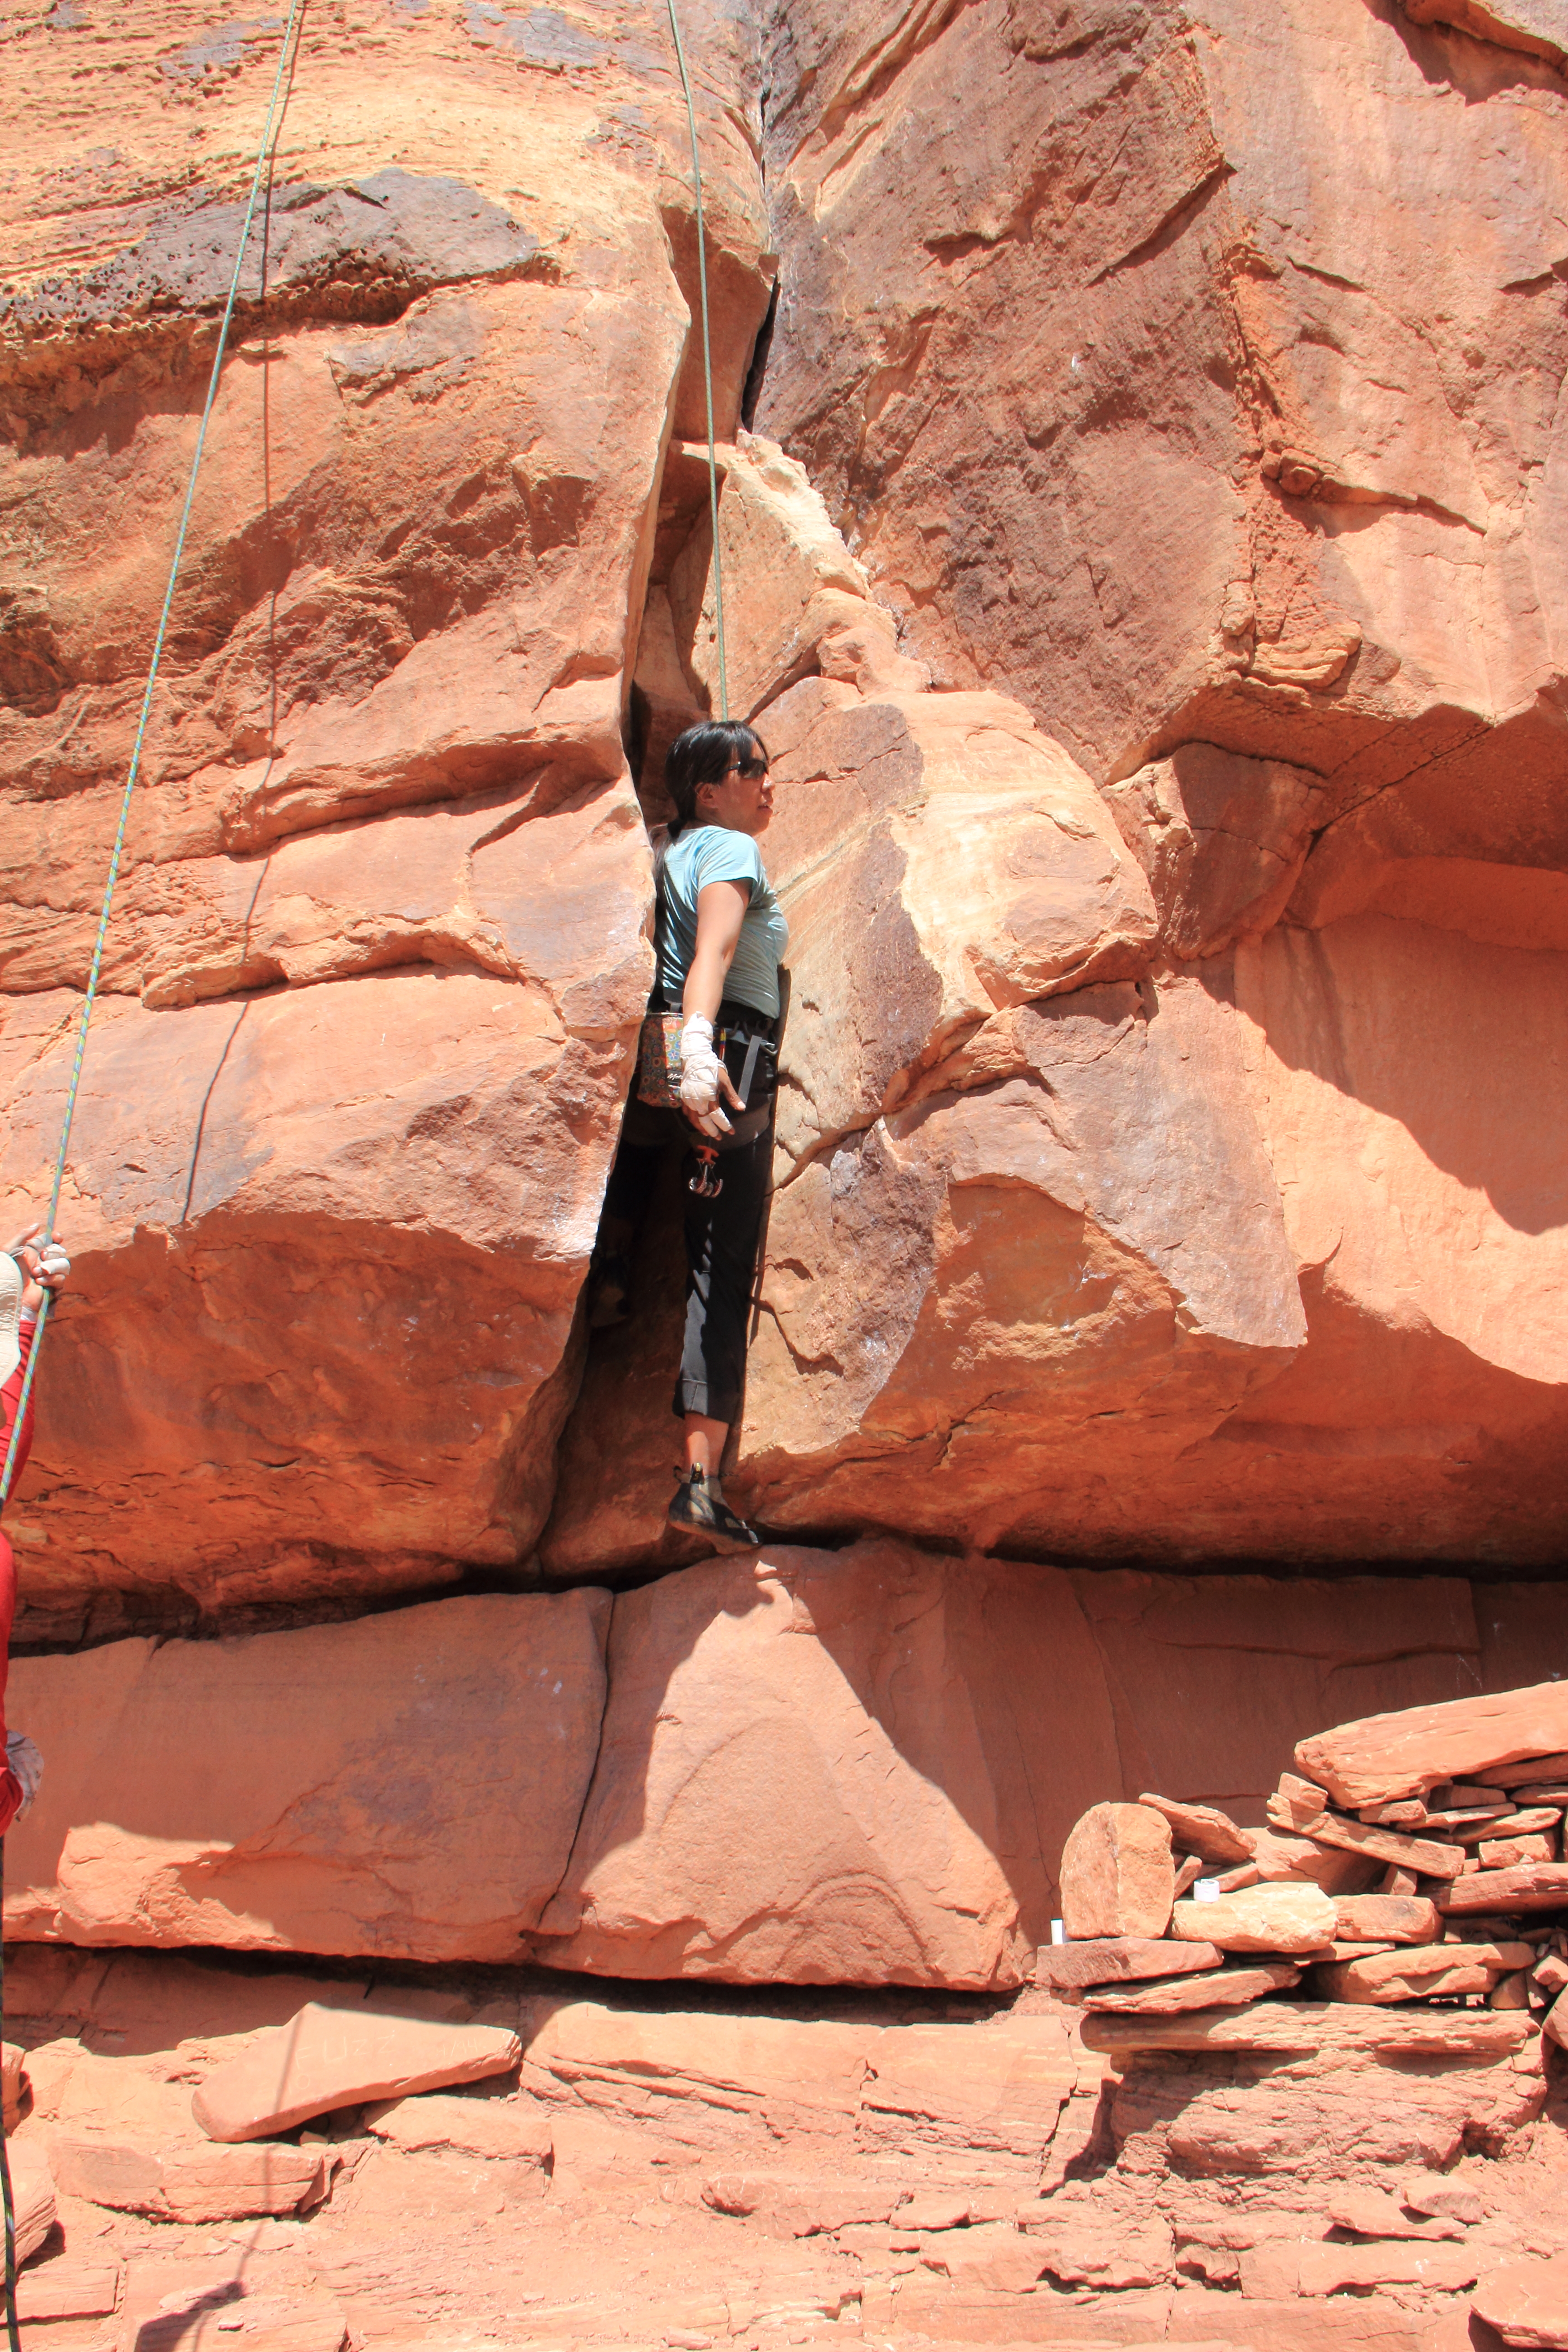
I had predetermined that I would not attempt the roof section if Incredible Hand Crack. Instead, I aimed at making it to the ledge just below where the roof starts. The route start out as an off-width and it’s slick from being climbed so much. I was worried again that I actually wouldn’t make it off the ground. But eventually I made it to the first ledge. It was surprisingly difficult to get up on the first ledge. I used a right knee jam and grunted up onto the ledge. The crack was still a little wide moving from the first to the second ledge. But then, there I was on the second ledge! After that there is a vertical section on this climb that is the perfect size for me. It turns out the perfect size for me is #2 Camalot, not #1 as I had thought. Perfect hand jams, perfect foot jams. I actually climbed probably 10 moves without doing a take! All the way to my predetermined goal. I was happy! Eileen was last and “had to make it to the top” to clean the anchors. It was hard work, but she did a phenomenal job and didn’t swear at all… hmmm. I need to be more like her!

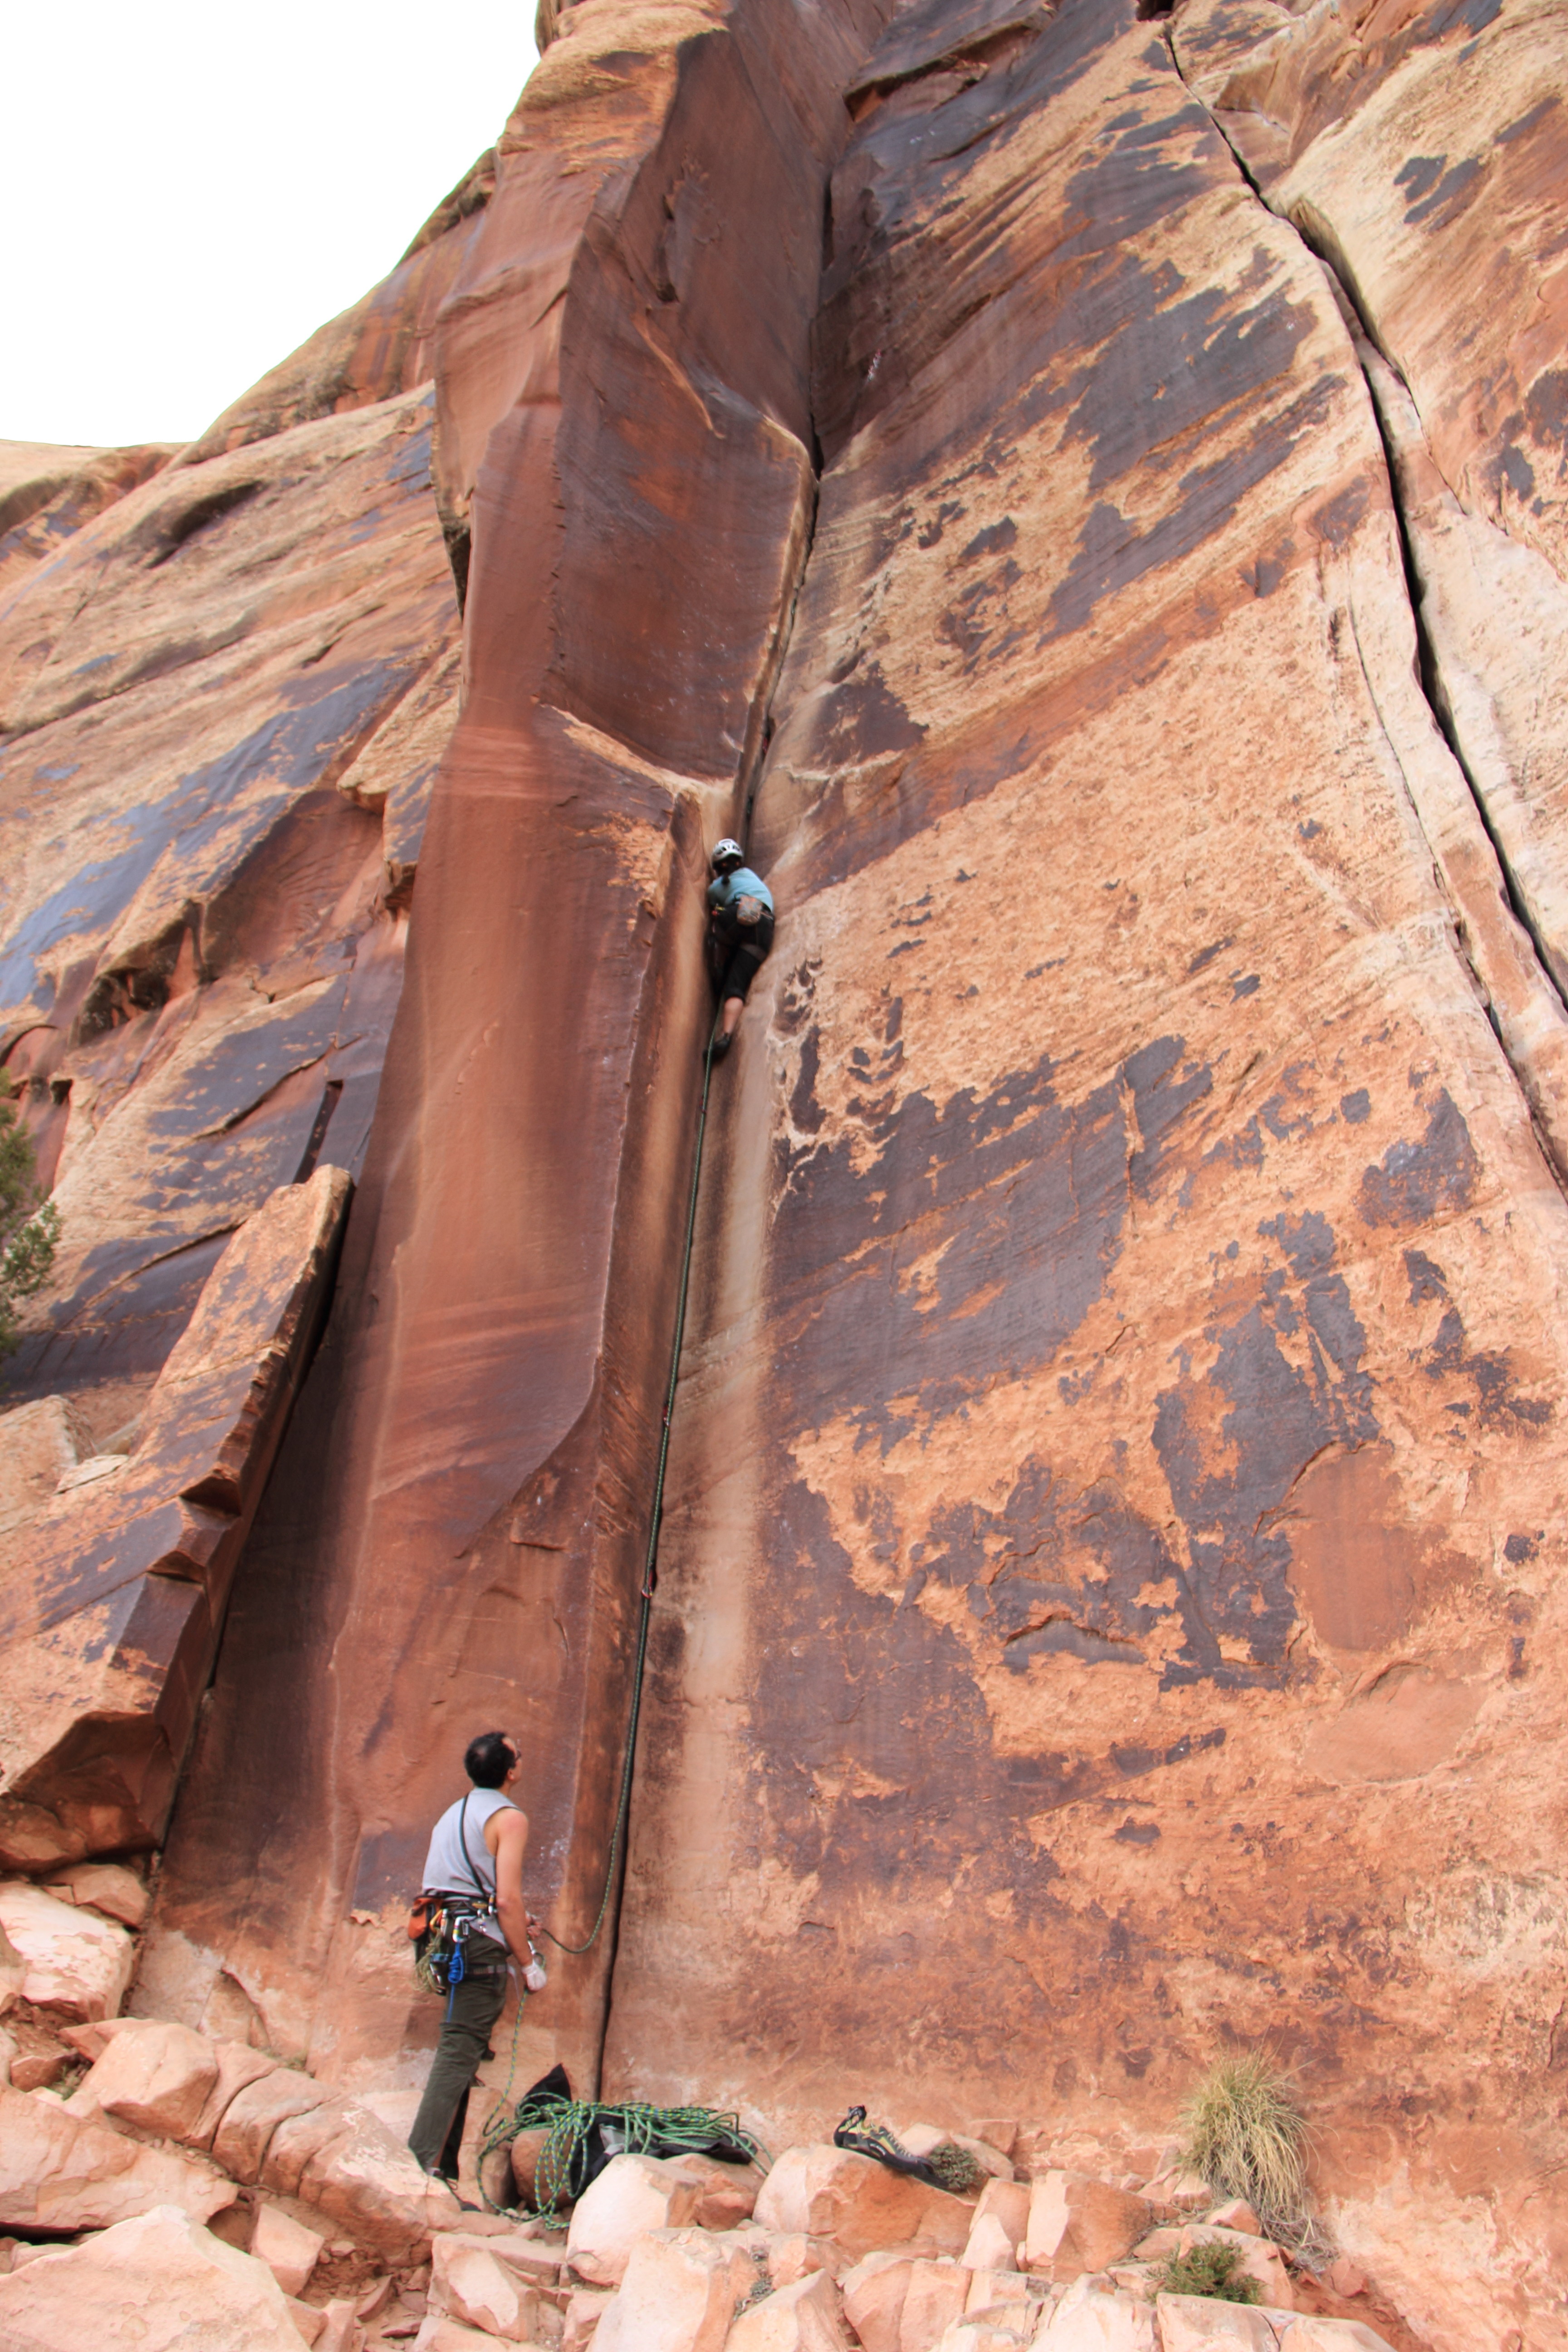
That’s me climbing Incredible Hand Crack 5.10
Photo Credit:
Leo Ramirez 2013
Next Leo headed to Super Crack 5.10 (100’). This climb was perfect for him. He was like a sewing machine, boom, boom, boom, one move after another. And then he was finished. It was beautiful.

Leo cruising his lead of
Super Crack 5.10
Photo Credit:
Eileen Decallar Ringwald Photography 2013
I don’t normally sit climbs out. But, no, I didn’t need to climb Super Crack this trip. It takes 5 #3 Camalots. That’s big. Not off-width but too big for me right now. I would surely have been finished for the day and wasted a lot of climbing time in the process. Eileen gave it a go and she did a great job. The little roof in the photo is harder than it looks. She worked the moves to get over it. She also kept repeating that the crack was big. I think half her arm disappeared into the crack!

Eileen working Super Crack 5.10
Photo Credit:
Terrell Barry 2013
I saved my energy for Twin Cracks 5.9 (60’). Again, I thought, it’s short and 5.9, it looks doable. I should be able to handle this, maybe I’ll get it clean. Well, I struggled again. No crying this time but there were some choice words. Man, I had to work really hard just to make it to the top. More crack climbing lessons learned!

Me on Twin Cracks 5.9
Photo Credit:
Eileen Descallar Ringwald Photography 2013
Leo finished the day up on No Name Crack 5.10 (120’). Neither Eileen nor I climbed it, and that was ok with us! It was in the sun and it looked really hard. But the route is beautiful. Next time!

Leo leading No Name Crack 5.10
Photo Credit:
Terrell Barry 2013
We went directly back to camp at the end of the day and enjoyed relaxing with Luke and his friends. We had a nice campfire, stayed up too late having fun visiting, and just as we were turning in for the night Haley and Matt arrived from Salt Lake. Haley and I hugged our IRL hug and then off to bed for all of us. Yeah! On Saturday, the late night and chilly morning led to us getting a little later start than we planned.

On our way to Selfish Wall
Photo Credit: Terrell Barry 2013
We ultimately decided to head to Selfish Wall. Haley knew the way so we saved some time finding our way. This is one of the steeper hikes. Not as long as the hike to Critic’s Choice Wall but every bit as steep. However, the hike is totally worth it. I had hoped to lead Hand Solo 5.9 (30’) but after my experience the first two days I thought it was safer to follow first, then decide. I’m glad I did. I wasn’t ready to lead in IC this trip. I enjoyed Hand Solo and climbed it well but I still came off more than once. My hand and foot jams were getting better by the day. However, I wasn’t solid enough on any climb to consider leading. Next time!

Finally starting to adjust to Indian Creek.
Me on Hand Solo 5.9
Photo Credit:
Eileen Descallar Ringwald Photography 2013
Everyone in our group climbed Hand Solo. Eileen and Haley led it. It was Eileen’s first on-site lead at Indian Creek!

Haley leads Hand Solo 5.9 while Matt belays
Photo Credit: Terrell Barry 2013

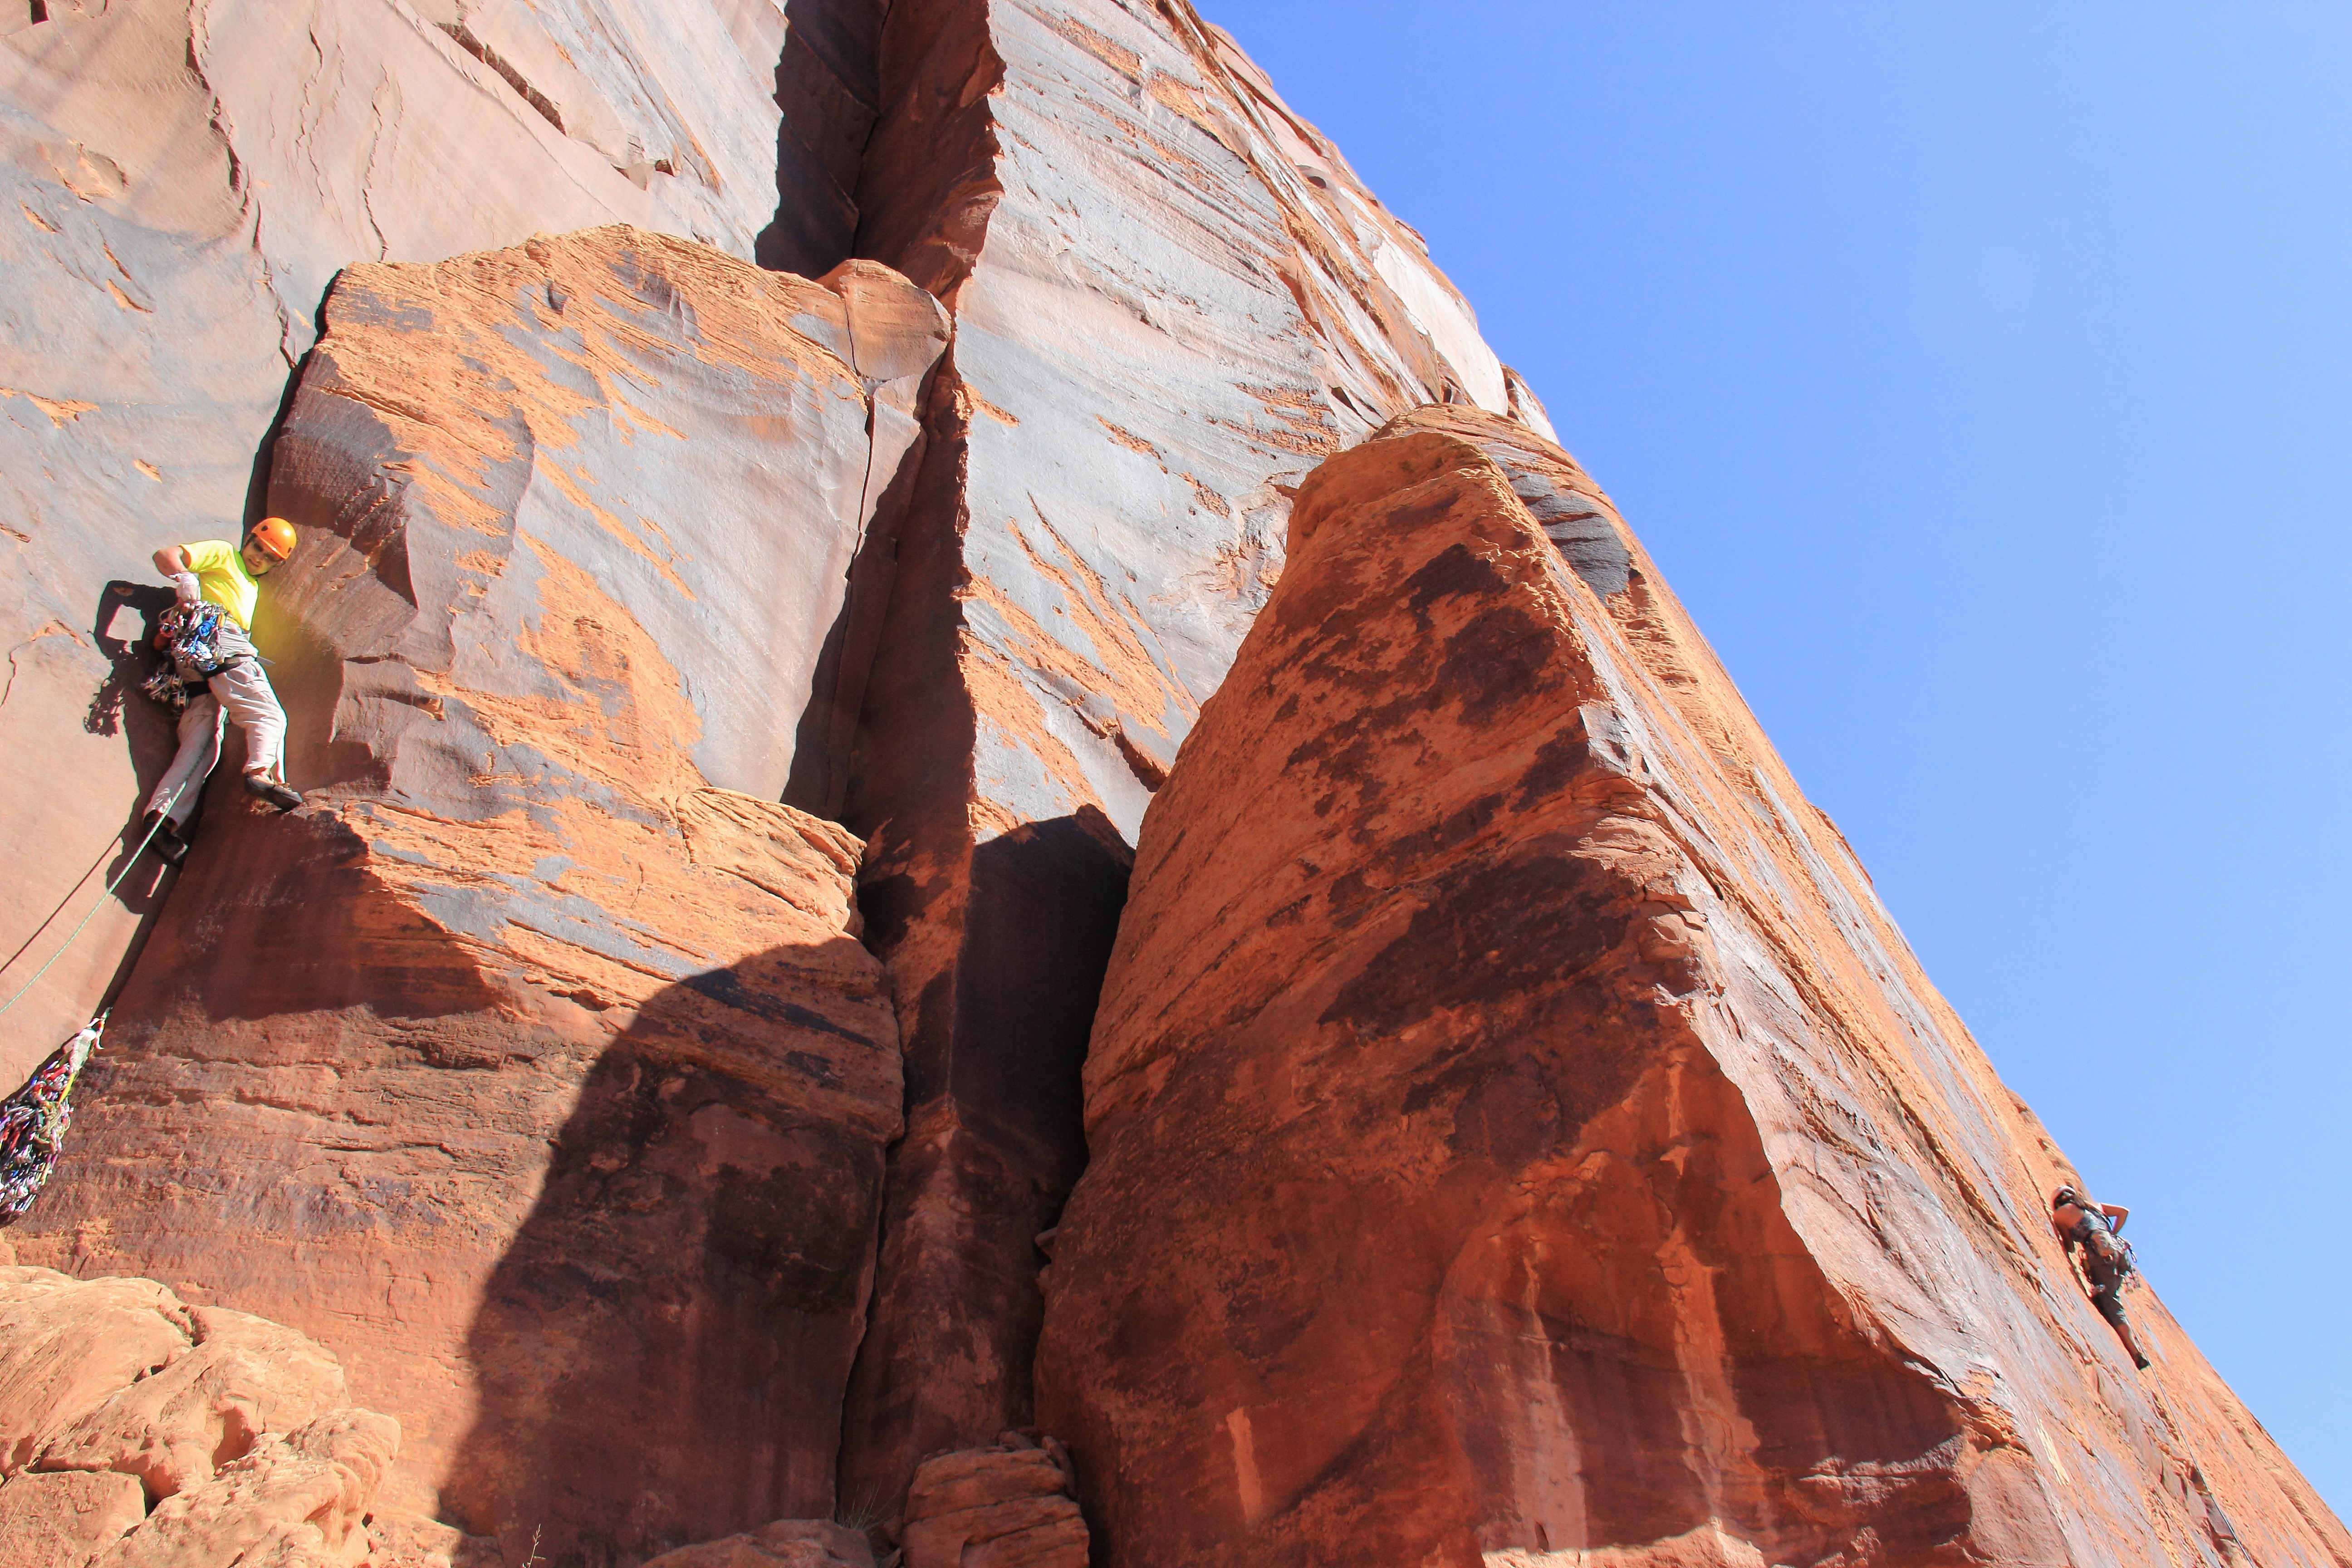
Leo leads The Duo 5.11- on the left while Eileen leads Hand Solo 5.9 on the right
Photo Credit: Terrell Barry 2013
Leo’s next lead was The Duo 5.10 (50’). As he was climbing he said it was really fun and I had to try it. So, I made it my second climb on Selfish Wall. I did pretty well on this climb. The start is very wide but I did it as a layback, per Eileen’s suggestion. There is a section of traverse in the middle that was scary because a swing would be big and into the left facing edge. But the top of the climb once again was the perfect size for me. That #2 Camalot. I truly enjoyed that part of the climb, even the bulge that was challenging to get over. Solid hand and foot jams. Progress! I belayed Matt as he climbed The Duo. While we were climbing, Leo was leading A Breakfast Social 5.10 (40’). This route would be my last climb of the day. Leo said he thought I would like it. He knows my climbing style well! The guidebook says “ramping fingers in a right-facing dihedral with features.” I loved this climb. It made the trip for me. Much of it was finger jams rather than hand jams but there were steming opportunities for the feet. I came off only once. And I felt pretty solid. Perfect end to the day! I had made a pact with myself that I would not talk to myself while I climbed A Breakfast Social, but I was woefully unsuccessful. Haley laughed and said it was like a narrated climb. So, I didn’t feel so bad about it!
Leo’s last climb of the day was the hardest climb of the trip, Solo East 5.11 (55’). A finger crack . This was a climb that the guidebook did not deliver on in the way of beta. I was belaying and about half way up Leo remarked that he was out of gear that was small enough. He decided to back-clean and continue. He worked really hard and did an awesome job. But, eventually, he took his very first whipper, which meant I caught my very first whipper. Needless to say, it was “exciting” for both of us. After injury assessment he called down that he was ok. Being the awesome climber he is, he continued and finished the climb.Then both Haley and Eileen followed it! That was impressive.

Eileen following Solo East 5.11
Photo Credit: Terrell Barry 2013

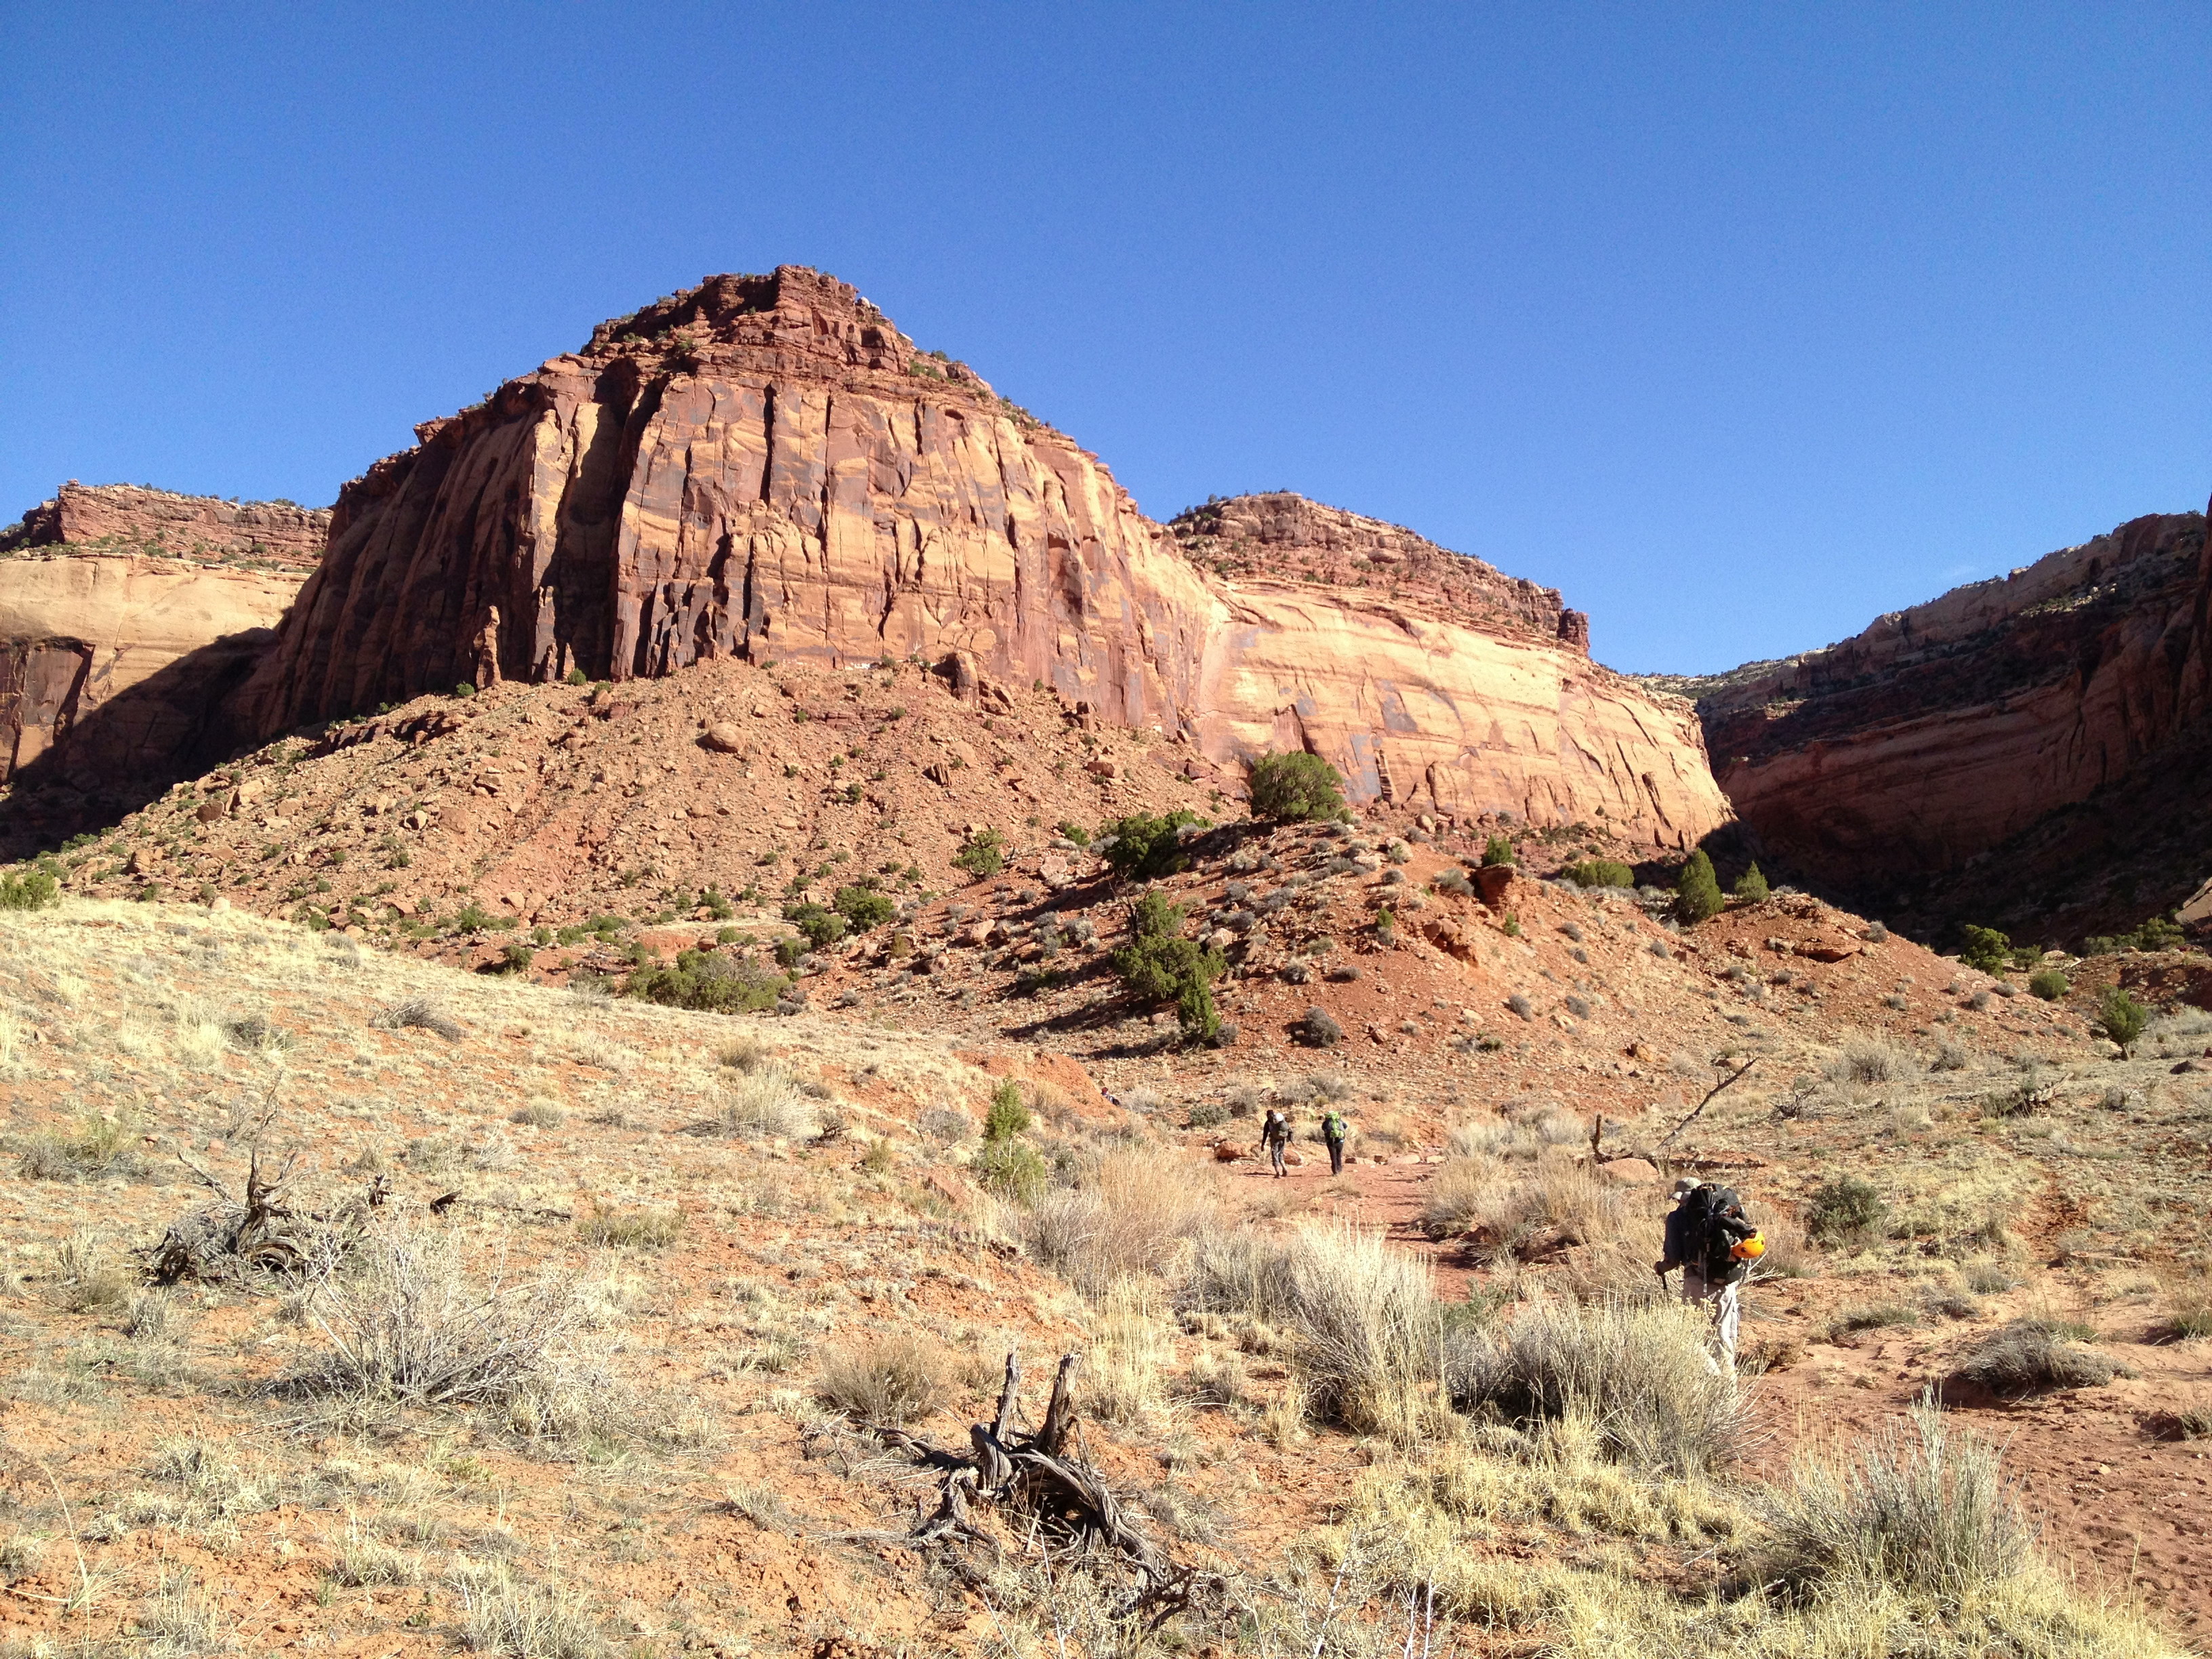
The crew heading up to Way Rambo for our last day of climbing
Photo Credit: Terrell Barry 2013
Our last climbing day was Sunday. We selected Way Rambo to end our trip. We had hoped to get on Blue Sun 5.10- (65’) but when we arrived a large group was already climbing the routes on that section of the wall. So we moved around the corner and waited in line for Rochambeau 5.9 (75’). The guide book says “a little bit of everything” and it was right. Leo made quick work of the route, it was more of a warm-up for him. Then Haley followed. I climbed it next on what I knew was my last climb in IC. It is not completely a crack route. There are holds outside the crack. The moves are interesting. The balance is delicate. The route is really a series of small roofs and it gets more overhung as you reach the top. I really liked it and I only came off once. That was a perfect end to the climbing trip for me! I certainly ended the trip a much better crack climber than when I arrived.

Leo leads Rochambeau 5.9
with me on belay
Photo Credit:
Eileen Descallar Ringwald Photography 2013
Leo, Eileen, and Haley were not finished however. Eileen climbed Rochambeau then all three gave Fuzz 5.10 (115’) a go. It was Leo’s last lead and it was fun to watch. The start was very awkward and bouldery. Then it transitioned to an increasingly vertical to slightly overhanging crack. I wished I had the energy and skill to climb Fuzz that day. Eileen cleaned the route. This route takes some big gear – 4 #3’s, 3 “3.5’s and a 4. So, it was not ideal size for Eileen. But she worked it and made it to the top.

Eileen doing the bouldery start to The Fuzz
Photo Credit:
Terrell Barry 2013

Eileen at the top of The Fuzz
Photo Credit: Terrell Barry 2013
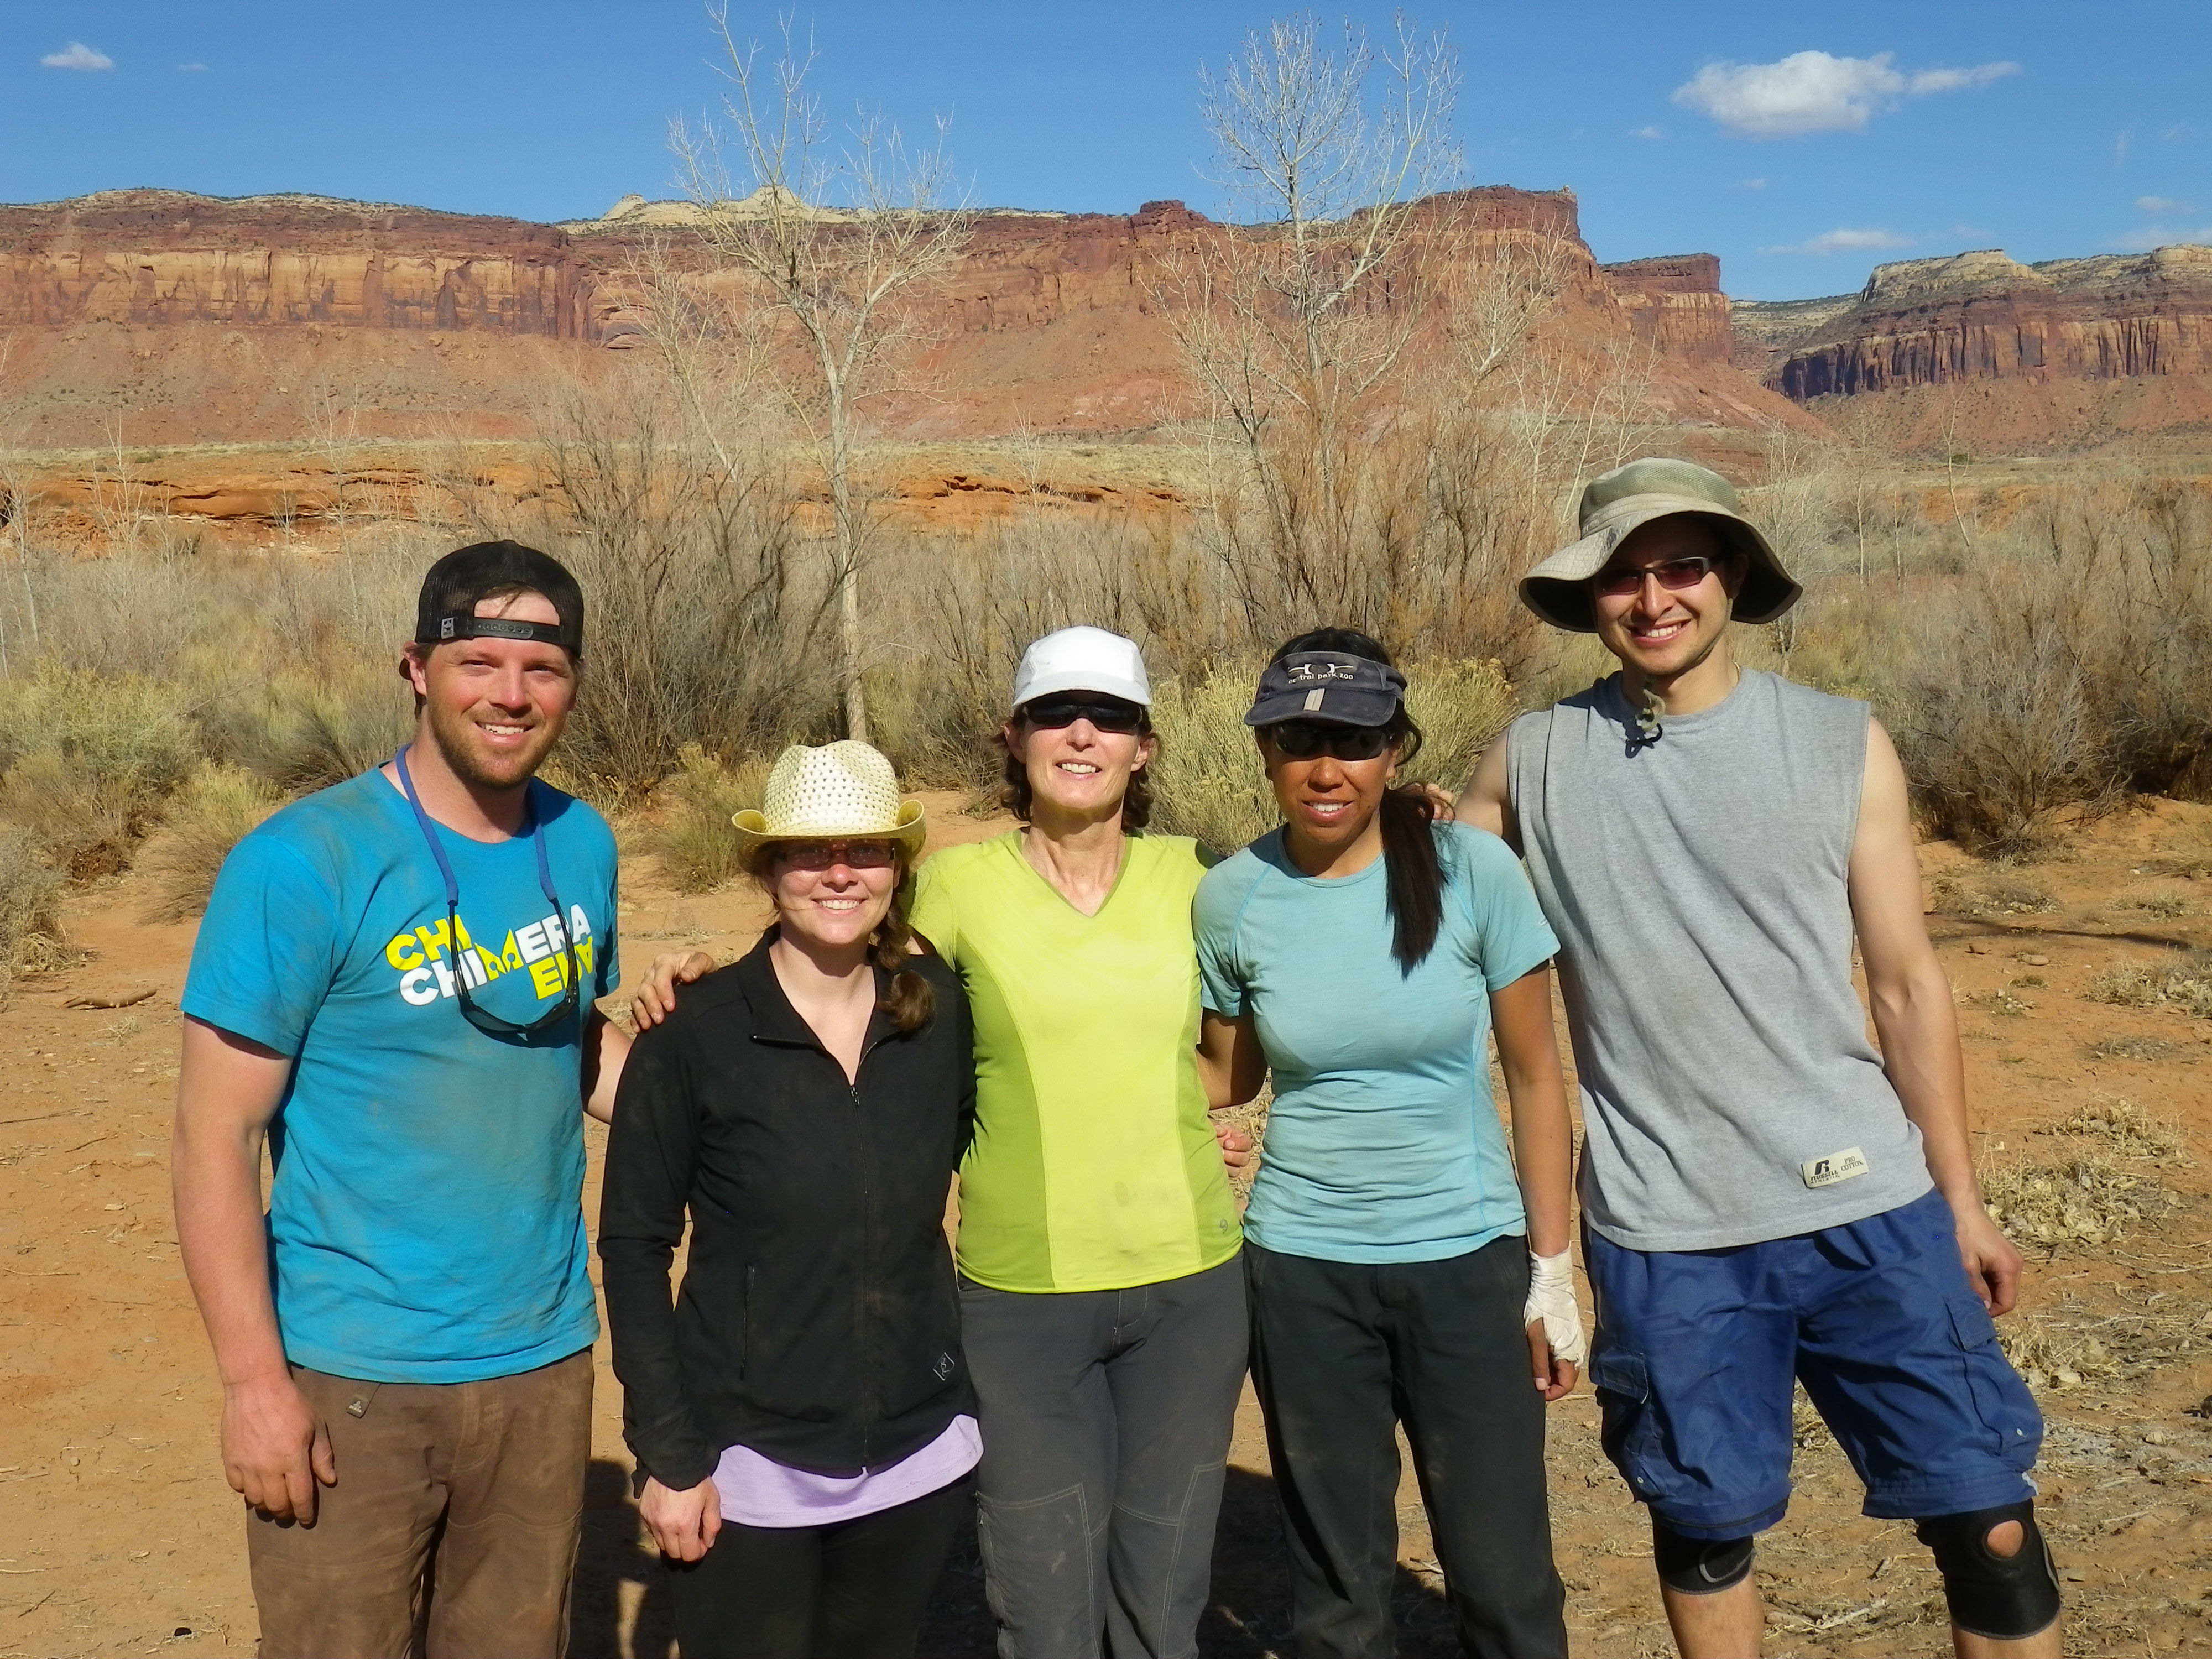
So, our climbing in IC was over. What a great trip! We hiked back to the car and headed to camp to pack up. Haley and Matt were off to the Salt Lake area.

Happy Crew!
Left to Right: Matt, Haley, Me, Eileen, Leo
We headed west, making a quick stop in Arches NP where Eileen got this awesome photo of lightening.
 Then we traveled on to a small town in western Utah for the night. On our drive home we took Hwy 50 – The Loneliest Road in America. It was a great drive.

Somewhere in Nevada…
So, it turned out I could make if off the ground in Indian Creek. I struggled quite a bit but I learned a lot and actually did enjoy all the climbs… except for Chocolate Corner. Indian Creek is certainly a harsh environment. It was windy, dusty, and hot. The hikes to most of the climbs are strenuous. And the climbing is strenuous. But it is worth every moment of effort. I would return in a heartbeat. And I continue to feel so fortunate and lucky to have my climbing friends!
Click the text for my Indian Creek photo album